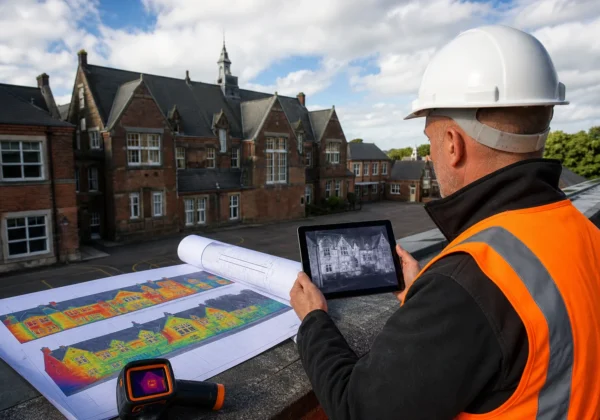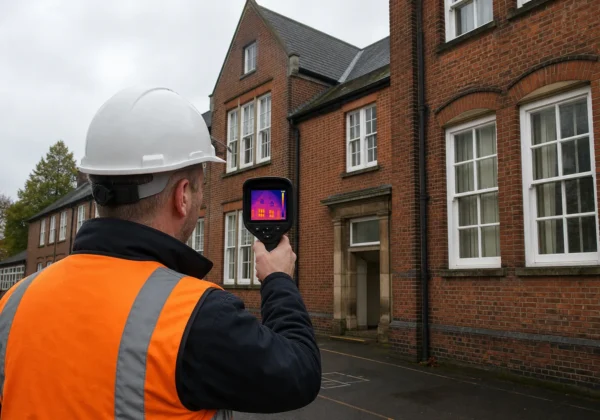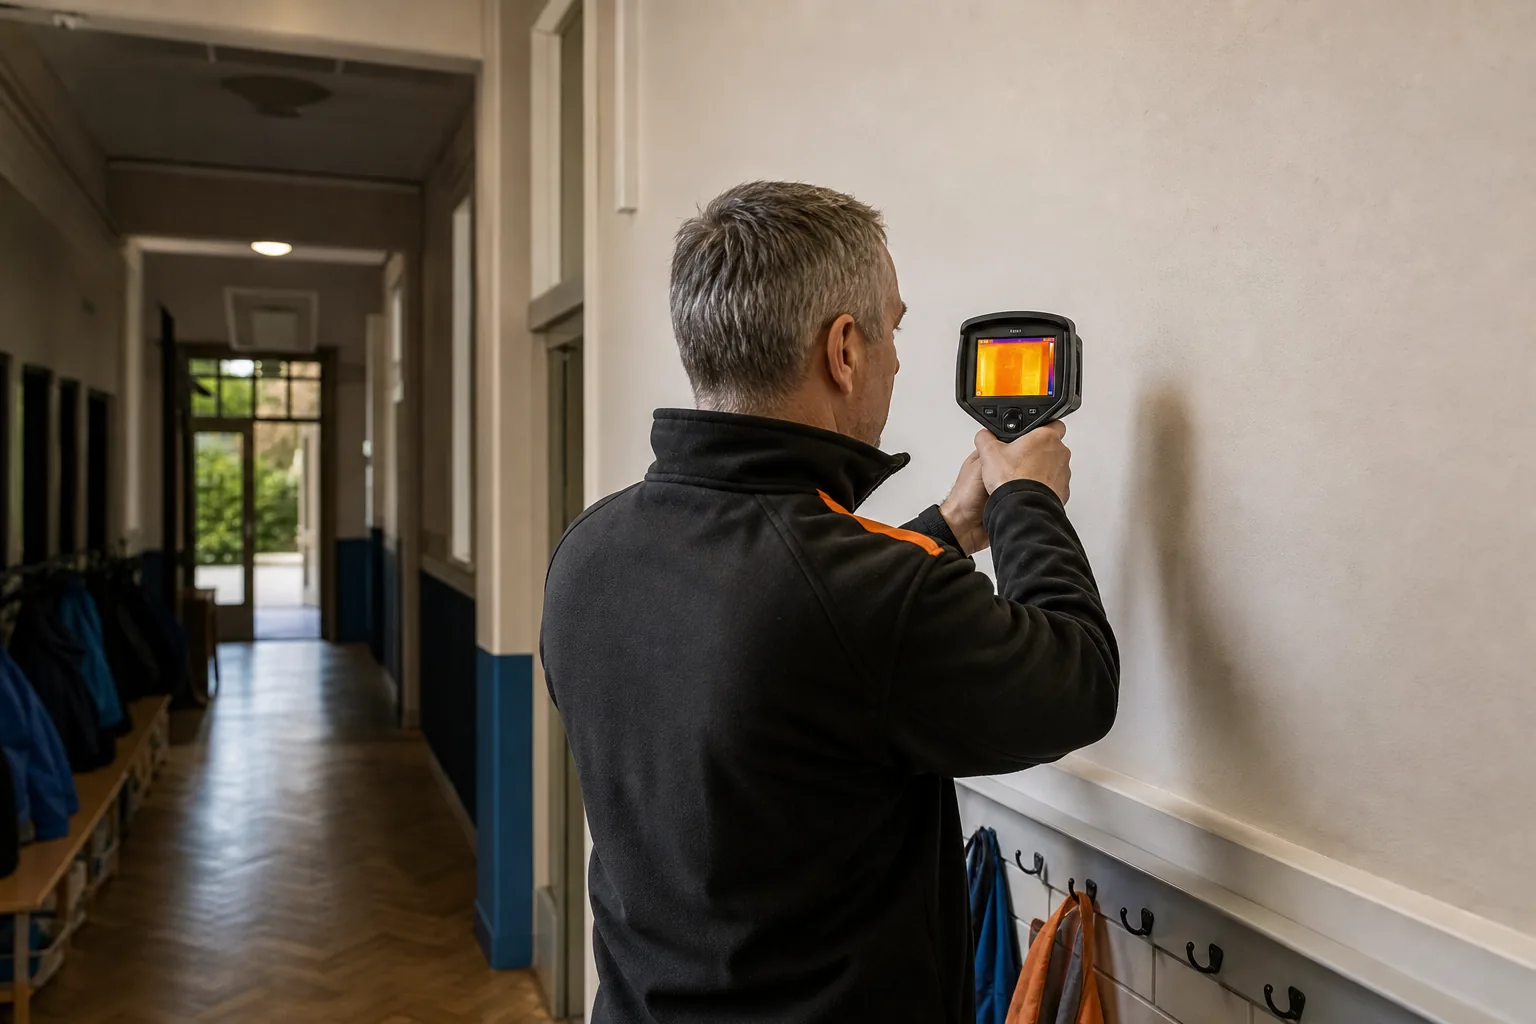
A building thermography survey can show heat loss, cold bridging and moisture patterns before they become costly repairs. But a thermal camera alone doesn’t prove the cause of a defect. The result depends on scope, weather, building use and skilled interpretation. Follow these five steps to collect evidence your estate team can act on.
Step 1: Define the Survey Scope and Evidence Required
Start by writing down what the building thermography survey must answer. A school may need evidence of failed cavity insulation. An NHS estate may need to compare heat loss across several blocks. A landlord may need to investigate a complaint about cold rooms or condensation.
Set the survey boundary before anyone arrives. Record the buildings, elevations, roof areas, rooms and plant spaces included. Note the age of each block, known construction types and any recent retrofit work. External wall insulation, replacement windows and roof repairs can all change the thermal pattern.
Then define the evidence needed for each decision. You may need:
- Radiometric images with recorded surface temperatures.
- Visible photographs that show the exact location.
- Indoor and outdoor air temperature readings.
- Relative humidity and dew point data.
- Marked-up plans or 3D location data.
- A short action plan linked to each finding.
This step stops the survey becoming a collection of attractive colour images. Defined test conditions, image processing and specialist interpretation are important to reliable thermographic assessment. A building fabric thermography checklist can help survey teams confirm that the scope, field records and reporting requirements have been addressed.
Ask the survey provider how it records emissivity, reflected temperature and environmental conditions. Also ask who will interpret the images. Camera resolution matters, but a good sensor cannot correct poor survey design.
Visual Perspectives Limited can help you set the scope around building fabric performance, roof condition or decarbonisation work. We provide independent evidence for public-sector estates, housing, education and commercial property. By now, you should have a written brief with clear questions and a defined output.
Step 2: Prepare the Building and Confirm Suitable Survey Conditions
A building thermography survey needs a useful temperature difference between inside and outside. Without that heat flow, a wall or roof can appear uniform even when insulation is missing.
Plan the inspection around weather and building operation. Avoid rain, fog and strong direct sunshine where possible. Wet surfaces can change apparent temperatures. Solar gain can heat one elevation and hide defects that would be visible under more stable conditions.
For an internal heat-loss survey, keep the heating or cooling system in its normal operating state. Record when it was switched on. Clear furniture away from walls where possible, and tell occupants not to open windows during the test. Keep doors and access routes in their normal state unless the survey brief says otherwise.
Before scanning, record:
- Indoor and outdoor air temperature.
- Relative humidity in representative rooms.
- Recent weather and wind conditions.
- Heating or cooling status.
- Any open windows, doors or unusual plant activity.
For moisture work, humidity is just as important as temperature. A cold patch may point to missing insulation, air leakage or moisture. It doesn’t identify the cause by itself. Environmental conditions should form part of the survey record.
Tell the survey team about restricted areas, safeguarding rules and occupied rooms. On a school estate, the route may need to avoid lessons. In an NHS building, infection control and patient privacy may shape the inspection plan.
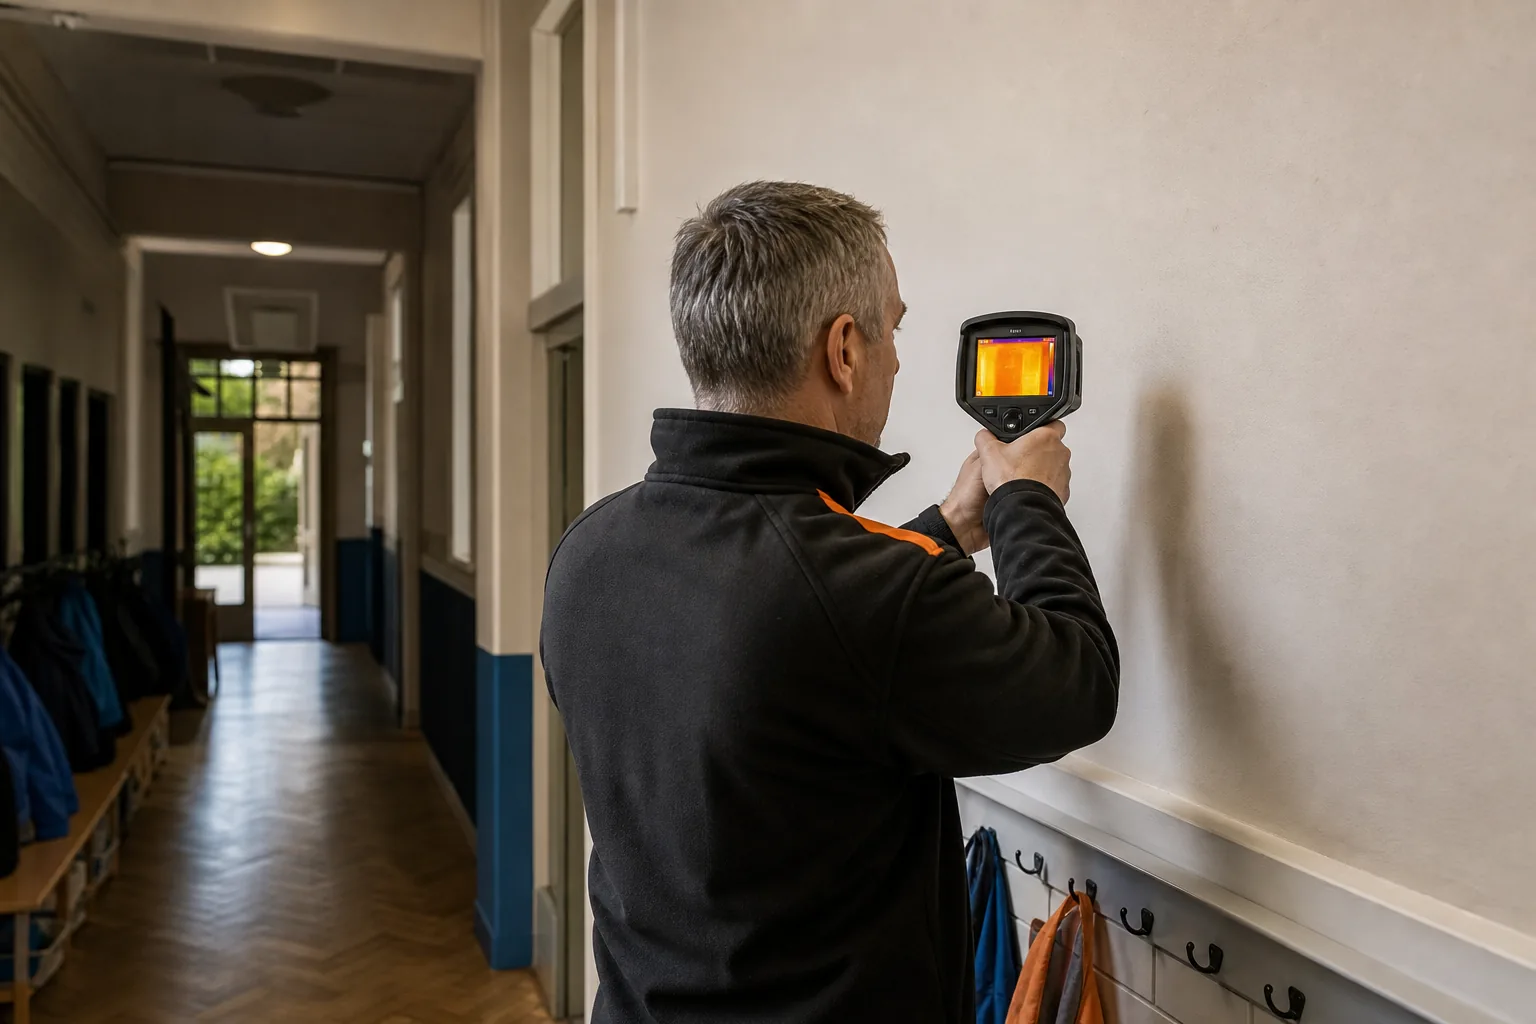
We confirm conditions before collecting data. If the temperature difference is too small or the weather has spoiled the exterior readings, we will recommend a better survey window rather than present weak evidence. That care keeps the findings quickly, precise, and detailed. You’ll be in good hands.
Step 3: Carry Out the Internal and External Thermal Survey
Carry out the building thermography survey in a set route. A fixed method makes it easier to compare rooms, elevations and separate buildings.
Start with a visual walk-through. Look for staining, cracked render, failed sealant, damaged roof coverings and blocked vents. Take a normal photograph before each important thermal image. The visible image gives the maintenance team a clear location when the report is reviewed months later.
During the internal scan, move room by room. Pay close attention to:
- Window reveals and frames.
- Wall and floor junctions.
- Concrete lintels and structural columns.
- Service penetrations.
- Door seals and loading doors.
- Ceilings below roofs or roof terraces.
A cold line at a corner may be a thermal bridge, which is a route where heat crosses the insulation more easily. A cold patch near a window may be air leakage. A ceiling anomaly may indicate insulation gaps or trapped moisture. Each reading needs its building context.
External imaging adds another view. Survey the elevations in a planned order, then inspect roof zones where access permits. Drone thermography can cover difficult roof areas without putting staff onto the roof, but it cannot confirm the condition beneath a membrane. It should guide follow-up work, not replace every close inspection.
For large estates, combine thermal data with high-resolution visual capture and location records. Visual Perspectives Limited uses high-resolution 3D mapping with thermal imaging to place defects within the building envelope. That makes handover easier for estates teams, surveyors and project managers.
A commercial heat-loss inspection may compare an older block with a newer one. It may also focus on roller doors, dock areas, airlocks or ventilation points where warm air escapes. These areas often need a different repair response from a wall insulation defect.
Keep a survey log. Record the camera settings, time, location and conditions for each key image. Don’t rely on a single colour palette or a single temperature threshold. Colour scales can make a minor difference look dramatic.
Our approach is independent of installers. That matters when the findings may lead to external wall insulation, roof work or a wider retrofit plan. The survey should show what the building is doing, not what a contractor hopes to sell.
Step 4: Interpret Thermal Anomalies and Verify Likely Causes
Interpret each thermal anomaly against the building fabric and the survey conditions. A building thermography survey finds temperature patterns. It does not automatically diagnose a failed component.
First, compare the anomaly with nearby areas made from the same material. Then compare matching rooms or elevations. A wall that is colder than an identical wall may need attention. A whole north-facing elevation may simply have less solar gain.
Next, test the likely cause. Check the visible photograph, construction drawings and maintenance history. If a cold patch matches a steel beam, it may be a thermal bridge. If it follows a door edge, air leakage is more likely. If it sits below a roof outlet, moisture needs further investigation.
Condensation work needs extra care. Dew point is the temperature at which air reaches saturation and water can begin to form. Record air temperature and relative humidity, then compare the dew point with the measured surface temperature. A surface close to that threshold deserves attention, especially in bedrooms, classrooms and poorly ventilated rooms.
Keep surface condensation separate from interstitial condensation. The first occurs on an exposed surface. The second occurs within the construction build-up. Thermal imaging may indicate a risk, but intrusive checks or moisture measurement may still be needed.
Use a confidence rating in the report. For example, a finding may have strong thermal evidence but need physical confirmation. Another may have a clear visual defect that explains the heat pattern. This helps the client avoid treating every bright or dark patch as an urgent failure.
We include the image, location, measured values, likely cause and recommended next check. Where a drone view shows a roof anomaly, we may suggest a moisture survey or targeted opening by a suitable specialist. Where internal images show cold bridging, the next step may be a fabric review rather than immediate replacement.
Watch the short survey example below for a visual introduction to thermal inspection work.
For teams preparing retrofit work, our building fabric performance thermal survey guide explains how to connect thermal evidence with fabric decisions.
The key rule is simple: never specify a repair from a thermal image alone. Verify the pattern, check the construction and state what remains uncertain.
Step 5: Turn Findings into a Prioritised Building Action Plan
A survey becomes useful when each finding leads to a clear decision. Turn the building thermography survey report into a plan that a facilities team can cost, approve and track.
Group findings by type first. Separate heat-loss defects from moisture risks, safety concerns and routine maintenance. Then give each issue a location, severity, confidence level and next action.
A useful action record includes:
- Building and room or elevation reference.
- Thermal and visible image references.
- Likely cause and evidence.
- Recommended verification step.
- Suggested repair or survey discipline.
- Priority, owner and target date.
Prioritise defects that can damage the building or occupants. A condensation risk in an occupied room may need faster action than a small area of insulation loss in a store. A roof moisture pattern above electrical equipment deserves a different response from a draught at a low-use entrance.
Link the findings to your asset plan. Estates teams can use the evidence to decide whether to repair, monitor, investigate further or include the building in a wider retrofit package. This supports a fabric-first approach because it shows where heat is escaping before new heating capacity is specified.
Don’t claim energy savings unless you have measured the baseline and modelled the proposed change. Thermal imaging can show a defect and help target work. It cannot, by itself, prove a future bill reduction.
For a school estate, combine the findings with planned roof renewals and window programmes. For an NHS estate, align them with access restrictions and clinical priorities. For housing, use repeated surveys to track whether repairs have changed the thermal pattern.
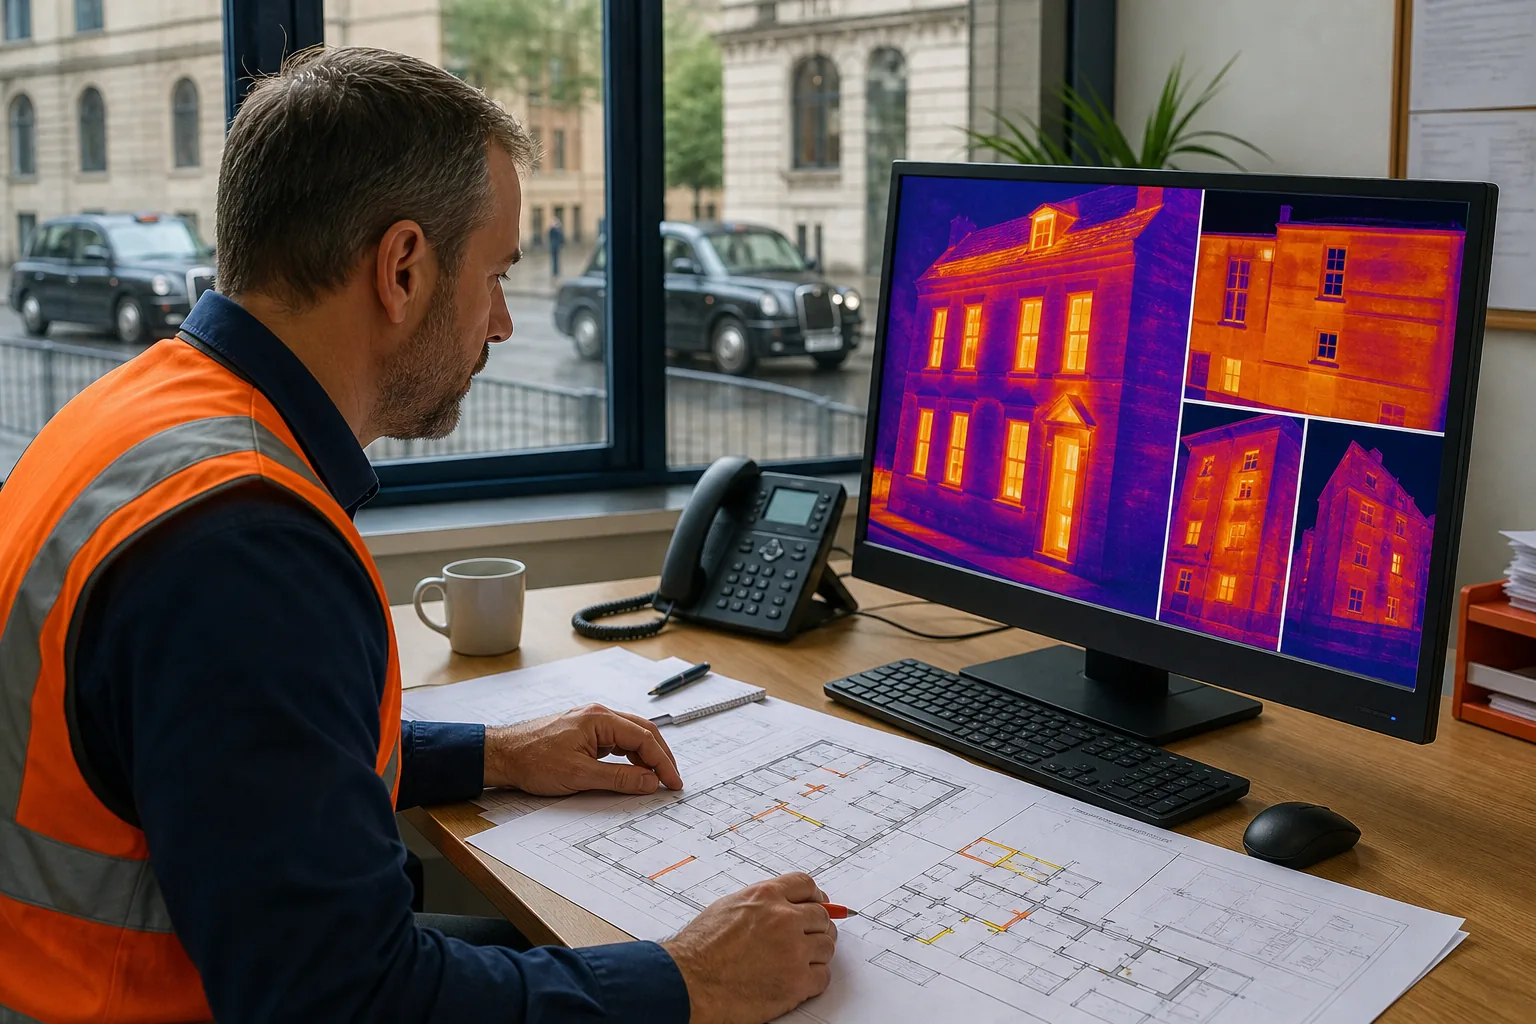
Visual Perspectives Limited provides thermal imaging, drone inspection and 3D survey outputs across the UK. We can help estate teams turn what the naked eye can’t s are designed for handover, not for a drawer.
Use the action plan at the next budget meeting. If a finding has no owner or next step, the survey is not finished yet.
FAQ
What is a building thermography survey?
A building thermography survey uses infrared imaging to record surface temperature patterns across a building. It can indicate heat loss, thermal bridging, air leakage or moisture risk. The images need suitable weather, a useful temperature difference and skilled interpretation. A survey should pair thermal images with visible photographs and written recommendations.
What can thermal imaging find in a building?
Thermal imaging can show unusual temperature patterns linked to insulation gaps, cold bridges, draught paths, wet materials or overheating equipment. A building thermography survey cannot prove the cause in every case. The thermographer should compare the pattern with construction details and recommend physical checks where needed.
When is the best time to carry out a thermal survey?
The best time is when the building has a clear and stable temperature difference between inside and outside. Avoid rain, fog and strong sunshine for external work. Heating or cooling should run normally before internal imaging. Your survey provider should record weather, air temperature and humidity before accepting the results.
Can a drone carry out a building thermography survey?
Yes, a thermal drone can inspect roof areas and high façades that are difficult or unsafe to reach. It can help locate heat-loss patterns and guide closer checks. It cannot lift roof coverings or confirm concealed defects. Visual Perspectives Limited combines drone capture with building diagnostics and 3D mapping where the site and conditions suit it.
What should a thermography report include?
A useful report includes the survey scope, conditions, camera data, thermal images, visible reference images and a clear interpretation. It should identify likely causes without overstating certainty. The report should also set out priorities, follow-up checks and actions that a facilities or asset team can assign.
Conclusion
Plan the survey around a clear decision, stable conditions and evidence that another person can verify. For public-sector estates and commercial buildings, an independent inspection from Visual Perspectives Limited can bring thermal imaging, drone access and 3D location data into one workflow. Start by listing the buildings and decisions you need to support, then request a scoped survey and use the findings to set your next maintenance or retrofit action.