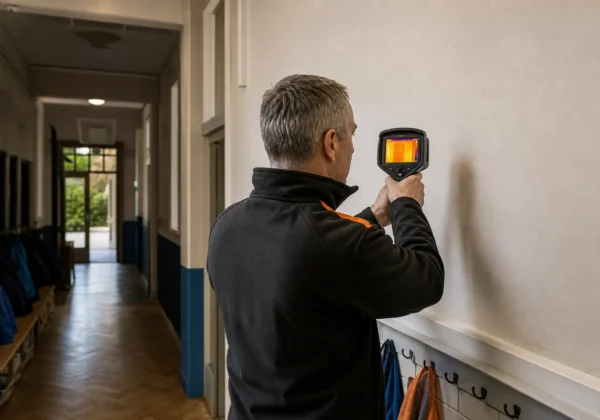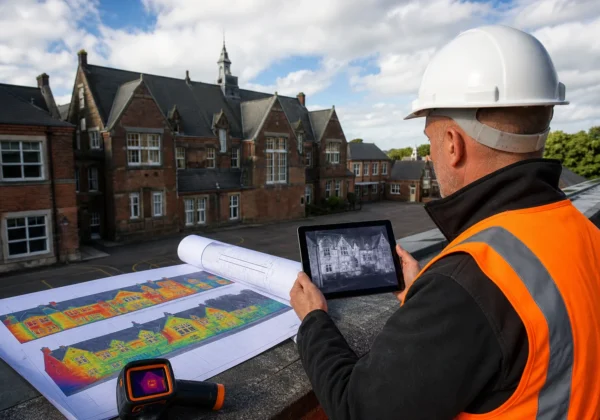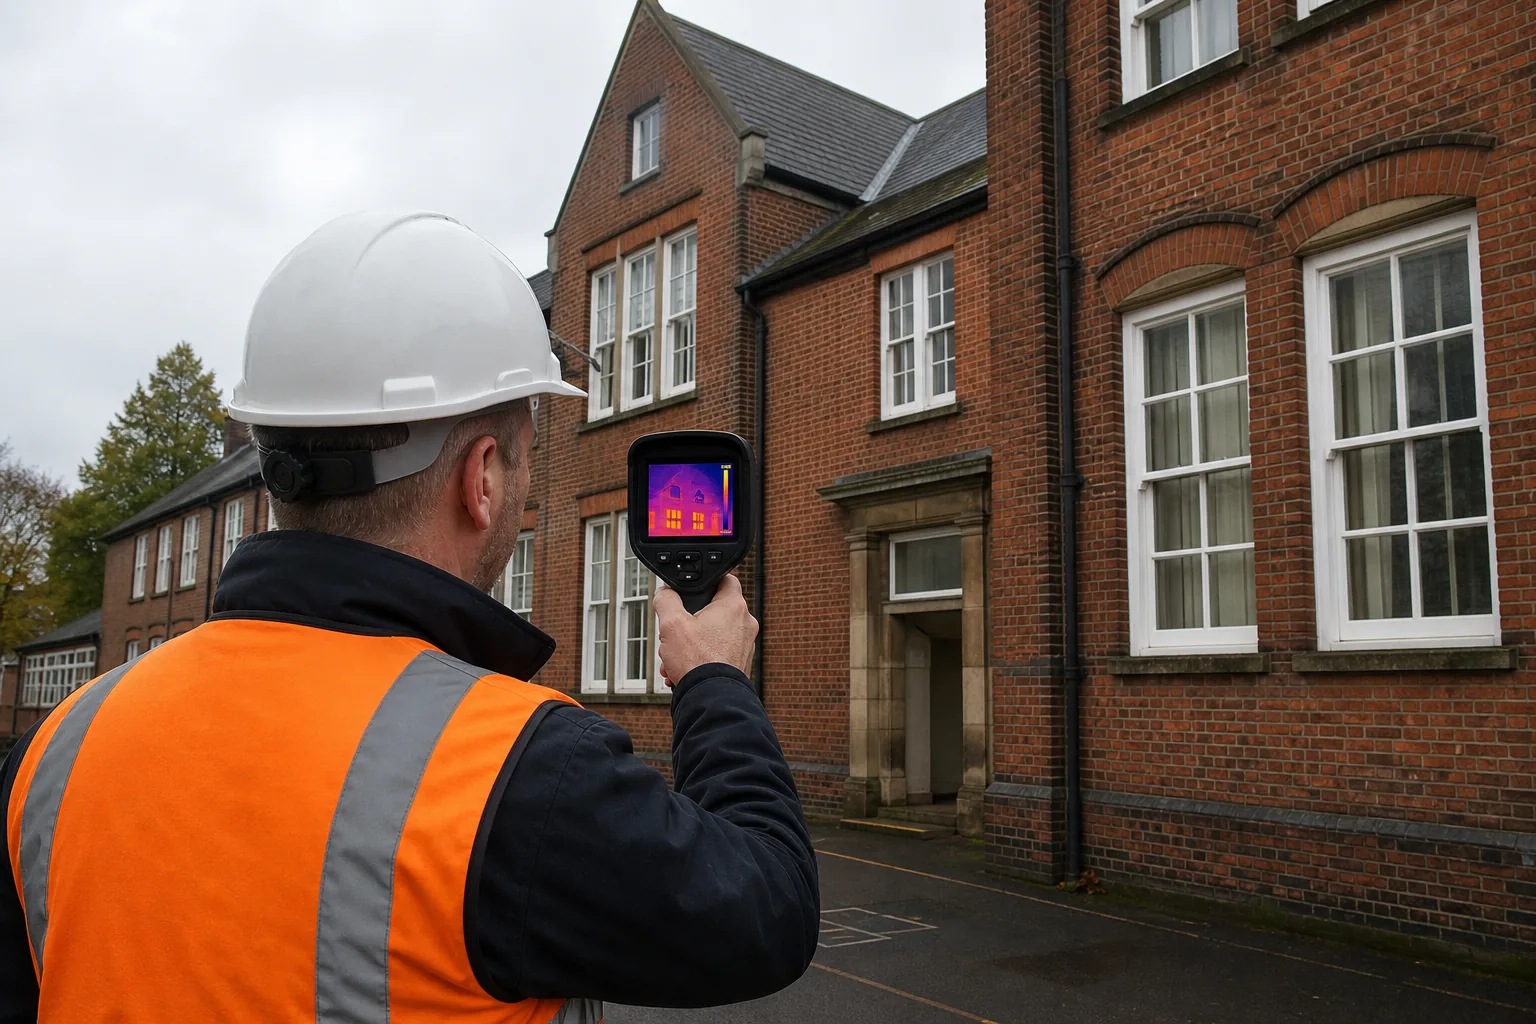
A thermal image can show where a building is losing heat, but it can’t explain the cause on its own. A sound building fabric performance thermal survey combines infrared evidence with plans, weather records, visual checks and site knowledge. Follow these five steps to produce findings your estates team can act on.
Step 1: Define the Survey Objective and Building Risk
Start by deciding what the building fabric performance thermal survey must prove. A school may need evidence of cold rooms and failed insulation. An NHS estate may need to rank roof, wall and window defects before a capital works plan. A housing association may be checking suspected failed cavity insulation.
Write the question in plain terms. For example: “Which parts of this block lose heat, and which defects should we fix first?” That question sets the survey scope. It also stops the team treating every bright or dark patch as a defect.
Collect the basic building record before anyone visits:
- Building age, construction type and refurbishment history.
- Floor plans, elevations and roof plans.
- Known damp, mould, condensation or comfort complaints.
- Heating patterns, occupancy times and recent energy work.
- Access limits, safeguarding needs and site health and safety rules.
Split the building into risk zones. A solid wall with external wall insulation needs a different reading approach from a cavity wall. A flat roof needs checks for moisture and insulation voids. A parapet, window reveal or slab edge may form a cold bridge, which is a point where heat escapes faster than through the surrounding fabric.
We also check what evidence the client needs at the end. Visual Perspectives Limited records thermal and visible images, moisture maps and actions in its survey reports. Its published method also states the camera specification and weather limits, which helps an estates team judge whether the evidence is fit for its decision.
For a wider look at how heat loss findings feed into retrofit work, use our building envelope thermal imaging practices as a planning reference.
Step 2: Prepare the Building and Select Suitable Survey Conditions
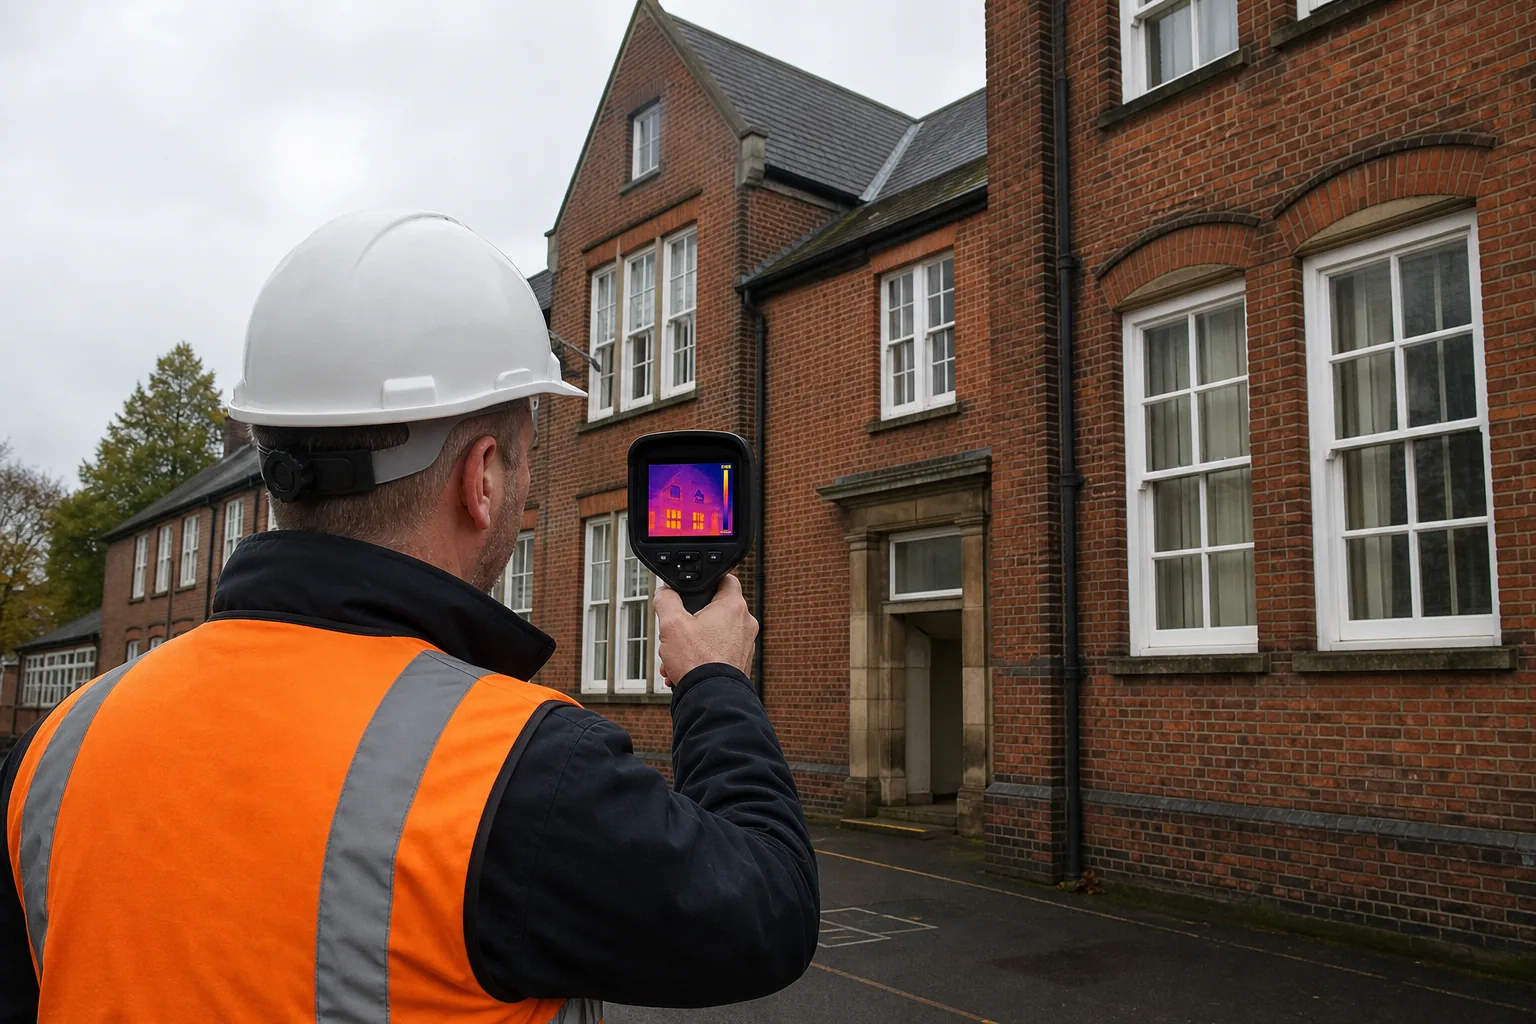
Survey conditions can make or break a building fabric performance thermal survey. Thermal cameras measure surface temperature differences. They don’t see heat loss as a simple coloured overlay, so the building needs a useful temperature contrast.
As a working guide, plan for at least a 10°C difference between indoor and outdoor air temperature where the building and survey method allow it. Cold weather often gives clearer results. Night work or heavy cloud can also reduce solar gain, which may heat one wall and create a false pattern.
Before the visit, ask the building team to keep normal heating systems running for long enough to establish a stable pattern. Record unusual conditions. A recently empty school, a plant room shut-down or a ward with open windows can change the image.
Check the forecast rather than relying on a calendar date. Rain can cool surfaces and hide moisture patterns. Strong wind can alter surface temperatures and make air leakage harder to read. Visual Perspectives Limited documents weather dependence, a wind limit of 4 Beaufort and the need for stable temperature during its drone-based work.
External surveys are useful for façades, roofs and hard-to-reach areas. Internal surveys can give more consistent results when wind, rain or solar gain makes outside readings uncertain. Use both views when the cause is important. A cold patch inside may match a missing insulation area outside, but the two images provide different evidence.
Tell occupants what will happen. Keep doors and windows in their normal state unless the survey plan says otherwise. Mark rooms with known complaints. Keep a site contact available to explain heating zones and recent repairs.
Thermography works best as part of a wider building check. It can sit alongside air-tightness testing and thermal bridge calculations, but it doesn’t replace either one. The survey conditions and the chosen scope should be written into the brief before mobilisation. Guidance on the physical basis of infrared surveys is also set out in this building envelope thermal assessment guide.
Step 3: Capture Thermal and Building Fabric Evidence
Capture enough detail to locate each anomaly later. A building fabric performance thermal survey should leave the project team able to find the same wall, roof bay or window months after the visit.
Set a repeatable route. Start with an external overview, then move through each elevation and roof zone. Keep the camera angle as close to square with the surface as access allows. Oblique views can make a small defect look larger or hide a narrow thermal bridge.
For every thermal image, capture a matching visible image. Record the location, direction of view and building element. Use a room number, elevation reference or roof grid rather than a vague note such as “rear wall”.
Look for patterns, not colour alone. Useful signs may include:
- A continuous cold line at a floor slab or wall junction.
- Repeated cold rectangles that match missing insulation or poorly filled cavities.
- Warm or cool patches around windows that suggest air leakage or frame defects.
- Irregular roof areas that need moisture checks or closer inspection.
- Temperature changes around vents, doors and service penetrations.
Use a calibrated camera and record the settings that affect interpretation. Emissivity, reflected temperature, distance and focus all matter. Shiny metal, wet surfaces and glass can reflect surrounding heat, so they need careful handling. A thermal image is evidence of a surface condition at a point in time. It isn’t a direct map of insulation thickness.
For roofs and façades, a drone survey can reduce the need for extensive access equipment. It can capture hard-to-reach areas quickly, precisely and in detail, while keeping people away from fragile roof zones. The pilot still needs to plan airspace, site control and weather limits. A drone does not remove the need for close inspection where the image points to a defect.
Visual Perspectives Limited uses an industrial drone platform with thermal imaging. Its published information states a minimum image resolution of 160 by 120 pixels and NETD below 50 mK. Those details give the client something measurable when comparing survey proposals, rather than relying on broad claims about advanced imaging.
Save original files. Do not rely only on screenshots placed in a report. Keep the image record with the survey date, location and conditions. That makes later validation much easier.
Step 4: Interpret Thermal Anomalies and Verify Their Cause
Interpretation is where a building fabric performance thermal survey becomes useful. Treat every anomaly as a question, not a diagnosis.
First, compare the thermal image with the visible image and the building plan. Then ask whether the pattern matches the construction. A straight vertical line may follow a column or wall junction. A patch beside a downpipe may relate to dampness. A warm area near a plant room may be expected heat rather than wasted energy.
Check for common false readings:
- Sunlight or reflected heat on a façade.
- Wet masonry after rain.
- Glass and metal reflecting the sky or nearby surfaces.
- Air movement caused by open windows or mechanical ventilation.
- Different finishes with different surface properties.
Use a second source of evidence before assigning a repair. A cold wall pattern might suggest missing insulation, but intrusive inspection or cavity investigation may be needed to confirm it. A damp-looking roof area may need moisture measurement. A cold window edge may point to a frame issue, a seal failure or a normal thermal bridge.
We classify findings by confidence. High-confidence findings have a clear pattern, a sound image and a matching visible or site observation. Medium-confidence findings need a targeted follow-up. Low-confidence findings remain observations until better conditions or another test provides proof.
The wording matters. “Possible insulation discontinuity at the north elevation” is safer than “failed insulation” when the survey did not verify the cavity. The report should state what the image shows, what it may mean and what action would confirm it.
Visual Perspectives Limited publishes building thermography work that includes moisture detection and actionable interpretation. Its approach also records operational limits, which is important because a survey completed in poor weather should not carry the same weight as one completed under stable conditions. The thermal imaging survey resource gives further context on survey evidence and reporting.
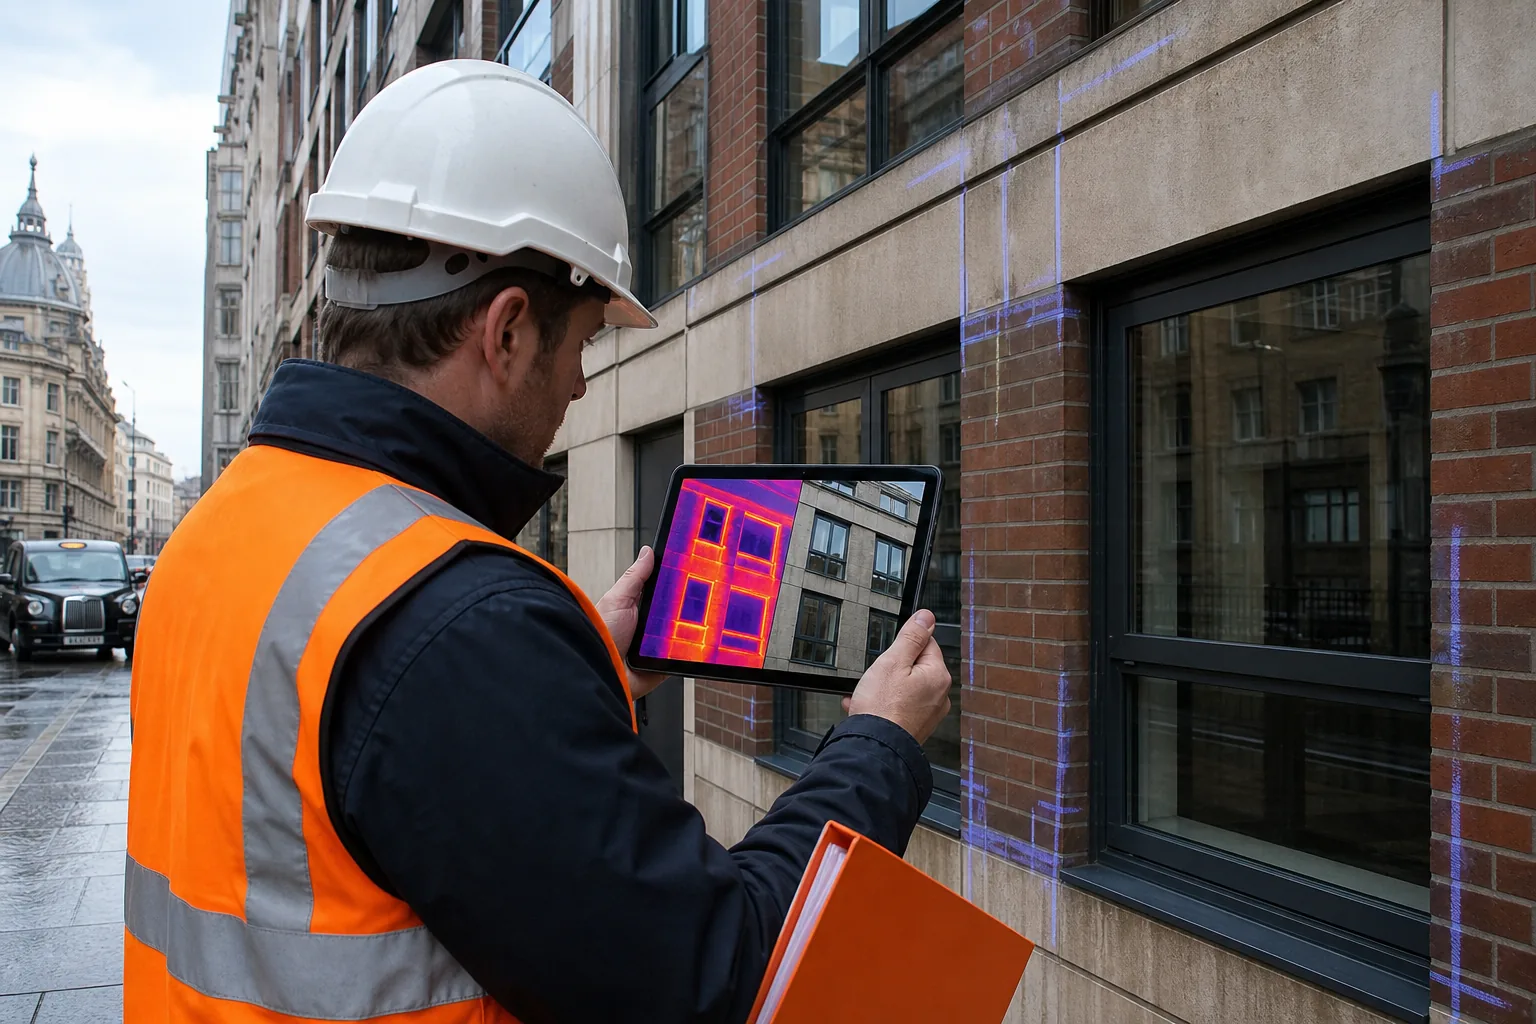
When a finding could affect safety, moisture or a major retrofit choice, arrange a focused follow-up. Thermal imaging helps you see what the naked eye can’t see, but good decisions still need building knowledge and verification.
Step 5: Report Findings and Prioritise Decarbonisation Work
The final report should help an asset manager decide what happens next. A gallery of thermal images is not enough. Each finding needs a location, explanation, confidence level and suggested action.
Use a consistent record for each issue:
- Reference number and exact building location.
- Visible image beside the thermal image.
- Surface conditions and survey limitations.
- Likely cause, stated with the right level of certainty.
- Recommended next check or repair.
- Priority based on risk, impact and ease of intervention.
Rank work in a way that fits the estate plan. A roof defect that threatens water ingress may need action before a less severe cold bridge. A repeated insulation issue across several schools may deserve a programme approach. A single complaint in an occupied care setting may need a quick room-level check before a wider retrofit decision.
Separate fabric work from systems work. Heating controls may affect comfort, but they won’t fix missing wall insulation. Likewise, insulation work can fail if moisture or ventilation risks remain unresolved. This is the building-fabric-first principle in plain terms: deal with the envelope problem before sizing or tuning new plant around bad assumptions.
For public-sector estates preparing decarbonisation plans, map findings against capital projects. Mark which issues need a surveyor, moisture specialist, airtightness test or intrusive opening. Include access requirements and likely disruption. That turns thermal evidence into a work package instead of a long defect list.
Independent evidence has value during funding reviews and contractor handoffs. Visual Perspectives Limited is independent of installers and works across education, healthcare, housing, commercial property and government estates. We provide drone roof inspections, building thermography and heat-loss evidence so project teams can test assumptions before committing to retrofit work.
Keep the raw files and report together in the asset record. Revisit priority areas after repairs under similar conditions. A repeat image can show whether the action changed the thermal pattern, although it should not be treated as a full performance test unless the survey brief supports that conclusion.
FAQ
What is a building fabric performance thermal survey?
A building fabric performance thermal survey uses infrared images to find surface temperature patterns linked to heat loss, cold bridges, insulation gaps, air leakage or moisture risk. It works best with visible photographs, building records and site checks. The result should explain what each anomaly may mean and what evidence is needed before repair.
What weather is best for a thermal building survey?
Stable conditions with a clear indoor and outdoor temperature difference are best for a thermal building survey. Cold weather often improves contrast, while night or overcast work reduces solar gain. Rain and strong wind can distort readings. The report should record these limits so decision makers understand how much confidence to place in each image.
Can thermal imaging prove that insulation has failed?
Thermal imaging can indicate a likely insulation problem, but it cannot always prove failure on its own. A cold pattern may also come from moisture, air movement, a junction or a surface finish. Confirm important findings with plans, moisture checks, air-tightness testing or targeted inspection before specifying remedial work.
Are drone thermal surveys suitable for public buildings?
Drone thermal surveys suit public buildings when roof or façade access is difficult and the survey team can control the site safely. They can cover large elevations without placing staff on fragile roofs. A qualified operator still needs to manage weather, airspace, people and image quality. Internal checks may be needed to confirm the cause.
What should a thermal survey report include?
A thermal survey report should include paired thermal and visible images, exact locations, survey conditions, likely causes, confidence levels and recommended follow-up actions. It should also state limitations. Ask for original image files where possible. That gives your surveyor or project team a stronger record for maintenance, funding and retrofit decisions.
Conclusion
Plan the survey around a decision, collect evidence under suitable conditions and verify anomalies before specifying work. For UK estates that need independent building thermography, Visual Perspectives Limited can provide a quickly, precise, and detailed assessment across roofs, façades and internal spaces. Start by listing your highest-risk buildings and the evidence each project needs, then request a survey scope that matches those decisions.