A roof defect can stay hidden until water reaches a room, stock area or piece of equipment. A well-planned commercial roof survey helps you spot signs of trouble earlier and decide what needs attention first. Start with the building records, set a clear scope, then match each inspection method to the question you need answered.
We analyzed 53 comments from YouTube and Reddit about commercial roof surveys and found that 42% mentioned drone safety and operation methods.
Step 1: Define the survey scope and gather building records
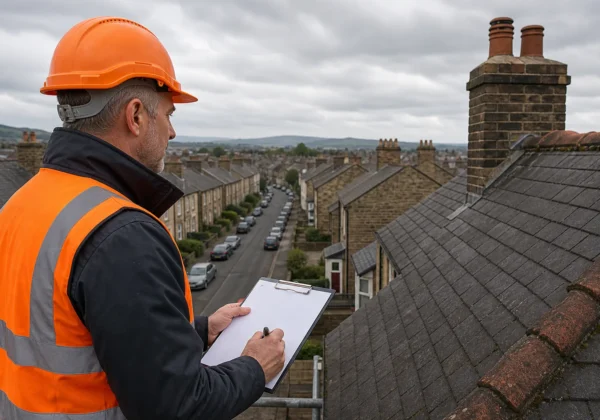
Begin by writing down why you need the survey. You may be planning routine maintenance, checking a roof before a building purchase, investigating a leak, or preparing for a refurbishment. Each aim calls for a different level of inspection and a different report.
Set clear limits. Record which roofs and roof zones are in scope, along with any plant areas, rooflights, drainage points or internal spaces to check. For an estate with several buildings, name each site and agree how findings should be grouped. This prevents a useful observation from being filed under the wrong asset.
Gather records before booking site work. Useful items include previous inspection reports, repair records, roof plans and details of known leaks. Add the roof type and any known access limits. For a planned purchase, review the building information alongside the survey scope, as explained in this overview of commercial roof inspections.
Agree the questions the survey must answer. Do you need a surface condition record, a check of suspected moisture, or evidence to support a maintenance budget? If the roof has a known leak, mark the affected rooms and the dates when water appeared. That gives the inspector a useful trail to follow.
Also set out what you expect to receive. A report should identify each finding by location and show the evidence behind it. Ask for a clear note where an area could not be inspected. That distinction helps an asset manager tell the difference between a confirmed defect and a gap in access.
For public estates, plan around the building’s use. A school may need work outside teaching hours. A healthcare site may need controls around active wards or plant rooms. Scope those needs early, and the inspection team can plan access with the site lead.
Step 2: Choose safe and suitable inspection methods
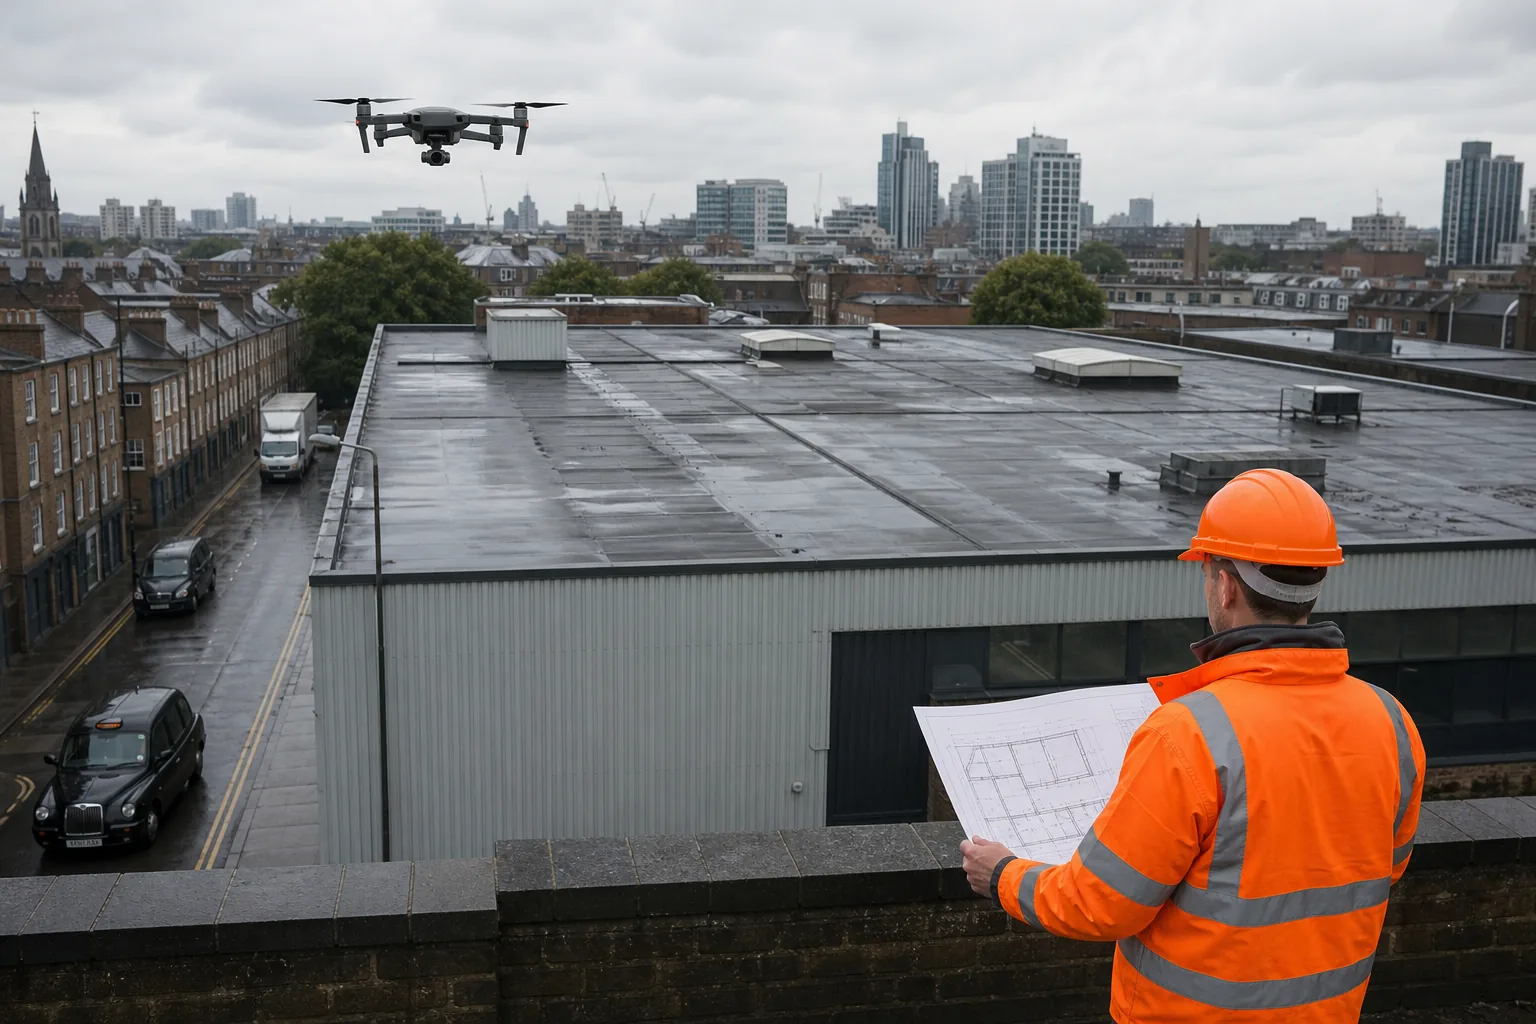
Choose an inspection method that fits the roof, the risks and the evidence you need. A ground-level review can help spot visible damage or blocked drainage. Binoculars and pole cameras can provide closer views from a safer position. A drone can capture roof areas that are hard to reach, without sending an inspector onto every surface.
Access isn’t a detail to leave until the day. Check the building’s access points, the roof’s condition and the hazards around it. Wet surfaces, fragile rooflights, exposed edges and nearby operations can change what is safe. The site lead should also confirm access rules and any areas that must remain clear.
Use a risk assessment to decide whether a close-up inspection is suitable, or whether remote imagery is the safer first step.
A drone survey is useful when you need an overview of a large or hard-to-access roof. High-resolution visual images can show surface damage, open joints, standing water or debris. Thermal imaging adds a different view by recording surface temperature patterns. It can help flag areas for closer investigation, but it does not prove the cause of an anomaly on its own.
Some questions need hands-on testing. A visual or aerial survey won’t establish the strength of a roof deck or confirm every layer beneath a membrane. If the scope needs core samples, insulation checks or structural advice, name those tasks in advance and assign them to suitably qualified people.
Visual Perspectives Limited provides managed drone-based aerial inspections across the UK. We use visual and thermal imaging equipment for roof and building inspections. Our approach is to choose access methods that give you useful evidence while keeping the inspection plan in line with site risks.
Before site work starts, agree who can pause or change the inspection if conditions shift. Bad weather, a new hazard or a change in site activity may mean the planned method no longer fits. That is a sensible control, not a failed survey.
Step 3: Inspect the roof systematically and record observations
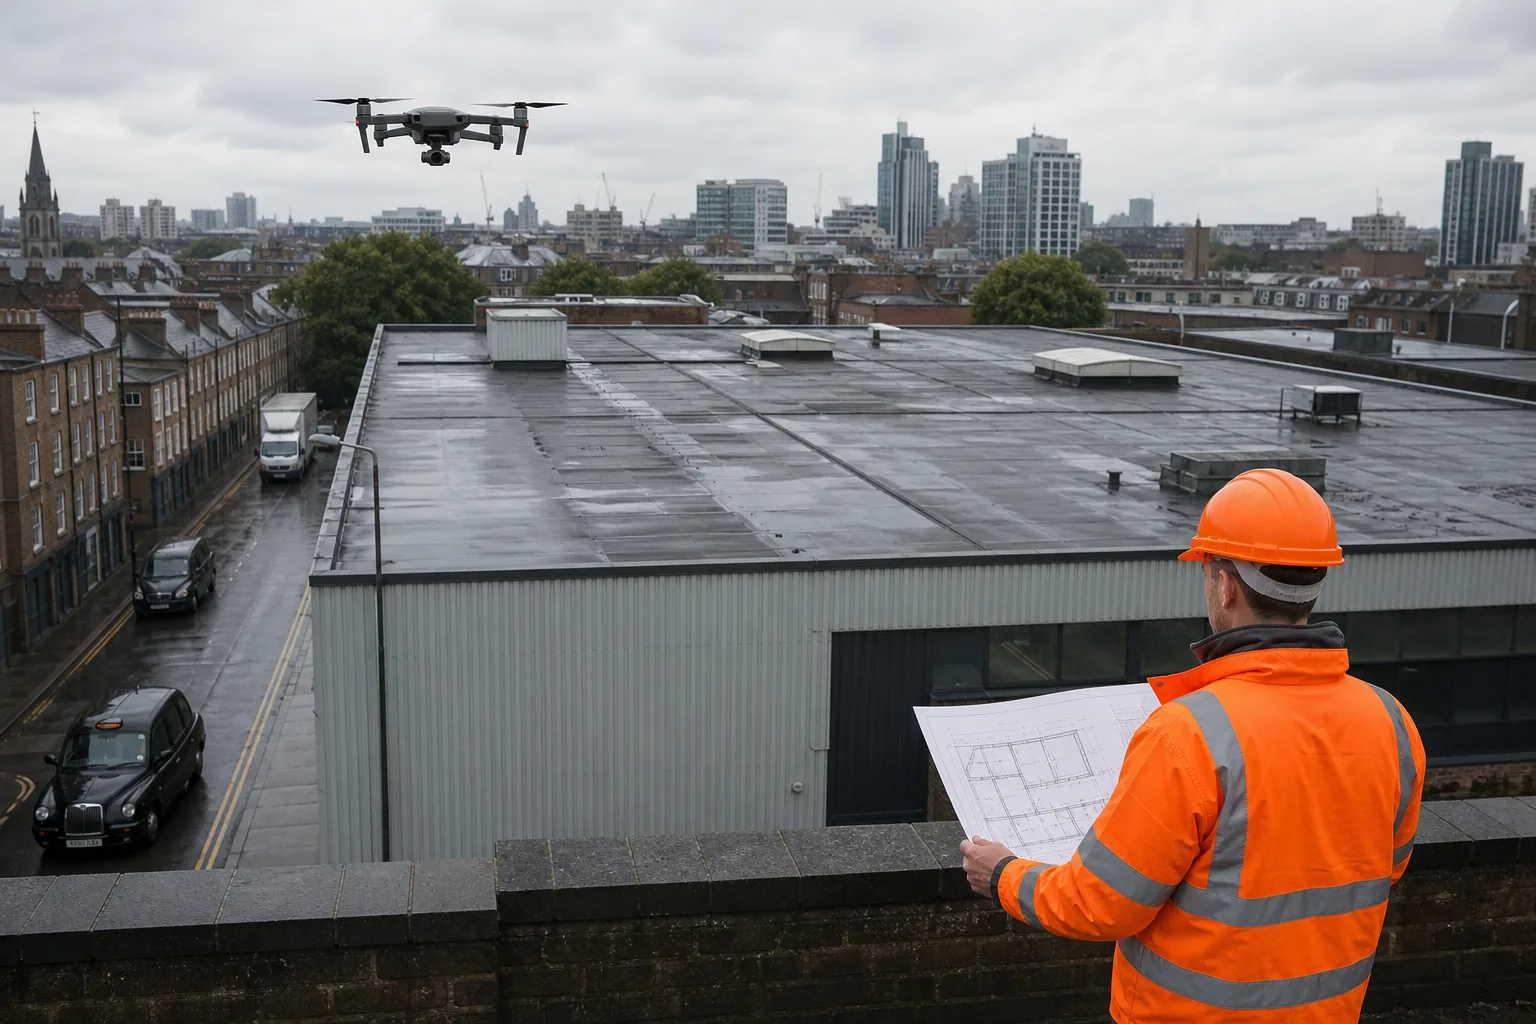
Use a planned route so each roof zone gets checked and recorded. A whole-roof image is a useful overview, but it doesn’t replace close views of details where defects often appear. Work through the roof in sections and keep the same location labels in your notes and report.
For each zone, record the visible condition of the roof covering, seams and flashings. Note rooflights, vents and other penetrations, as well as nearby plant or supports. Check drainage points and gutters where access permits. Standing water or debris should be described by location, not just noted as a general roof issue.
Give every observation a clear record. Include a reference image, a roof-zone label and a short description of what you can see. If you take measurements, state what they refer to. A note such as ‘open seam beside rooflight in Zone B’ is easier to act on than ‘seam defect on roof’.
Separate what you observed from what you think it means. A mark on a ceiling may be consistent with water entry, but it doesn’t by itself show where the water got in. State the evidence first, then flag any cause that needs further checks.
For a large site, keep a consistent naming system across buildings. Agree labels before inspection, such as building number and roof zone, then use them in every image and note. This helps a facilities team compare findings with plans and maintenance records after the survey.
We use drone imagery where it suits the scope, alongside other inspection methods where needed. Visual Perspectives Limited describes its building inspection work and imaging equipment on its official website. Whatever method you choose, ask how each image or observation will be linked to a location in the final report.
Think about who will use the report next. A surveyor may need clear evidence for a further inspection. A facilities manager may need to raise a repair job. An asset manager may need to compare work across several buildings. Recording a location and a specific observation makes each handoff clearer.
At this stage, aim for a traceable record rather than a long list of unranked comments. The survey should let another person find the area and understand why it was flagged.
Step 4: Investigate suspected moisture and thermal anomalies
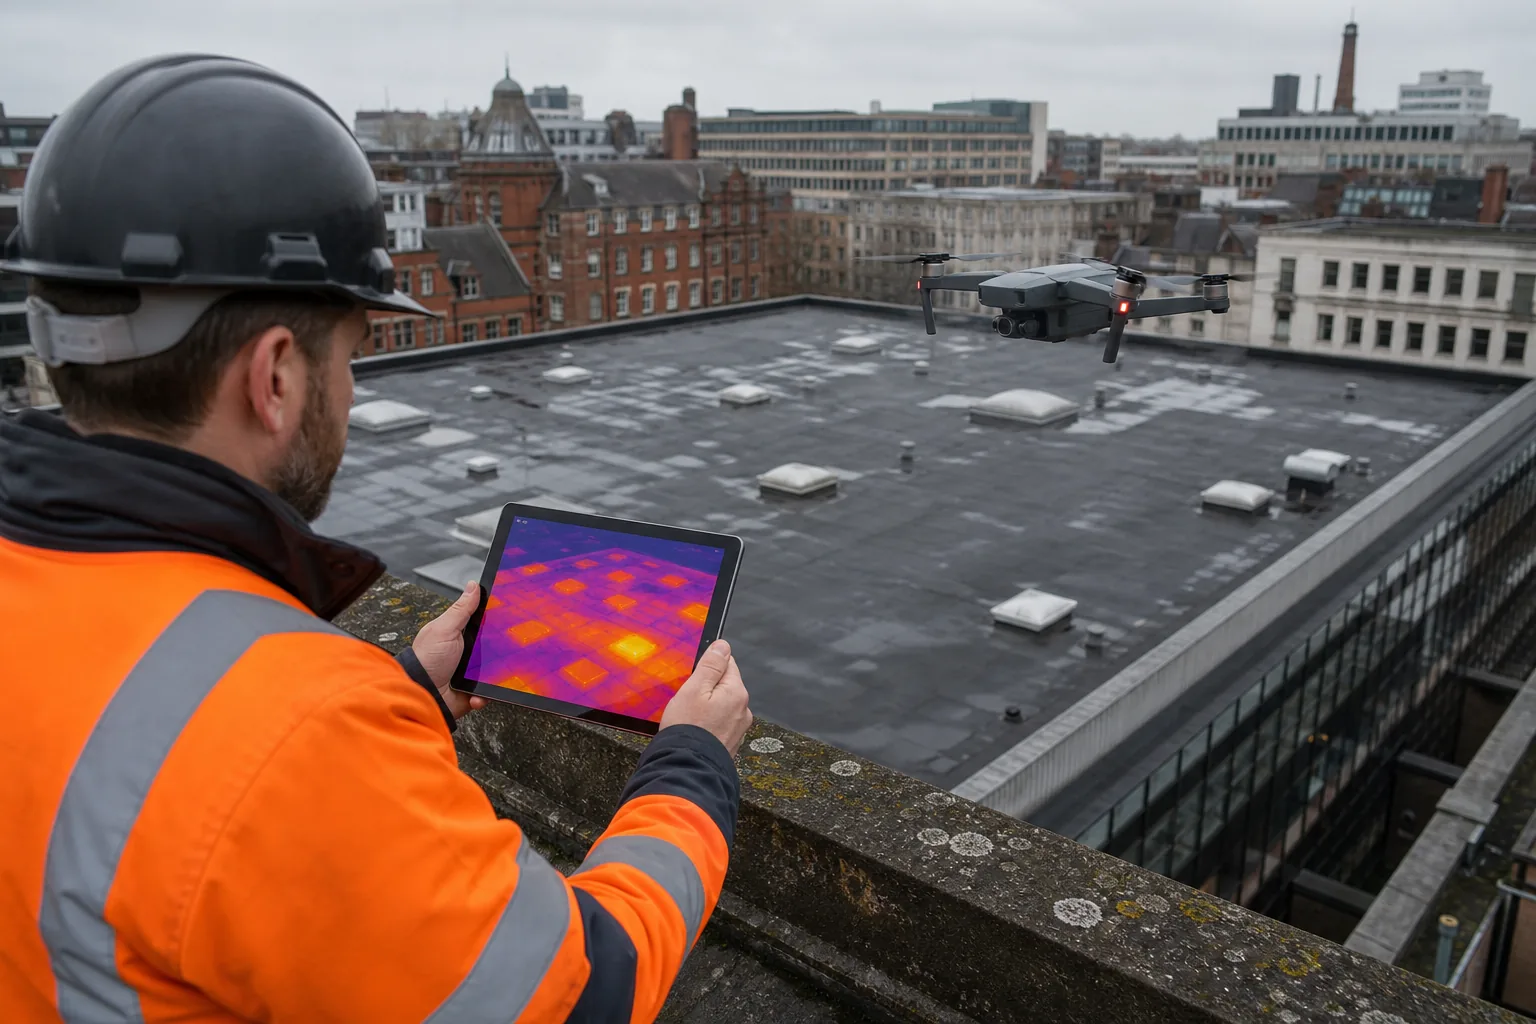
Use thermal imaging to identify patterns that deserve a closer look. The camera records differences in surface temperature. On a roof, an unusual pattern may point to a change in moisture or insulation performance, but other factors can also affect the reading.
Thermal images need context. Record the inspection conditions and note features that may affect the surface, such as shade, plant or recent weather. Compare the thermal view with a standard image of the same place. That makes it easier to see whether the pattern aligns with a roof detail or an area of visible damage.
Don’t label every temperature change as a leak. Treat an anomaly as a lead to investigate. A follow-up might include a closer visual check, an internal inspection, a moisture reading or a carefully planned sample. Choose the next test based on the location and the question, and get the right permissions before any opening-up work.
Moisture mapping can help show where further checks may be useful. But a map is only as helpful as its location references and interpretation. Ask the surveyor to explain which areas need confirmation, what method could confirm them, and whether the test could disturb the roof covering.
Thermography can also support heat-loss investigations. In that case, keep the question clear: are you looking for a roof defect, a possible insulation issue, or wider building heat loss? The answer affects how you interpret the images and what other building data may be needed.
For solar PV equipment, a separate thermographic inspection may be relevant to the scope. Visual Perspectives Limited carries out solar PV thermographic inspections with reporting aligned to IEC 62446 standards. Keep that work distinct from the roof condition assessment: the roof still needs its own findings and recommendations.
Record the anomaly, the evidence and the next check as separate points. This avoids a suspected issue being treated as a confirmed defect in a maintenance plan.
Step 5: Turn survey evidence into prioritised actions
A survey report should help you decide what to do next. Ask for a concise summary of the main findings, followed by evidence and a location for each item. The report should state whether the finding is confirmed, suspected or needs more investigation.
Group actions by urgency and purpose. An active leak or immediate safety concern needs a different response from a defect to monitor. A suspected issue that needs testing should have a named next step. Avoid a single priority score without an explanation, since different teams may use that score in different ways.
Ask for budget guidance that is tied to each recommended action. If the report includes a cost estimate, make sure it identifies the item and the work assumed. Treat an estimate as a planning aid, not a contractor’s fixed price. Where a recommendation needs a specialist assessment, make that handoff clear.
For estates teams, convert each action into a maintenance task with an owner and a review date. Link it to the relevant building and roof zone. If you use an asset register, check that the report’s labels match its records. That small step can save time when staff review work across a portfolio.
A commercial roof survey can also support longer-term investment planning. Compare the condition evidence with planned refurbishment dates and the consequences of delay. For example, a school estate may need to align roof works with holiday access, while a healthcare building may need a phased plan to protect ongoing services.
Visual Perspectives Limited’s drone-based surveys can include high-resolution imagery, thermal maps and 3D mapping, depending on the agreed scope. We describe our survey delivery as “quickly, precise, and detailed”, but the report still needs to answer your stated questions. Check that the handover format works for the people who’ll manage the actions.
For a closer look at how aerial inspection fits into a project, our guide to planning a roof survey by drone covers survey planning and the inspection workflow. Use the same discipline here: each finding should lead to a clear decision, a further check or a recorded reason to monitor it.
Set a review point after repairs or further tests. Close the action only when someone has checked the result and updated the building record. That leaves the next surveyor with a more useful history.
Commercial roof survey: frequently asked questions
How often should a commercial roof be surveyed?
Set the survey interval around the roof’s age, condition, past defects and exposure to weather. There isn’t one interval that fits every building. Review the plan after a leak, severe weather, major roof work or a change in rooftop equipment. For a property portfolio, record why each roof has its own review date.
What does a commercial roof survey include?
A survey can include a visual inspection, photographs and a condition assessment. The scope may also cover drainage, flashings, rooflights, plant and areas linked to a reported leak. Thermal imaging or moisture checks may be added when there’s a clear reason to investigate hidden issues. Agree the methods and report outputs before the survey begins.
Can a drone survey replace a roof surveyor?
No. A drone can capture useful views of hard-to-reach roof areas, but it doesn’t answer every question about the roof. Some inspections need hands-on checks, internal access, moisture testing or structural advice. Choose the method that fits the risk and the evidence required, then state any limits in the report.
Can thermal imaging confirm a roof leak?
No. Thermal imaging can show temperature patterns that may point to moisture or another change, but it cannot confirm a leak on its own. Compare thermal images with visual records and use further checks where needed. The report should separate observed patterns from confirmed defects and explain what test could resolve any uncertainty.
What should I ask a roof surveyor before booking?
Ask what areas and roof features are included, which access methods they plan to use and how they’ll manage site risks. Confirm what the report will contain, how findings will be located and whether suspected issues need follow-up tests. You can also ask about relevant experience, insurance, drone permissions where applicable and how the team handles restricted areas.
Conclusion
Plan the survey around a clear decision, not a general wish to inspect the roof. Set the scope, agree safe access and ask for findings that lead to named actions. If you’re preparing an inspection across a UK estate, Visual Perspectives Limited can help you define the survey requirements and select suitable drone or thermal imaging methods.