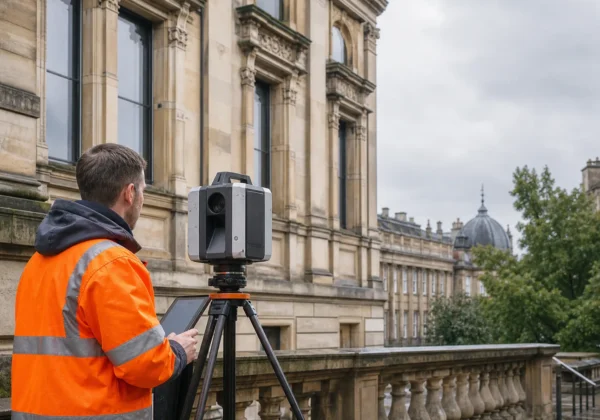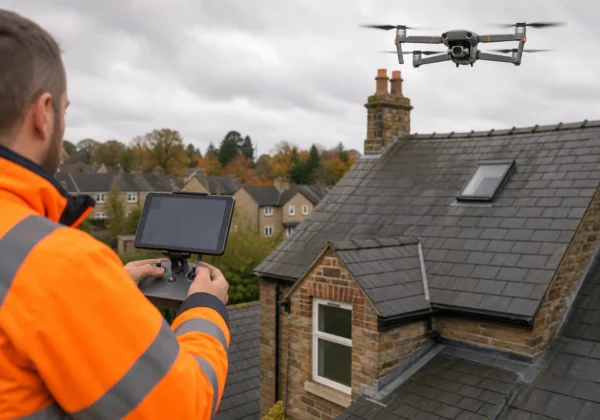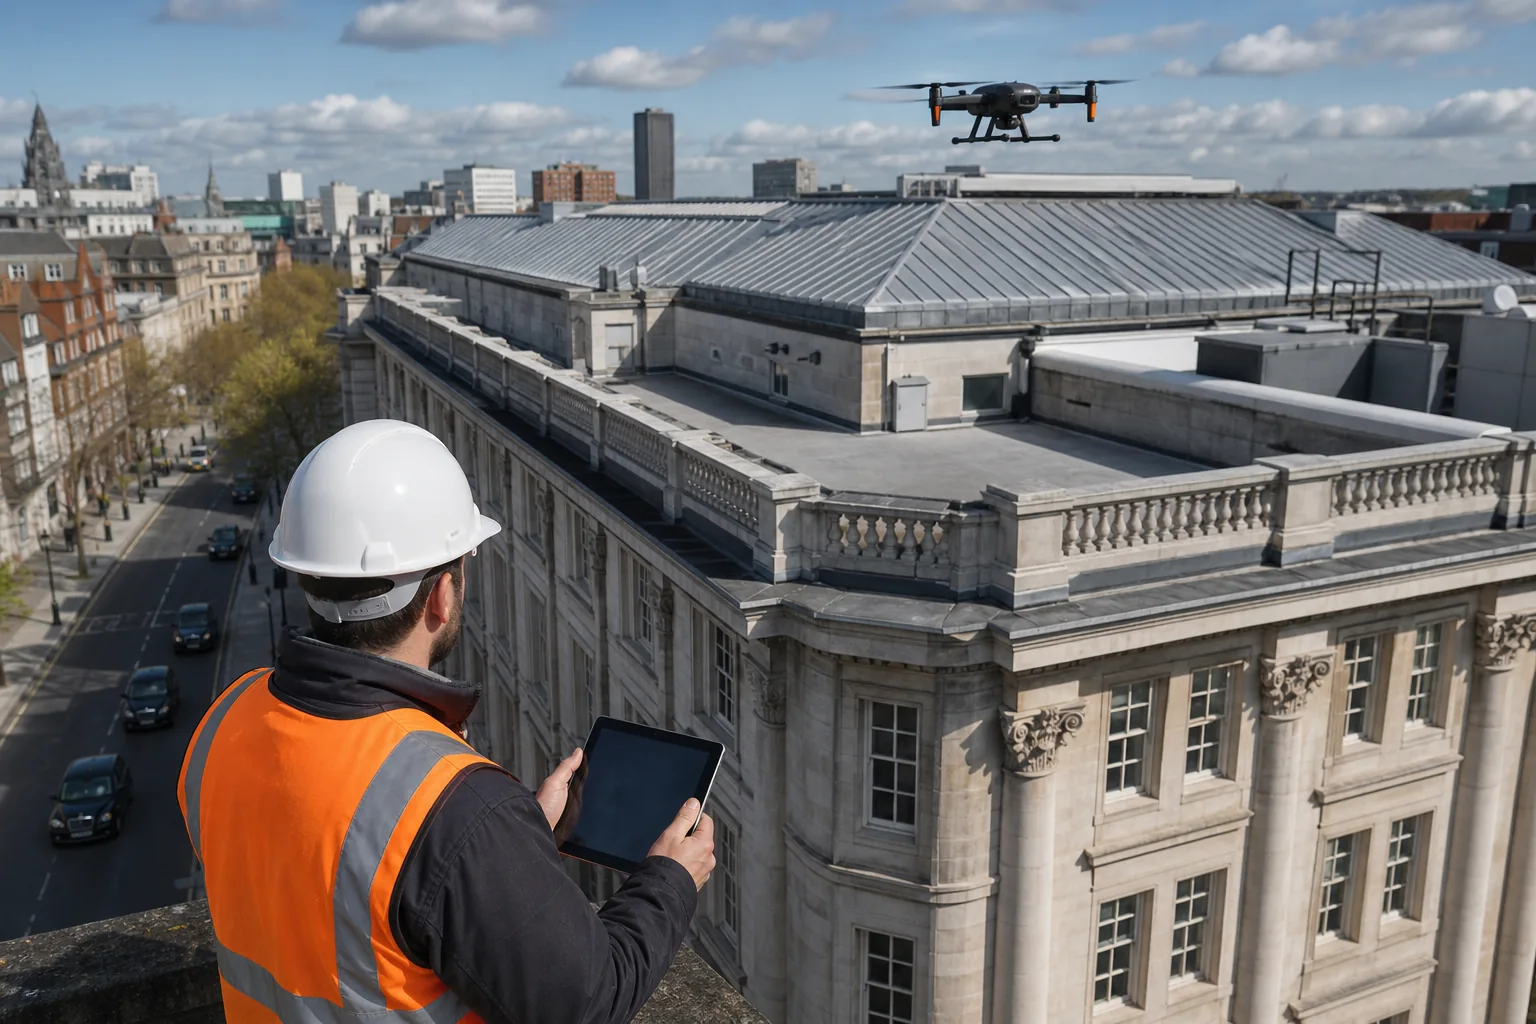
A drone survey can show roof and façade defects without putting people on fragile surfaces or hiring access equipment first. But good results depend on the brief, the flight plan and the report that follows. Use these five steps to plan a survey that gives your property team evidence it can act on.
Step 1: Define the inspection objective and building scope
Start with the decision you need the drone survey to support. A roof inspection for planned maintenance needs a different output from a heat loss survey for decarbonisation work.
Write the brief in plain terms. State the building address, roof type, façade elevations and the reason for the inspection. Then list the questions the survey must answer:
- Are there damaged roof coverings, failed flashings or blocked outlets?
- Where are cracks, open joints or loose façade elements?
- Does standing water point to a drainage or roof fall problem?
- Are there thermal patterns that need ground checks?
- Do you need measured data for a BIM model, design team or asset register?
Define the survey boundary as well. Include plant rooms, parapets, rooflights, gutters, service penetrations and hard-to-see elevations. If the building sits within a wider estate, mark each block separately. This stops a provider from pricing one building while your team expects coverage across several.
Choose the output before you choose the aircraft. A visual inspection may need high-resolution stills with defect locations. A mapping project may need an orthomosaic, which is a stitched aerial map, or a point cloud for measured coordination. A façade review may need oblique images rather than downward roof photos.
Visual Perspectives Limited combines managed aerial capture with high-resolution 3D mapping, orthomosaics and thermal imaging. We can shape the scope around a roof condition record, building envelope review or wider estate plan. Our commercial drone roof survey guidance explains how the brief affects the flight and final report.
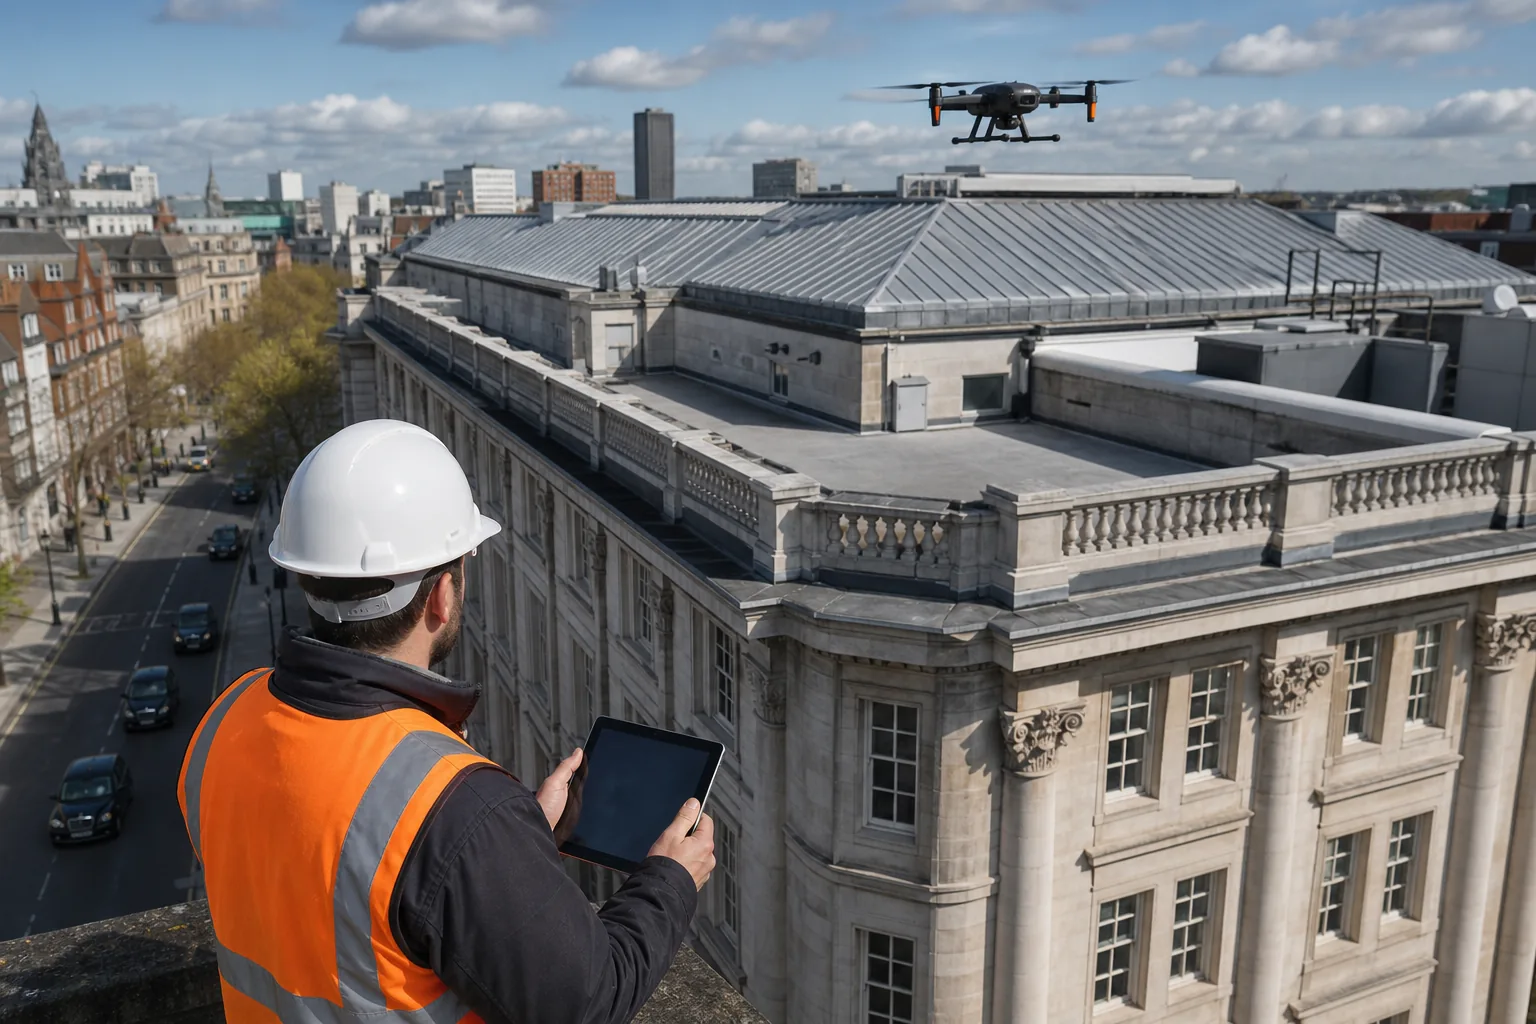
Give the provider existing drawings if you have them. Add roof plans, access notes, known leaks and past repair records. These details help the survey team compare visible defects with the building’s history instead of treating every mark as a new failure.
Step 2: Check UK aviation permissions, site risks and survey conditions
A drone survey UK project must fit the site’s airspace, people and physical hazards. The operator should handle the flight planning, but you still need to supply site information early.
Ask for the operator’s current CAA details, insurance evidence and the risk assessment for the job. Core safety guidance includes keeping the aircraft in sight, checking the operating area and staying within height limits.
Tell the operator about nearby roads, schools, hospitals, railway lines, heliports and public footpaths. Mention roof access points, overhead cables, cranes, nesting birds and areas where staff or visitors may gather. A busy school estate needs a different control plan from an empty warehouse.
The site team should agree who controls the ground area. Decide how people will be warned, where the pilot will stand and which gates or roof zones must stay clear. Include a named site contact who can pause work if conditions change.
Weather affects both safety and data quality. Strong wind can make close façade work unsafe. Rain can reduce image quality and affect thermal readings. For thermal imaging, the survey team also needs a useful temperature difference between the building and outside air. The best timing depends on the defect being sought, the building’s heating pattern and the weather before capture.
Plan around building use. At an NHS estate, protect ambulance routes and patient privacy. At a school, avoid arrival and collection periods. At a council block, agree how residents will be told about the flight. The aircraft may be in the air for a short time, but the ground controls need careful thought.
Ask what happens if the flight cannot go ahead. A sound proposal should explain the weather window, rescheduling terms and any extra planning needed near controlled airspace. Do not treat a low quote as useful if the operator cannot show how the job will be flown safely.
Once the site risk review is complete, you should have a lawful flight plan, a clear ground control method and agreed weather conditions. You will be in good hands when those points are written down before mobilisation.
Step 3: Select the right drone survey and sensor method
The right drone survey method depends on what the building team needs to measure or diagnose. Do not add thermal imaging simply because it sounds useful.
Use high-resolution visible-light imaging for visible defects. It can record slipped materials, corrosion, failed sealant, cracks and damaged rainwater goods. Ask for image coverage that lets a surveyor locate each finding on the roof plan or elevation.
Use photogrammetry when you need geometry. The software joins overlapping photographs into an orthomosaic, elevation model or 3D model. These files can help a design team review difficult areas without returning to site. Point clouds provide dense spatial data for measured coordination, though they need a clear accuracy statement.
Use thermal imaging for temperature patterns, not as a stand-alone diagnosis. A thermal camera can show areas that are warmer or cooler than nearby surfaces. Those patterns may indicate moisture beneath a flat roof membrane, thermal bridging, missing insulation or air leakage. They still need interpretation against weather, surface finish and building use.
For a heat loss survey, agree the capture time and internal heating conditions. A façade image taken in strong sun may show solar gain rather than heat escaping from the building. Thermal data should be paired with visible images and a note of the survey conditions.
Visual Perspectives Limited uses high-resolution visual capture, 3D mapping and advanced thermal imaging where the brief calls for it. We explain what the naked eye can’t see, while keeping the report tied to the defect question. For commercial sites, our thermal drone survey method covers sensor choice, flight timing and reporting.
Set the file format at the start. Your team may need a PDF report, georeferenced imagery, a web viewer, CAD-ready data or a model that supports BIM coordination. Also agree who owns the raw files and how long the processed data will remain available.
Remember the limits. A drone sees surfaces and accessible visual evidence. It cannot confirm concealed structural capacity, prove the cause of every leak or replace an intrusive investigation where one is needed.
Step 4: Commission an independent UK inspection provider
Choose an inspection provider that can interpret building evidence, not only fly a drone. The best fit for a public sector estate understands the handoff between capture, survey review, repairs and capital planning.
Check the provider’s experience against your site type. A hospital, academy trust, housing portfolio or listed civic building may need different controls and reporting detail. Ask for a sample report with sensitive project information removed. You should see how defects are numbered, mapped and described.
Review the technical and compliance information in the proposal:
- CAA permissions and pilot competence relevant to the site.
- Public liability and professional indemnity cover.
- Named sensors, image resolution and any thermal measurement limits.
- Planned flight areas, exclusions and rescheduling conditions.
- Processing checks, accuracy statements and file formats.
- Who reviews the data and writes the recommendations.
Independence matters when the findings may affect a repair contract, insurance decision or retrofit budget. An operator linked to an installation or repair sale may have a different commercial interest from an independent inspection team. Ask how recommendations are separated from any later works.
Visual Perspectives Limited has provided commercial inspection work since 2013 and operates across the UK. We are independent of installers and support building surveyors, asset managers, facilities teams and public sector estates with quickly, precise, and detailed aerial evidence. Our work covers roof and façade defects, heat loss, building envelope problems and solar PV inspection where that forms part of the brief.
Get a written quote that separates capture from processing and reporting. A bespoke quote is often safer for a multi-site programme because roof area, access, sensor choice and file requirements can vary widely. It also lets procurement compare like with like instead of comparing a basic photo flight with a full diagnostic report.
Before appointment, agree the review process. Will a surveyor join a findings call? Can the provider add marked-up plans? Will urgent defects be flagged before the full report? These details affect how quickly your team can respond.
The proposal should leave no doubt about scope, responsibility or output. If it does not, pause before signing. You will be in good hands when the technical limits are as clear as the promised deliverables.
Step 5: Review the survey report and turn findings into an action plan
A drone survey report only earns its place when it changes what happens next. Review the evidence with the person who controls maintenance, risk and capital spend.
Start by checking the report basics. Confirm the site address, inspection date, weather notes and areas covered. Match the image references to the roof plan or elevation. Look for gaps around plant, rooflights, parapets and façade junctions.
Then test each finding against four questions:
- Where is the defect?
- What evidence supports it?
- What could happen if it remains?
- What inspection or repair should follow?
A thermal anomaly is a lead, not always a diagnosis. Compare it with the RGB image and the building record. A warm patch on a flat roof may justify moisture testing or a core sample. A repeated façade pattern near windows may point to thermal bridging or failed seals. The report should say when ground investigation is needed.
Sort findings by risk and time. A loose façade panel above a public route needs a different response from faded coating on a service roof. Use a simple action register with these fields:
- Defect reference and exact location.
- Risk to people, fabric or building use.
- Recommended next action.
- Owner and target date.
- Budget route and evidence still required.
For a portfolio, keep the same defect terms across every site. That lets asset managers compare roof condition and plan work packages. A 3D model can help teams review access and geometry. An orthomosaic can give contractors a shared visual record. A thermal report can guide intrusive checks or retrofit surveys.
Use the report in the maintenance meeting, not only in the project folder. Ask the provider to explain any uncertain finding. Good reporting states what was seen, what was inferred and what remains unconfirmed. The sample structure in this drone roof survey report shows why clear image references and defect schedules matter.
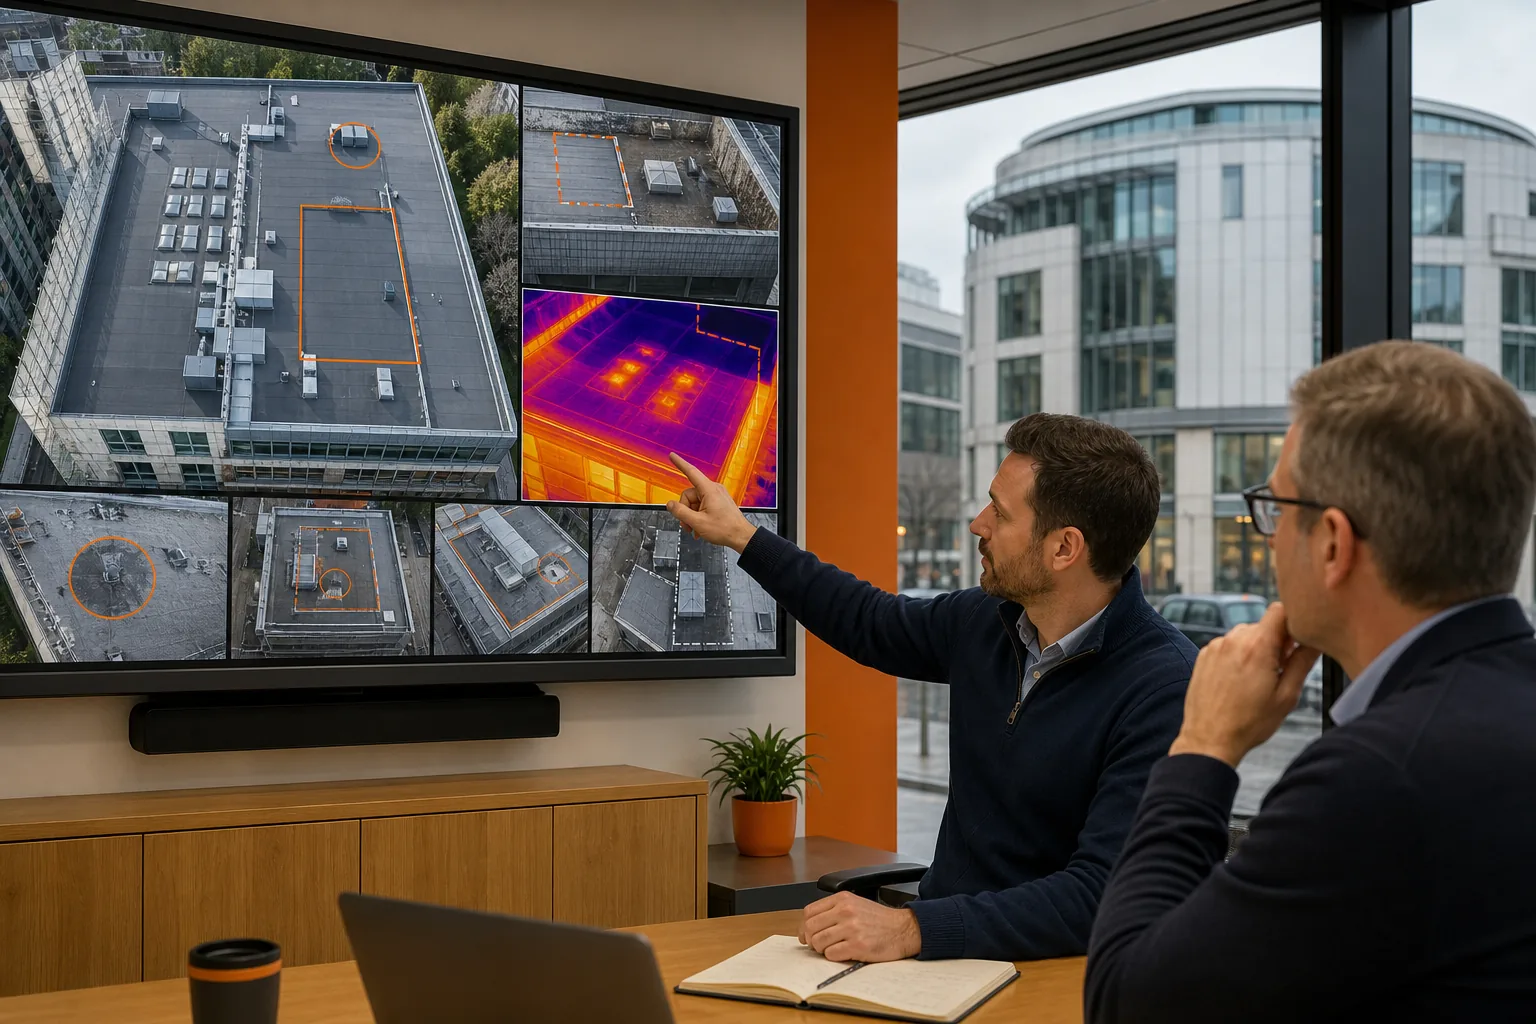
Do not promise energy savings from a thermal image alone. Use the findings to set the next measurement, such as moisture testing, air-tightness work or a wider heat loss survey. This keeps decarbonisation plans tied to evidence rather than guesswork.
Finish by setting a review date. Repeat capture can show whether a defect is stable or worsening, especially across a large estate. The action plan is the point where quickly, precise, and detailed data becomes a maintenance decision.
FAQ: Drone surveys across the UK
How much does a drone survey cost in the UK?
The cost depends on roof size, access, sensor choice and reporting detail. A basic visual flight costs less than a survey with thermal analysis, 3D mapping or measured outputs. Ask for a scope-based quote that separates capture from processing. That makes proposals easier to compare across a multi-building programme.
Do I need permission for a drone survey in the UK?
You need a suitable legal and safety basis for every commercial drone flight. The operator should check airspace, people, buildings and the aircraft category before the survey. Your site information still matters because local hazards may change the flight plan. Ask to see the relevant CAA permissions and risk controls before work starts.
Can a drone survey find roof leaks?
A drone survey can identify visible roof defects and thermal patterns linked with possible moisture. It cannot prove every leak from the air. Flat roof anomalies may need moisture testing, core sampling or an internal inspection. Treat the report as a way to locate and prioritise investigation, rather than a promise of a complete concealed diagnosis.
Can drone thermal imaging show heat loss?
Drone thermal imaging can show surface temperature differences that may point to heat loss, thermal bridging or insulation problems. The result depends on weather, heating conditions, surface material and camera settings. A qualified thermographer should interpret the images and state the limits. Thermal evidence works best when paired with visible imagery and follow-up checks.
Is a drone survey suitable for a school or NHS estate?
Yes, a drone survey can suit a school or NHS estate when the operator plans people, privacy, access and airspace risks. Schedule flights around busy movements and protect sensitive areas from unnecessary image capture. For several buildings, use the same defect terms and report format so the estate team can compare priorities.
Conclusion
Plan the inspection around the decision you need to make, then demand clear evidence for each recommended action. Visual Perspectives Limited provides independent drone, thermal and 3D inspection services across the UK for building owners, surveyors and public sector estates. Start by sending the site plan, building scope and required outputs, and we can help shape a survey that leaves your team in good hands.