A roof survey by drone is only useful when it answers a clear building question. A flight can capture high-level defects quickly, but poor planning may leave gaps in the evidence or confuse a surface mark with a serious failure.
Use the five steps below to define the scope, manage site risk, capture the right imagery and turn it into a report your team can act on. Visual Perspectives Limited provides independent drone-based roof and façade inspections across the UK.
Step 1: Define the Roof Survey Objectives
Start by writing down what you need the roof survey drone to establish. This keeps the flight focused and stops a large image set becoming an expensive folder of pictures.
Choose the main purpose first. It may be a planned condition check, storm damage review, leak investigation, refurbishment project or support for a decarbonisation plan. A school estate manager may need to know which roof areas need work before a funding bid. A building surveyor may need evidence for a condition report. An insurer may need a dated record after an event.
Then list the roof elements that need review. Include the covering, flashings, parapets, valleys, gutters, outlets, rooflights, plant zones and visible penetrations. Flat roofs need special care because ponding, open laps, blistering and trapped moisture may not show from one viewing angle.
Decide what the report must contain before the flight begins. Possible outputs include:
- Annotated still images linked to roof locations.
- A roof plan or high-resolution 3D model.
- Thermal images that show temperature patterns.
- A defect schedule with priority levels.
- Recommendations for repair, monitoring or closer inspection.
Be precise about what the survey cannot prove. Drone imagery can show cracked tiles, displaced sheets, damaged flashing or blocked drainage. It cannot normally confirm hidden timber decay, membrane adhesion, structural capacity or the exact route of water ingress without further investigation.
Visual Perspectives Limited can shape the scope around your asset plan, rather than treating every roof as the same job. Our Our Services | Thermography and Drone Inspection include high-resolution mapping, thermal imaging and building defect diagnostics.
For public-sector estates, state how the evidence will support the next decision. That might mean prioritising repairs, checking building fabric before retrofit or identifying areas that need intrusive inspection. By now, you should have a written survey question and a defined list of required outputs.
Step 2: Check Site Risks, Permissions and Survey Scope
A roof survey drone needs a safe operating plan before it reaches the site. Review the building, airspace and people around it. Do not treat a clear roof as a clear flight path.
Walk through the site plan with someone who knows the property. Mark launch and recovery points, public areas, access roads, neighbouring buildings and places where people may gather. Note overhead cables, trees, cranes, masts, roof plant and reflective surfaces. Schools, hospitals and occupied public buildings need extra care because people may move through the area during the survey.
Check the proposed operation against current UK drone rules. The requirements depend on the aircraft, the operation and where the flight takes place. Review current guidance for drone operations before confirming the method.
Also check whether the site sits near an airport, controlled airspace, a sensitive location or a temporary restriction. The flight team should confirm the required authorisations and operating limits. A competent operator will also set an exclusion zone and agree what happens if a member of the public enters it.
Privacy needs a place in the plan. An improved camera may capture windows, gardens, vehicles or people who have nothing to do with the inspection. Capture only the views needed for the roof. Limit access to the files, store them securely and set a retention period that matches the survey purpose.
Agree the survey boundary in writing. It should show which buildings, roof slopes and elevations are included. For a multi-block estate, label each block before the flight. This prevents a common handover problem where an image is clear but nobody can tell which roof it shows.
Confirm the reporting level and any added work at this stage. A simple visual record has a different scope from a commercial inspection with thermal imaging, 3D mapping, defect grading and repeat monitoring. Pricing varies with roof size, site complexity, travel, airspace, sensors and reporting time. A low-cost image-only flight should not be treated as equivalent to a building condition report.
For a larger estate, split the work into survey zones and set a clear naming system. This makes later comparison much easier. You’ll be in good hands when the operator can explain both the flight limits and the limits of the evidence.
Step 3: Plan the Flight and Capture the Right Evidence
The flight plan should match the survey question. A roof survey drone is a camera system in the air, not a substitute for inspection judgement.
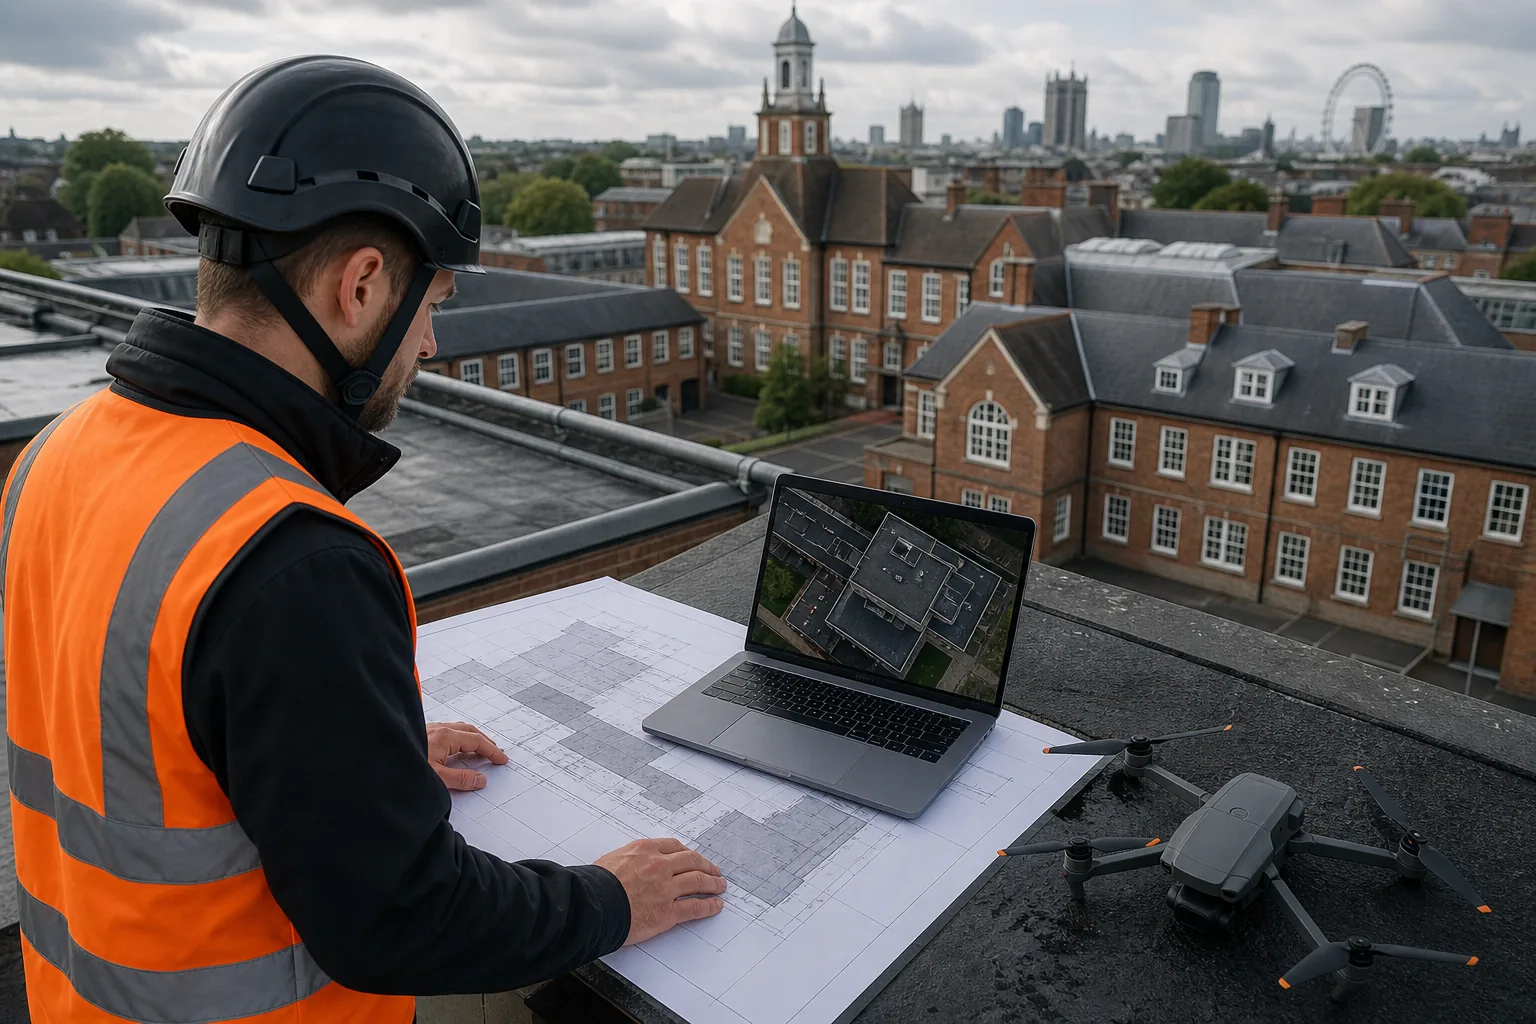
Set the route around the roof geometry. Cover each slope or roof zone with more than one viewing angle where needed. Plan close views for flashings, gutters, outlets, rooflight kerbs, penetrations and visible defects. Keep wider images too, so each close detail can be placed in context.
Before take-off, confirm wind, rain, visibility and light. Poor weather can reduce image sharpness and hide surface detail. Thermal work has its own limits. Results depend on weather, solar loading, temperature difference, roof material and survey timing. A thermal anomaly should prompt further checks. It should not be treated as proof of a particular defect by itself.
Set a safe operating margin. Do not extend a flight simply to capture one more image when the weather or battery position has changed. Use suitable obstacle awareness and maintain safe separation from the building. Put barriers or cones around the operating area when the site requires them.
Capture evidence in a repeatable order. First record the building and elevation. Then move across the roof zone. Once a defect appears, take a wider context image followed by a clear detail image. Keep the same approach on repeat surveys so changes can be assessed later.
Look for visible signs such as cracked or displaced coverings, open joints, failed flashing, blocked outlets, loose sheets, corrosion, damaged rooflights, debris and vegetation. Record areas that are obscured by plant, shadow or poor access. A missing view is useful information when the report says why it is missing.
Visual Perspectives Limited can combine high-resolution aerial imagery with 3D mapping and thermal imaging when the scope calls for it. For commercial teams reviewing procurement, our guide to drone roof inspection cost in the UK explains why survey price depends on evidence, access and reporting needs rather than roof area alone.
Before leaving, check the coverage against the agreed plan. Confirm that every roof zone has a location reference and that key defects have both context and detail views. The flight is complete only when the evidence is complete.
Step 4: Analyse the Imagery and Identify Defects
Analysis turns aerial images into building information. Review the roof survey drone data at full resolution, then place each finding in the context of the roof system and its history.
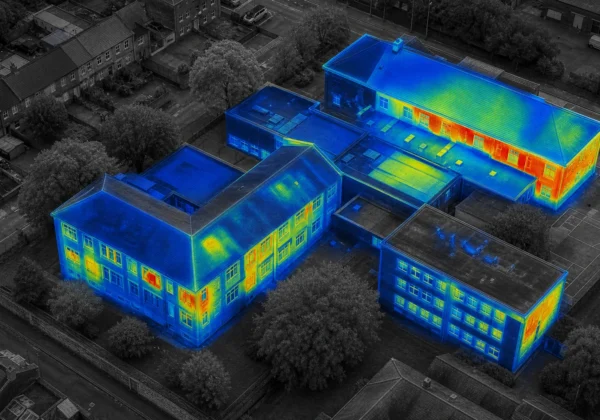
Start with the roof plan or 3D model if one is available. Work zone by zone. Compare adjacent areas instead of judging one image in isolation. A dark patch may be shadow, surface staining or moisture. A bright thermal area may relate to heat from plant, solar gain, insulation changes or moisture patterns. The image gives you a lead, not an automatic diagnosis.
Use a consistent defect record. For each finding, note:
- The building, roof zone and approximate location.
- The visible condition and affected material.
- The image reference that supports the observation.
- The likely risk if the issue remains unattended.
- The next action and any limitation in the evidence.
Separate condition from cause. “Open lap at the membrane” describes what the image shows. “Water is entering through this point” is a stronger claim that may need closer inspection. Keep that distinction clear, especially when the report will inform capital work or an insurance decision.
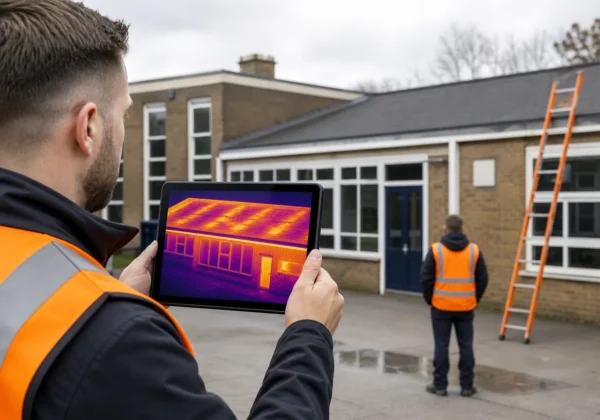
Thermal imaging can help identify unusual temperature patterns linked to heat loss, cold bridging or possible moisture. Building thermography works best when the survey conditions support a useful temperature difference. Thermography uses infrared radiation to show temperature patterns rather than a direct view inside the roof.
For solar PV arrays on commercial roofs, a separate thermographic scope may be suitable. It should state what is being checked and which reporting standard applies. Visual Perspectives Limited provides solar PV thermography for commercial roofs and public buildings, with reporting compliant with IEC 62446 standards where that scope is commissioned. The related Solar PV Thermography Inspection Cost UK guide explains why array size and reporting requirements affect the work.
Grade findings in a way that helps the person who controls the budget. An active weatherproofing failure may need urgent action. A defect likely to worsen can enter planned repair work. A minor maintenance issue may wait for a scheduled visit. If the image cannot confirm the cause, say so and recommend a closer or intrusive inspection.
That restraint matters. A precise report is one that states what the evidence supports and stops there.
Step 5: Turn the Roof Survey into an Actionable Report
The final report should help someone decide what happens next. A roof survey drone has done its job only when the evidence can move from the survey team to maintenance, finance or project delivery.
Begin with a short executive summary. State the overall roof condition, the main risks and the actions that need attention. Avoid burying a serious defect beneath pages of high-resolution imagery. A senior asset manager may need the decision in one page, while the surveyor needs the detail behind it.
Use a clear report structure:
- Property details, survey date and weather conditions.
- Survey scope, equipment and areas not inspected.
- Roof plans, orthomosaics or 3D model views.
- Defect schedule with location references.
- Thermal maps and notes on survey conditions.
- Priority actions and recommended next steps.
- Image appendix with readable annotations.
Link each finding to a location. “Damage on the roof” is too vague for a maintenance team. “Block C, north-west flat roof, near the eastern outlet” gives a person somewhere to start. Add an image number or map reference so the finding can be checked without searching through the full data set.
Use action language. Say “clear outlet and inspect the surrounding membrane” when that is supported by the evidence. Say “arrange opening-up to confirm moisture extent” when imagery cannot establish the cause. Do not turn every observation into a repair specification unless the commissioned scope allows it.
For a portfolio, rank issues by urgency and consequence. A simple system might separate immediate safety or weatherproofing concerns from planned repairs, routine maintenance and items for future monitoring. Include the reason for each grade. This gives finance teams a defensible basis for investment planning across a school estate, NHS estate or housing portfolio.
Visual Perspectives Limited uses high-resolution 3D models, thermal maps and defect diagnostics to support building surveyors, facilities managers, asset managers and project teams. We can also frame findings around decarbonisation work, where roof condition and building fabric affect the order of future investment.
Finish with the limits of the survey. State where access was blocked, where thermal conditions were weak and where a physical inspection is still needed. Then agree the next review date. Repeat drone surveys can help track deterioration, check completed repairs or update a portfolio record.
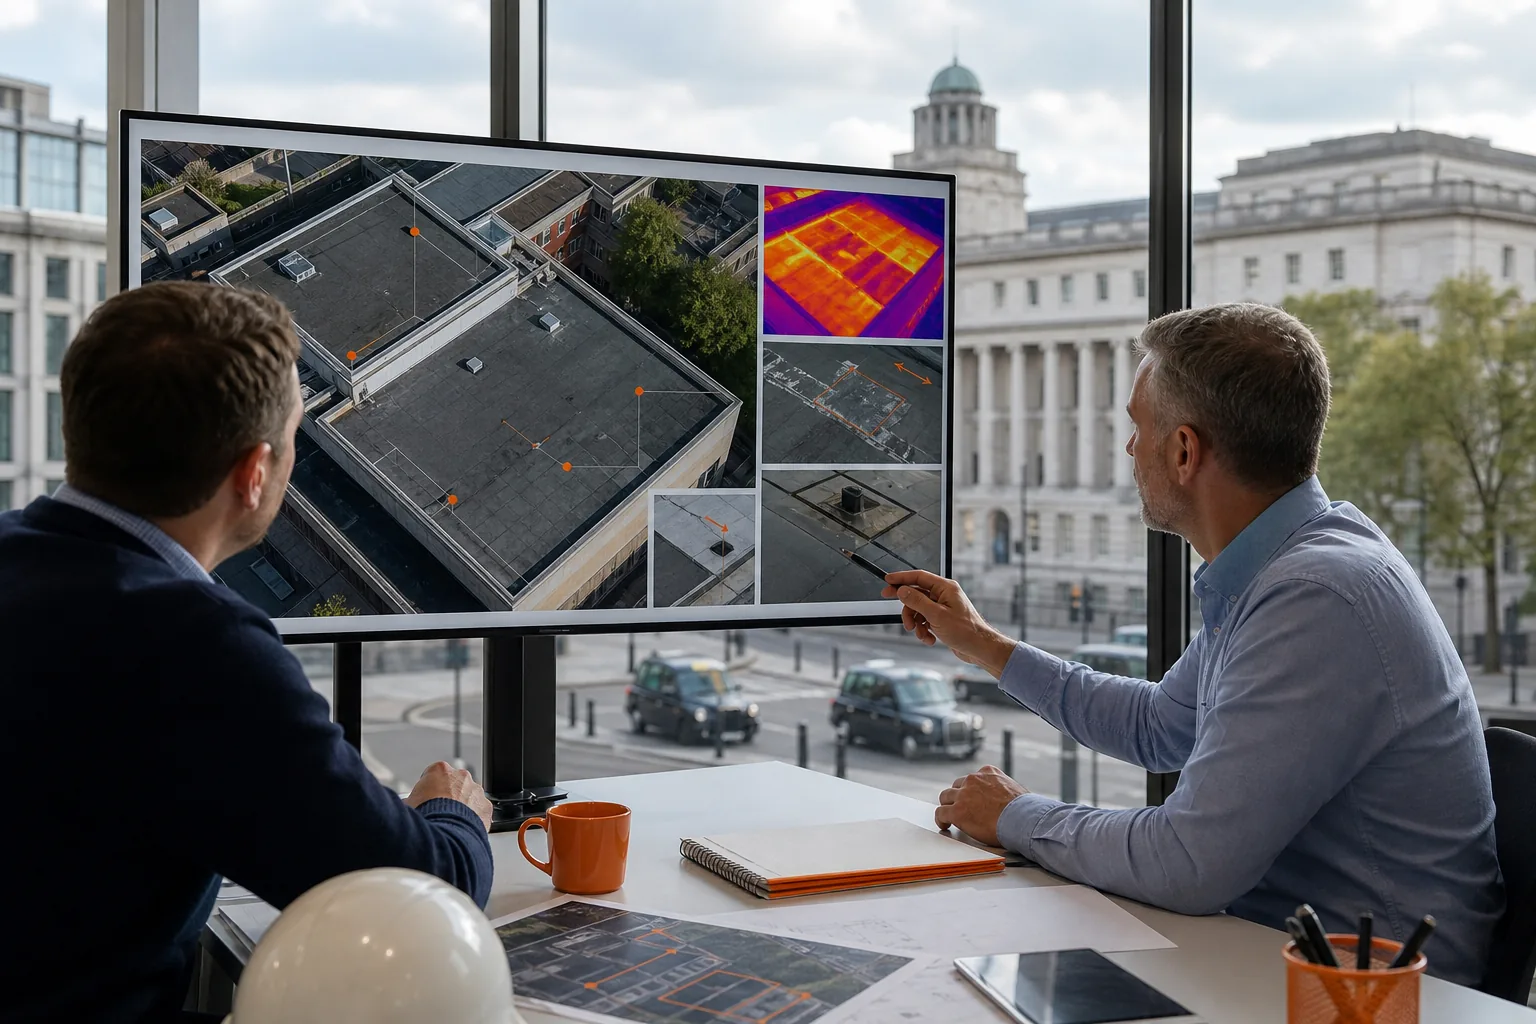
By now, you should have a report that supports maintenance planning rather than simply recording that a drone flew over the building. Rest assured, you’ll be in good hands when the handover explains both the findings and the uncertainty around them.
FAQ: Roof Surveys by Drone
What is a roof survey by drone?
A roof survey by drone uses an aircraft-mounted camera to capture high-level evidence of roof condition. It can record coverings, flashings, gutters, rooflights and visible defects without immediate access onto fragile surfaces. The output may include images, thermal data, maps or a 3D model, depending on the agreed scope.
Can a drone detect a roof leak?
A drone can help locate visible damage or temperature patterns linked to possible moisture, but it cannot always prove the source of a leak. Thermal anomalies need careful interpretation because weather, roof material and solar loading affect the result. Further physical inspection may be needed to confirm the cause and extent.
How much does a roof survey drone inspection cost?
The cost depends on roof size, complexity, location, airspace, site controls, sensors and the reporting level. A visual image record usually needs less work than a commercial inspection with thermal analysis, 3D mapping and defect priorities. Ask for the scope and deliverables in writing before comparing quotations.
Is a drone roof survey suitable for a school or NHS estate?
A drone roof survey can suit a school or NHS estate when the operator plans carefully around people, buildings and daily activity. The survey scope should identify each block and explain how data will support maintenance or capital planning. Public-sector clients should also ask about operator competence, permissions, privacy and report quality.
Can drone imagery replace a full roof inspection?
Drone imagery cannot replace every full roof inspection. It is strong for high-level visual evidence and can show where closer access is justified. It cannot normally confirm concealed decay, structural adequacy, membrane adhesion or hidden moisture without further investigation. A good report states these limits instead of overstating what the images prove.
Conclusion
Plan the survey around a decision, not a flight. Define the question, check the site, capture repeatable evidence and require a report that links each defect to a clear action. Visual Perspectives Limited provides independent drone roof inspections, thermal imaging and 3D mapping across the UK. Start by sharing your roof plans, survey purpose and required deliverables so the scope can be set properly.