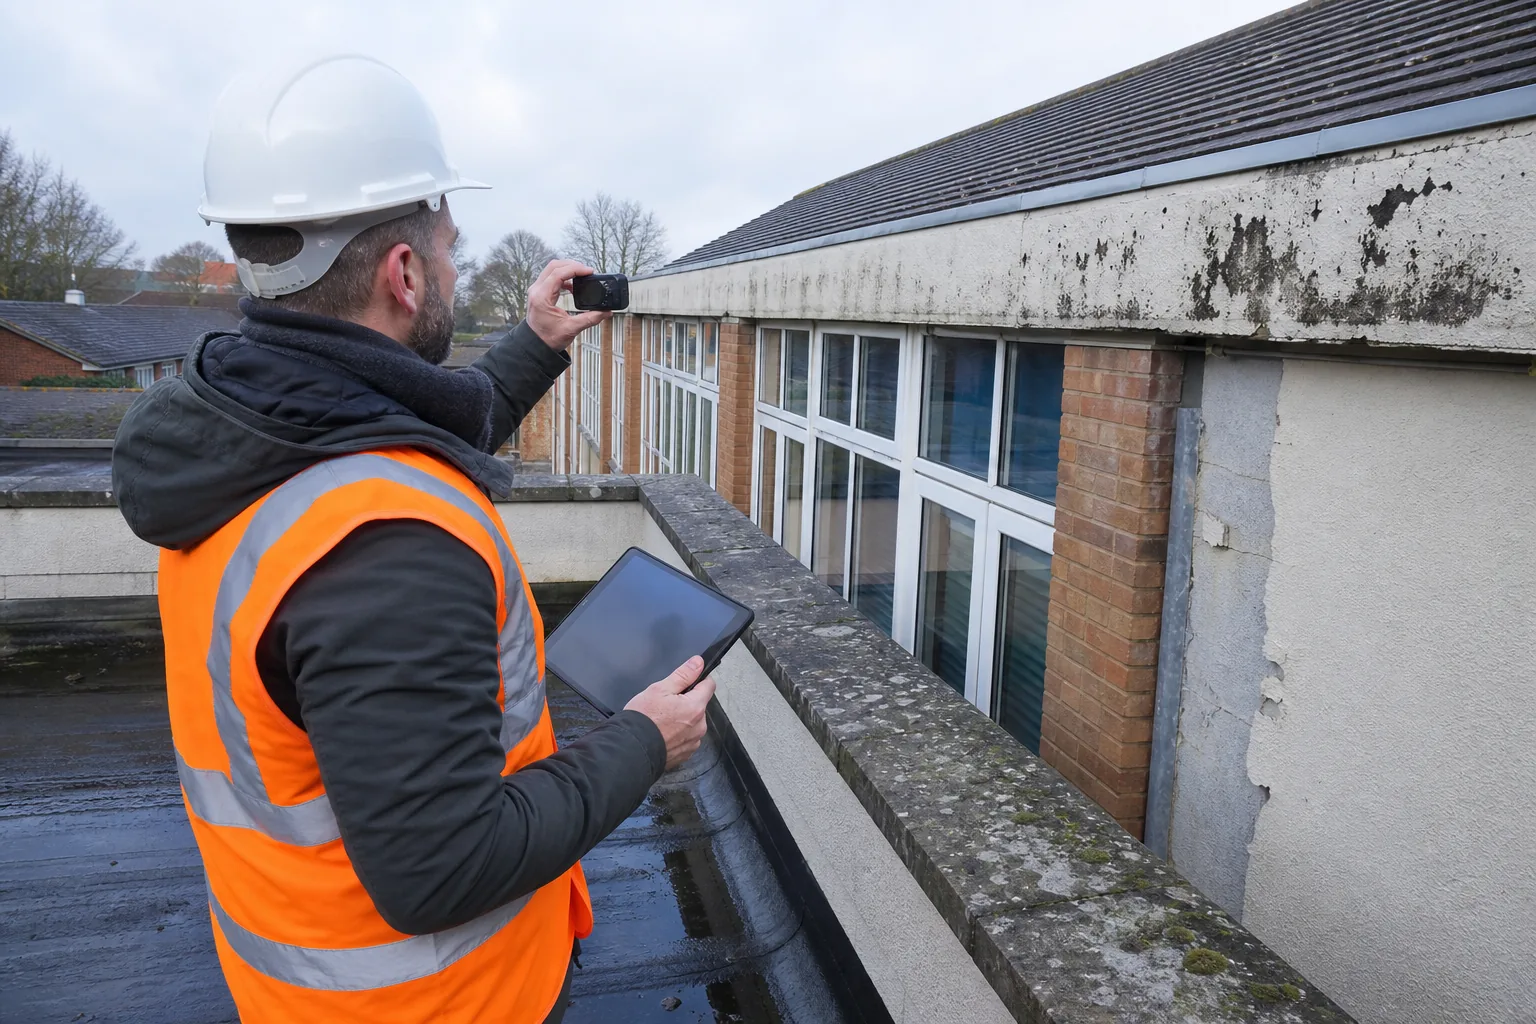
A property can look sound at ground level while a roof leak, failing window seal or hidden moisture goes unnoticed. A property condition survey gives you a dated picture of visible defects and helps you decide what to inspect next, what to repair first and what to budget for.
Use these five steps to brief the surveyor, prepare the site and turn the findings into an estate plan. For public buildings, define the decisions the survey must support before anyone visits.
Step 1: Define the Survey Scope and Decisions It Must Support
Start by writing down why you need the property condition survey. A survey for routine maintenance needs a different level of detail from one supporting a major refurbishment, a purchase or a funding bid.
State which buildings and areas are included. Identify each block by the same name or code used in your asset records. Then set out the questions the survey must answer. For example: is water entering through the roof, are external walls deteriorating, or should a heating system be replaced before the next budget cycle?
Set the boundary of the work in plain terms. A typical visual survey may cover:
- Structure, foundations where visible, and signs of movement.
- Roof coverings, rainwater goods and visible roof features.
- External walls, windows, doors and other parts of the building envelope.
- Internal finishes and visible mechanical, electrical and plumbing systems.
- External areas such as paths, boundaries and drainage features.
Be clear about what the survey won’t cover. A visual, non-intrusive inspection won’t confirm the condition of concealed materials or prove the cause of every defect. If you need structural calculations, hazardous-material testing or opening-up work, list these as separate tasks or ask the surveyor to identify when they may be needed.
For public estates, tie the scope to a decision: risk control, maintenance planning, retrofit design or capital investment. A wider building condition survey for commercial properties can help you think through the building elements and information needed for an estate brief.
Also distinguish the job from a homebuyer’s report. A residential stock condition survey may record component age and condition across many homes, while a commercial assessment may focus on whole-building maintenance and investment needs. A lender may request a property condition report for its own financing decision. Confirm the intended reader and purpose before commissioning, because one report may not meet every need.
Step 2: Gather Building Records and Prepare the Inspection
Good preparation helps the surveyor check what is visible against what is already known. Gather records before the visit and flag gaps rather than trying to fill them with assumptions.
Useful information can include current plans, past survey reports, maintenance logs and records of known leaks or repairs. Add available warranties, alteration approvals, service records and details of recent retrofit work. For a school or college, include the site plan and building references used in your estate data.
Ask the surveyor what access they need. Agree arrangements for plant rooms, roof spaces and occupied rooms. Tell staff or tenants when the survey is due, explain why photographs may be taken and set out any privacy limits. On the day, the surveyor should identify themselves and record defects with enough location detail to find them again.
Access is a technical issue, not just a diary task. Locked plant rooms, stored items in roof spaces or closed-off areas can limit what the surveyor can see. Ask the report to list these limits clearly. Don’t treat an uninspected area as defect-free.
Set the site rules before work starts. Note safeguarding needs, working hours, restricted areas and any activity that could affect safety. For a busy school or NHS estate, plan around teaching, clinical work or deliveries. If a specialist needs to inspect a high-level area, check that access arrangements and responsibilities are agreed in advance.
For school and college buildings, keep condition records up to date and set a survey scope that reflects known concerns. Review available survey-planning material when preparing the brief.
Before the visit, agree how findings will be named and delivered. Unique building and element references make it easier to connect each defect to a room, elevation or roof area. Ask for digital files if your asset system can import them.
Step 3: Inspect the Building Fabric Systematically
A property condition survey works best when the inspection follows a set route. That makes it less likely that a roof edge, service area or external path will be missed as the surveyor moves between buildings.
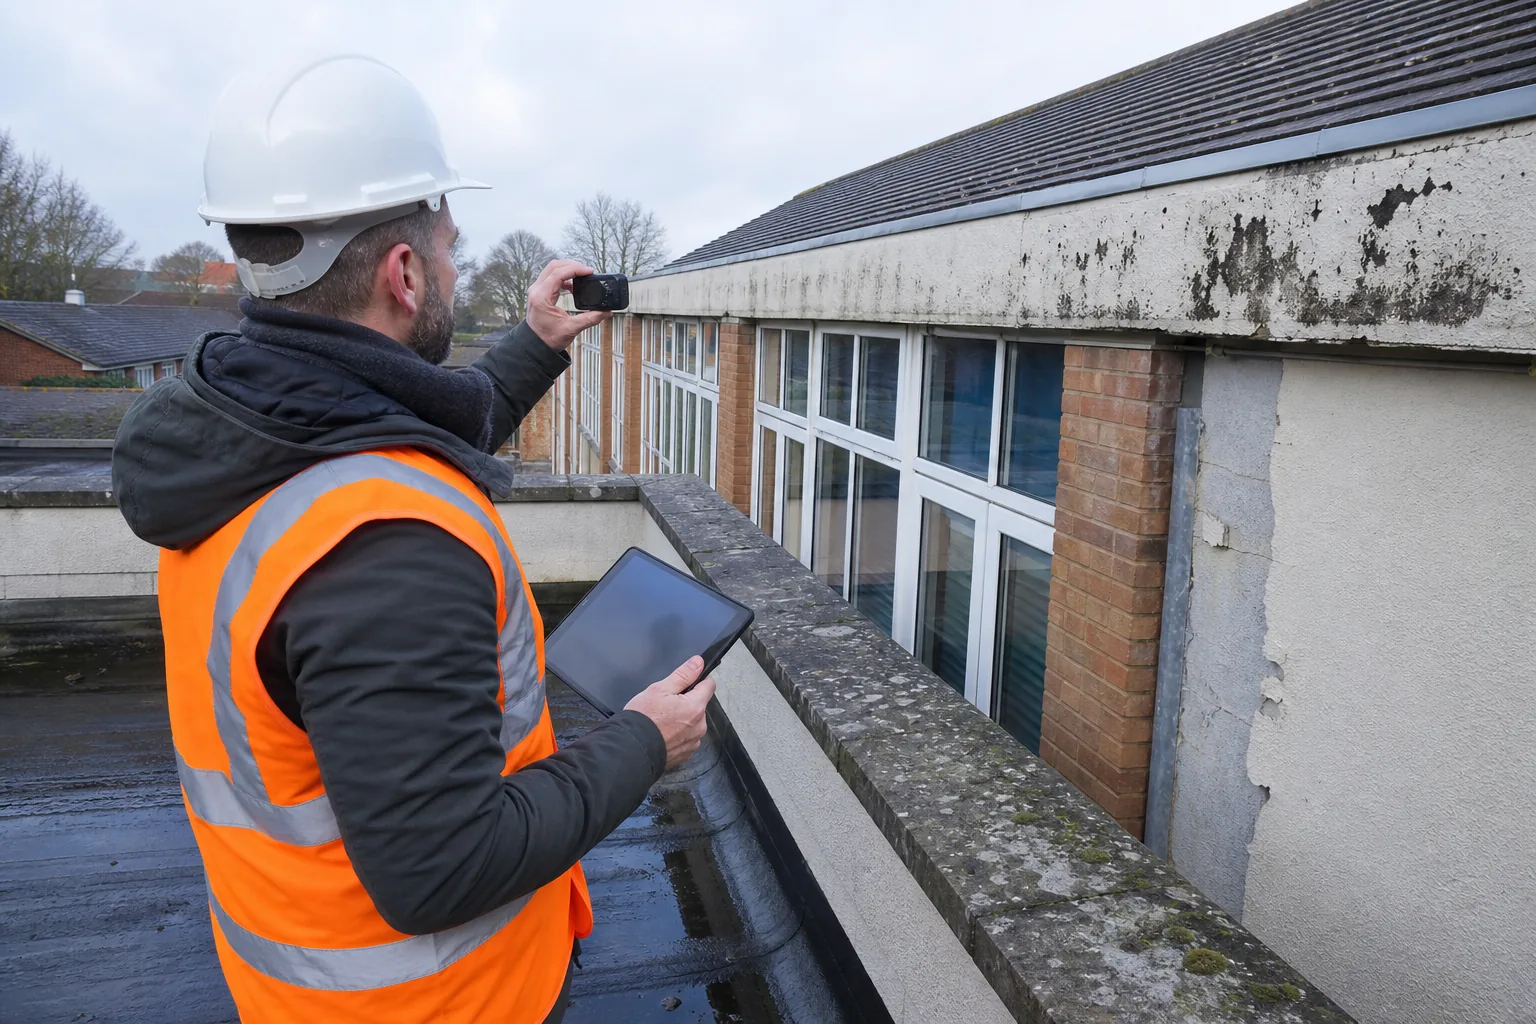
Agree how the surveyor will work through the site. A common approach is to inspect the outside first, then move through each building in a consistent order. The surveyor records the element, its visible condition, the defect and its location. Photographs should show both the issue and enough surrounding detail to identify where it sits.
On the exterior, look at the roof from safe, available viewpoints. Record damaged coverings, worn joints, blocked gutters or signs of water entry. Check walls for cracks, failed pointing, loose finishes or damaged seals around windows. Review doors, external stairs and paths for visible damage or trip hazards.
Inside, check ceilings and walls for staining, cracking or peeling finishes. Note doors and windows that appear damaged or hard to operate. Review visible heating, ventilation, electrical and plumbing components, but don’t treat a visual check as a test of system performance or electrical safety.
For housing stock, kitchens, bathrooms, heating, windows and loft insulation may need a record of age as well as visible condition. That helps asset teams group similar work across homes. The survey brief should say which housing criteria and requirements the surveyor is assessing.
Use a handheld device or structured form to capture the same fields for every element. Include a clear reference, condition note, photo reference and next action. The measured building survey process is a separate service, but measured plans can help locate defects when a project needs accurate building dimensions.
Keep the survey within its agreed scope. If the surveyor sees a possible structural issue, record it and recommend the right follow-up rather than presenting a visual impression as a confirmed diagnosis. For parts that can’t be inspected, record the reason and any effect on confidence.
Step 4: Use Specialist Surveys Where Visual Inspection Is Not Enough
A standard property condition survey can identify visible signs of a problem, but it may not show the full cause or extent. Use specialist checks when the report points to a concealed defect, a safety concern or a decision that needs measured evidence.
Examples include structural investigation for significant cracking, a drainage survey where water entry may relate to buried pipework, or a hazardous-material survey before intrusive work. For suspected damp, ask for a diagnosis that considers possible sources rather than relying on a surface mark alone. The surveyor should state what evidence supports the next step.
Thermal imaging can help identify temperature patterns linked to heat loss, cold bridging or possible moisture. It does not show moisture directly, and an unusual pattern needs interpretation alongside the building’s construction and conditions at the time. Use it to guide further checks, not as proof of a leak or a repair specification by itself.
High-resolution drone imagery can help inspect roofs and façades that are hard to see from the ground. It can show surface defects and help locate areas for closer assessment. It cannot reveal concealed timber decay beneath a roof covering or confirm the condition of hidden layers. A close physical inspection may still be needed.
Visual Perspectives Limited provides managed drone-based aerial inspections across the UK, including roof and façade surveys, high-resolution 3D mapping and thermal imaging. We’re independent of installers, and our inspection work can add evidence to a wider survey brief. A planned drone survey for a UK building should set out the area, access limits and data you need before the flight.
When choosing any specialist, check that the people doing the work have suitable qualifications for the task. For thermography, ask who will interpret the images and what conditions are needed for a useful scan. For drone work, verify the operator’s current permissions and site risk plan. Agree the deliverables, limitations and follow-up route in writing.
Specialist work adds cost and time, so commission it to answer a defined question. If the survey report says “further investigation recommended”, ask what uncertainty the extra work will resolve and who needs the result.

Step 5: Turn Findings into a Prioritised Repair and Investment Plan
A survey report becomes useful when each finding leads to a clear action. Ask for a summary that separates urgent risks from planned maintenance and further investigation.
For each defect, the report should identify the building and location, describe what was seen, include supporting photographs and explain the recommended next step. It should state the rating system used and define what each rating means. Where repair or replacement is advised, request an indicative cost and a suggested timeframe, with assumptions made clear.
Don’t merge condition and urgency into one vague score. A component may be in poor condition but pose little immediate risk, while a small defect could need urgent attention because of its location or use. Ask the surveyor to explain how the rating reflects both the state of the element and the consequence of delay.
Then review the findings with facilities, finance and service teams. A leaking roof above a clinical area may need a different response from a similar defect above a store room. Record who owns each action, what approval it needs and whether temporary controls are required while a repair is planned.
Build costs in stages. Separate immediate safety or water-ingress work from routine renewals and longer-term upgrades. Ask for costs to show whether access, design, testing or further investigation is excluded. Actual budgets will depend on site conditions and the final work specification, so don’t treat an early estimate as a contractor’s fixed price.
Use the report as a baseline for future planning. Link each issue to your asset register and update the record when work is completed. This lets your team see whether a defect is recurring and whether a repair has changed its condition. For larger estates, group work by building or element only when that grouping makes delivery and cost planning clearer.
Energy-efficiency measures can sit alongside condition repairs when the evidence supports them. A planned roof renewal may be a sensible time to assess insulation needs, for example, but first confirm the roof’s condition and the project scope. For decarbonisation planning, measured building evidence is more useful than assuming where heat is being lost.
Finally, return to the unresolved items. Assign an owner and a review date to each recommendation for further investigation. That prevents a caveat in the report from becoming a forgotten task.
Property Condition Survey FAQs
What is included in a property condition survey?
A property condition survey usually records the visible condition of building elements within the agreed scope. It may cover the structure, roof, external walls, windows, doors, internal finishes, visible services and external areas. The brief should state whether the survey includes cost estimates, energy-related observations or specialist testing. Concealed areas aren’t assessed unless further access or intrusive work is agreed.
How often should a property condition survey be carried out?
The right interval depends on the building, its use and the risks already known. Estate owners should set a cycle that fits their asset plan and review it after major damage or significant building work.
Who is qualified to carry out a property condition survey?
Choose an independent professional with experience in the type of property and the elements in your brief. Check relevant qualifications, professional registration where applicable, insurance and experience with similar buildings. If the work needs structural, hazardous-material or thermographic expertise, make sure the named specialist has the right skills for that task and will explain the limits of their findings.
Does a condition survey include a structural survey?
No, a standard property condition survey isn’t automatically a structural survey. It may record visible cracks or movement and recommend further assessment, but it won’t necessarily establish the cause or provide engineering calculations. If the report flags a concern, ask what investigation is needed and whether a structural specialist should inspect before repair work is planned.
How much does a property condition survey cost?
There isn’t one standard fee for a property condition survey. The cost depends on the number and size of buildings, access, records available, inspection depth and report detail. Specialist testing or difficult access may add to the scope. Ask for a written fee that states what is included, what is excluded and how extra investigations will be priced.
Conclusion
Start with the decision your estate team needs to make, then commission a survey with clear limits, evidence and follow-up actions. Prepare the records and access before the visit. If your buildings need aerial or thermal inspection, Visual Perspectives Limited can provide independent inspection support across the UK. The next step is to draft a brief that names the assets and questions the survey must answer.