
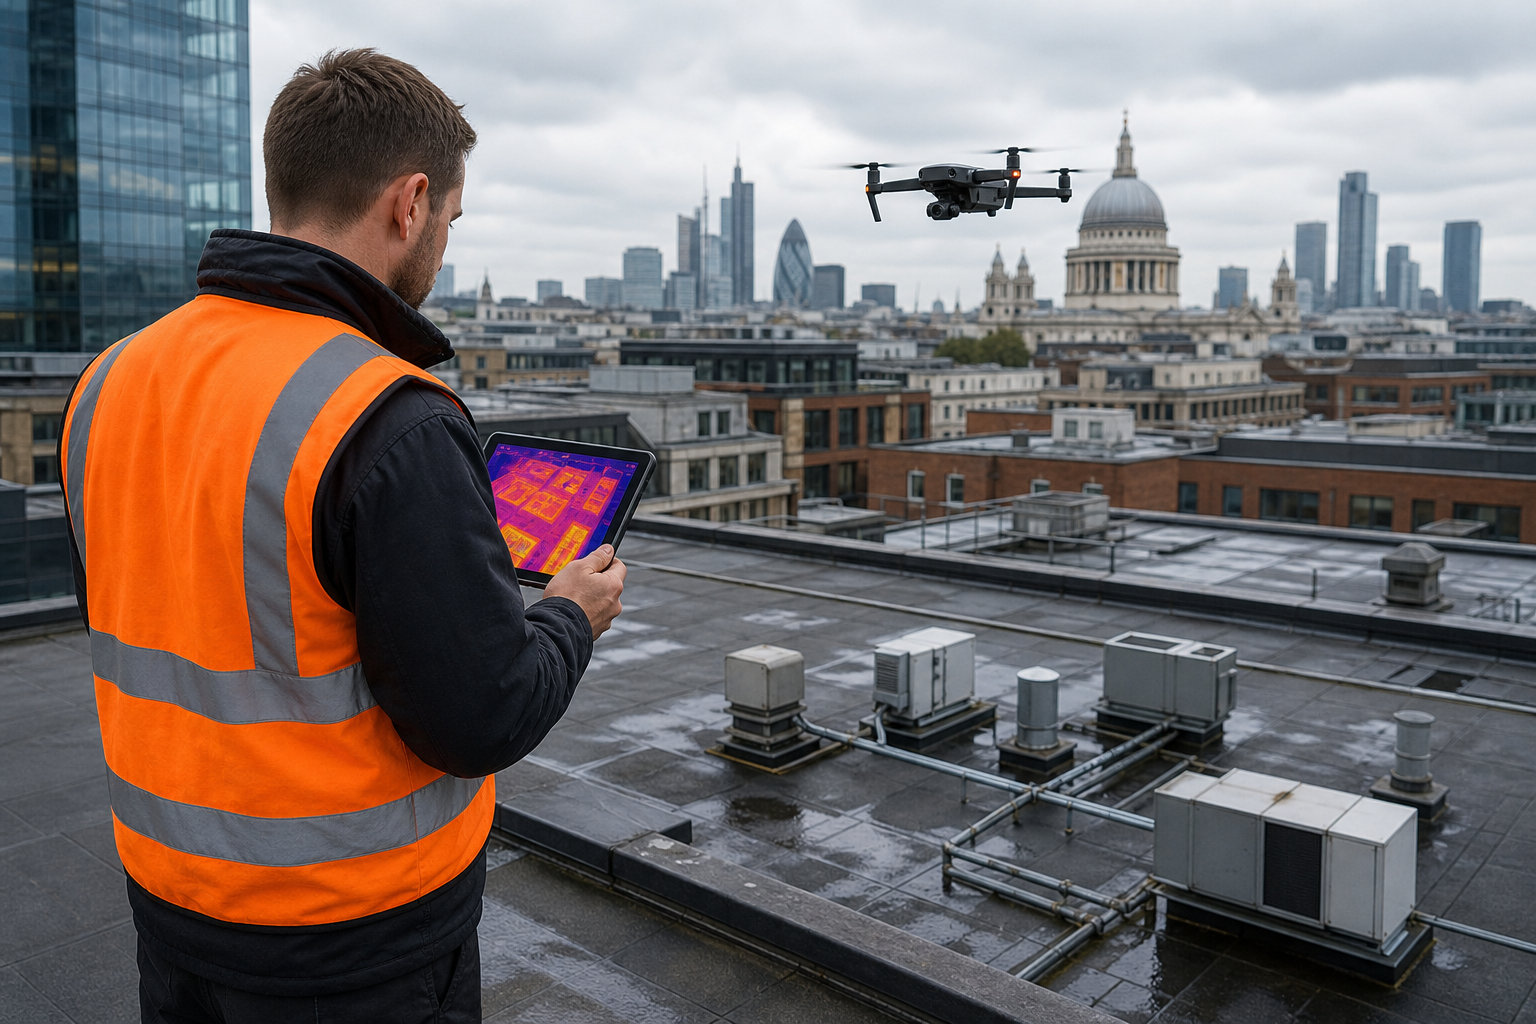
Inspecting a commercial solar PV system isn’t just about checking panels. It’s a structured process that starts before a single module is mounted and continues throughout the system’s life. Miss a step and you risk hidden roof damage, electrical faults, or voided warranties. This guide walks you through each stage of the commercial solar panel inspection process , from pre-installation roof surveys to ongoing performance checks , so you can protect your investment and stay compliant.
Step 1: Pre-Installation Roof Inspection , Identifying Defects Before Installation
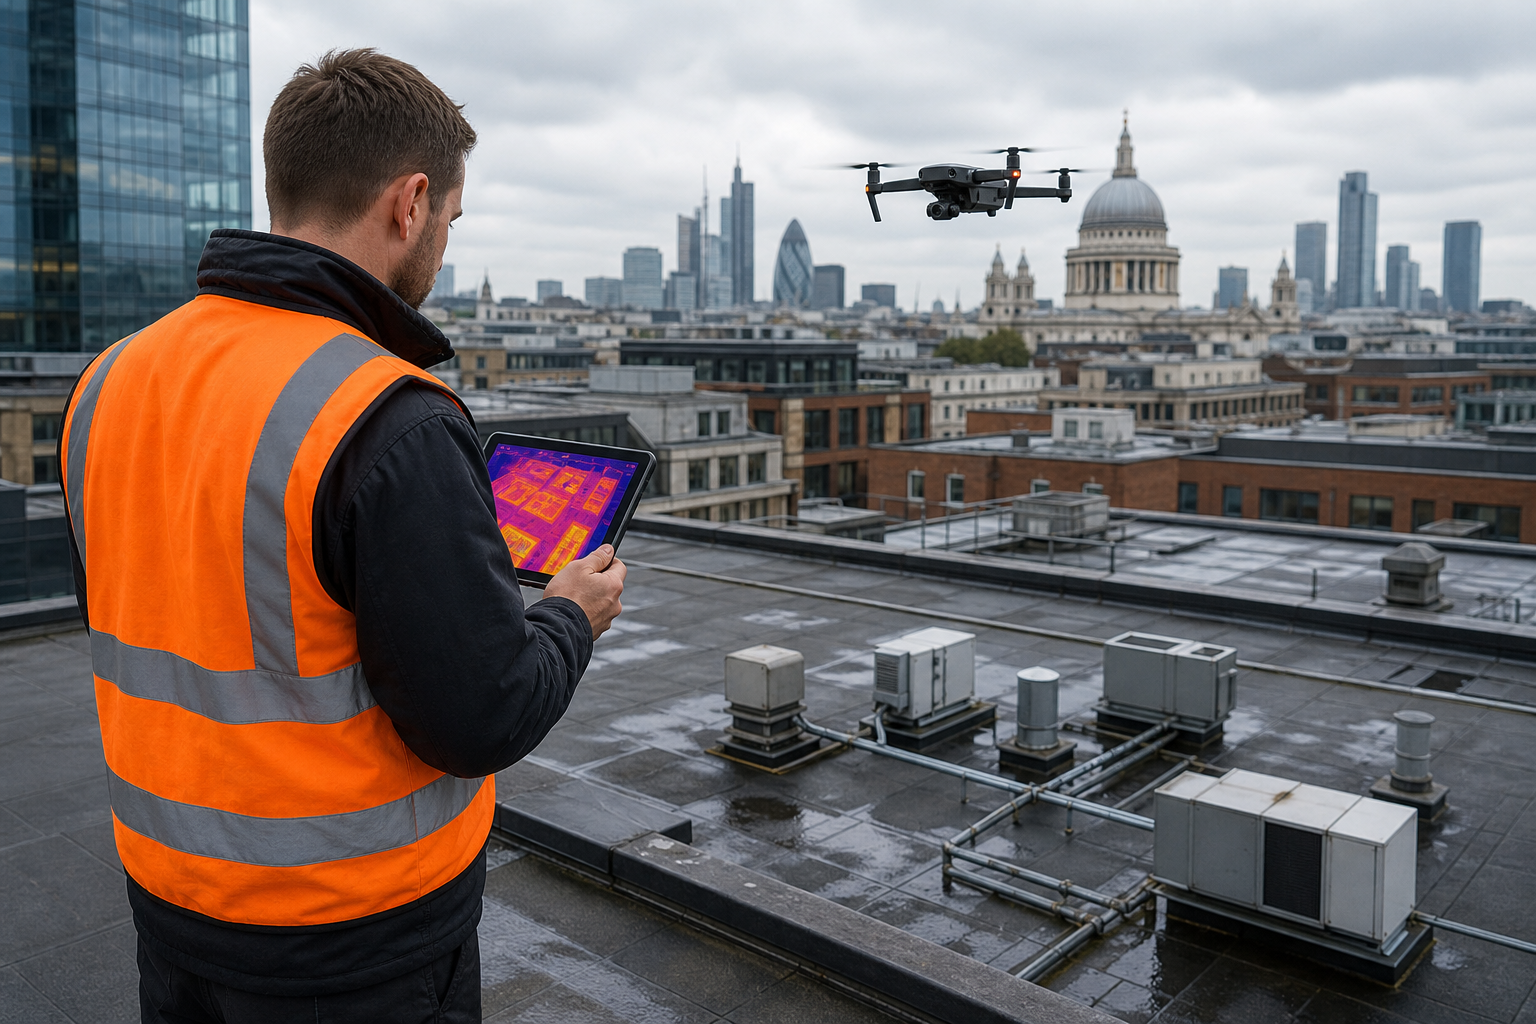
The most common mistake in commercial solar projects is skipping a thorough roof survey before installation. Industry experience shows that many owners face leaks within two years because insulation deforms under the permanent load of panels, creating cracks in waterproofing. Water ingress then ruins insulation, cuts energy savings, and forces expensive dismantling.
Your goal here is to find hidden defects like moisture saturation under the membrane, ponding water, or degraded insulation. Visual Perspectives uses high-resolution thermal drones to scan the entire roof surface before any work begins. The data reveals cold spots that indicate trapped moisture , what the naked eye can’t see. If saturation is found, core samples confirm the diagnosis.
Insurers and warranty providers increasingly demand this pre-installation check. Without it, you risk invalidating coverage. A proper survey also documents the roof’s baseline condition, so any damage caused during installation is clear. Schedule this survey at least two weeks before the installation crew arrives.
Step 2: Visual and Drone-Based Inspection of Solar Array and Roof
Once the solar array is installed, the commercial solar panel inspection process moves to a detailed visual and aerial check. Ground-level visual inspections catch obvious damage , cracked glass, loose mounting clips, bird droppings, or soiling. But for large commercial rooftops, a drone is far more efficient. Drones with high-resolution cameras can survey entire arrays quickly and safely, without the cost of scaffolding.
The drone captures overlapping RGB images at 80% overlap. These are stitched into an orthomosaic , a map-like image of the roof. The pilot also checks the roof membrane for signs of wear, blistering, or debris accumulation. Any anomalies are geotagged for the report.
This step is critical for insurance compliance. Insurers often require documented evidence that the system was installed correctly and that the roof was undamaged. A drone survey provides that proof in a format they accept.
For a dees, on drone roof surveys for commercial properties.
Step 3: Thermal Imaging Inspection for Solar PV Systems (IEC 62446)
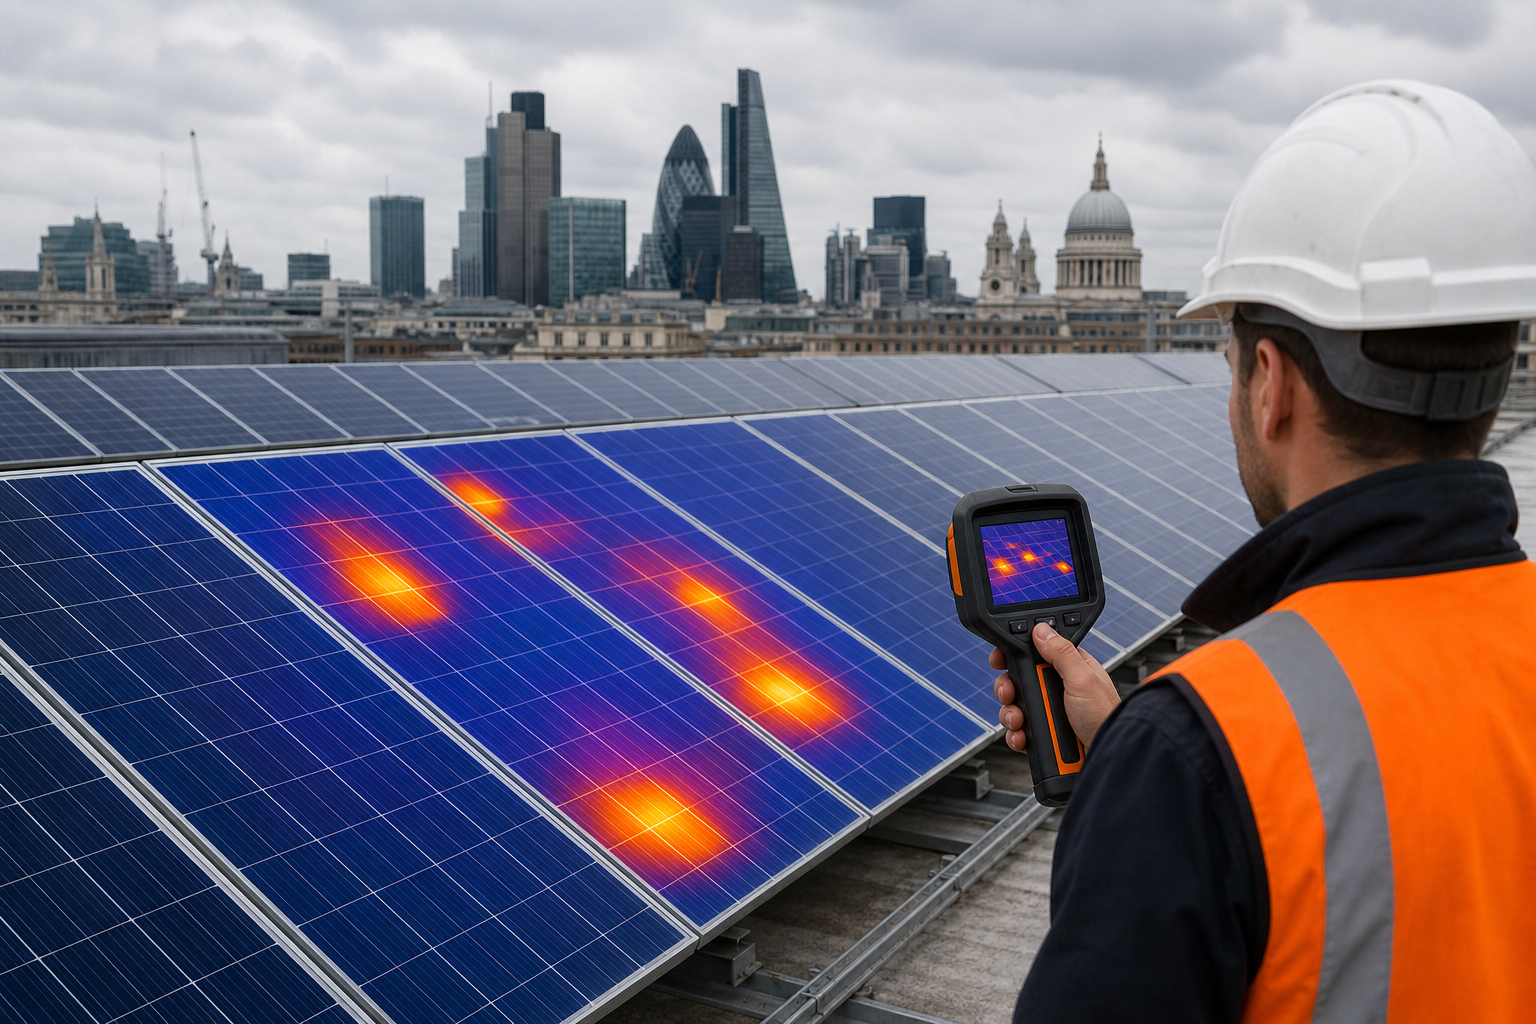
Thermal imaging is the heart of any serious commercial solar panel inspection process. It detects electrical hotspots, failed bypass diodes, and underperforming cells that are invisible to the naked eye. The international standard for this is IEC 62446-3, which sets out the conditions and protocols for a valid thermal survey.
Thermography can identify hotspots that pose a fire risk. The standard requires a minimum irradiance of 600 W/m², clear skies, and wind below 5 m/s. Visual Perspectives’ service is explicitly IEC 62446 compliant, producing a report that insurers and warranty holders accept. Our drones use radiometric thermal cameras with a 640×512 sensor to capture per-panel temperature data.
During the survey, the drone flies an autonomous grid path. The software flags any panel with a temperature rise of more than 5°C above its neighbours. A Level 3 thermographer then reviews these anomalies. Common defects include cracked cells, shading issues, and faulty junction boxes.
Learn more about our solar panel thermal imaging inspections that meet this standard.
Step 4: Electrical Testing and Compliance Checks
Thermal imaging alone doesn’t verify electrical performance. You need string-level testing. This means measuring open-circuit voltage (VOC), short-circuit current (ISC), and insulation resistance for each string. Certifications like IEC 61215 and IEC 61730 cover module safety and performance, but field testing verifies the installed system.
Check DC and AC isolators, earth fault interrupters, and cable insulation. Compare I-V curves against manufacturer specs. Any string deviating more than 5% from expected output needs investigation. Also verify that all connectors are from the same manufacturer , mismatched connectors are a known fire risk, especially on systems installed between 2020 and 2023.
Document all readings. This creates an audit trail that satisfies insurance requirements and provides a baseline for future comparisons.
Step 5: Reporting, Defect Diagnosis, and Actionable Insights
Data is useless without a clear report. The commercial solar panel inspection process must deliver a document that facility managers, installers, and insurers can act on. A good report includes GPS-tagged fault locations, severity ratings, and recommended actions. Defects should be categorised as safety-critical (hotspots >30°C differential), high-impact (PID, cell cracks), or low-severity (soiling).
Visual Perspectives provides reports that follow the IEC 62446 layout: an executive summary, a fault map with geotagged images, a risk matrix, and a list of recommended repairs. The report is delivered within 48 hours and includes both a PDF and an online 3D model. This format is accepted by insurers, warranty providers, and O&M teams.
Always include photos of each defect, both RGB and thermal. Without visual evidence, a claim can be rejected. A good report also prioritises fixes so you can plan maintenance around budget and downtime.
Step 6: Ongoing Maintenance and Post-Installation Surveys
The final step is scheduling regular inspections. Commercial solar installations typically need annual inspections to meet insurance requirements. For systems in harsh environments , coastal, dusty, or high bird activity , quarterly or six-monthly checks are wise.
Post-installation surveys also catch installation damage. If a thermal scan shows new hot spots within the first year, you can claim under the installer’s warranty. Visual Perspectives recommends an annual thermal survey combined with a visual drone flight. This catches degradation early, before it cuts output by 10, 30%.
After severe weather , hail, storms, heavy snow , schedule an extra inspection immediately. Even small impacts can cause micro-cracks that enlarge over time. Keeping a documented history of inspections supports future warranty claims and improves the resale value of the asset.
Frequently Asked Questions
How often should commercial solar panels be inspected?
Most commercial systems need an annual professional inspection to meet insurance requirements. For sites in harsh environments , coastal, dusty, or locations with heavy bird activity , quarterly or six-monthly inspections are recommended. Always inspect after severe weather events like hail or storms.
What is IEC 62446 and why does it matter?
IEC 62446 is the international standard for testing, documentation, and maintenance of grid-connected photovoltaic systems. Its Part 3 specifically covers thermal imaging inspection protocols. Using an IEC 62446-compliant service ensures your inspection is accepted by insurers, warranty holders, and regulatory bodies.
Can drones replace handheld thermal inspection?
For large commercial arrays, drones are faster, safer, and provide more consistent data than handheld cameras. A drone can scan 100+ MW per day at 45% lower cost than manual methods. However, for small or complex rooftops, handheld inspection may still be appropriate. Many providers combine both methods.
What is the biggest risk of not inspecting solar panels?
The biggest risks are fire from unchecked hotspots and reduced energy output. Undetected bypass diode failures or cell cracks can cause a string to underperform by 30% or more. Hidden roof damage from panel load can lead to water ingress and structural issues, costing far more than the inspection itself.
Should I inspect the roof before installing solar?
Absolutely. A pre-installation thermographic roof survey identifies moisture saturation, insulation defects, and membrane weaknesses. Catching these issues before installation prevents costly dismantling later and keeps your warranty valid. Insurers increasingly require this step.
Conclusion
The commercial solar panel inspection process is a six-step workflow that starts before installation and never stops. Pre-installation roof surveys catch hidden defects, drone visual inspections document condition, thermal imaging per IEC 62446 identifies electrical faults, electrical testing verifies performance, detailed reporting makes findings actionable, and ongoing maintenance protects your return on investment. Book your next inspection with a provider that follows the standard , Visual Perspectives offers IEC 62446-compliant thermal surveys with fast, actionable reporting. Get a quote today and keep your solar asset running safely and efficiently.
Ready to put this into practice? Visual Perspectives Limited was built for exactly this.

