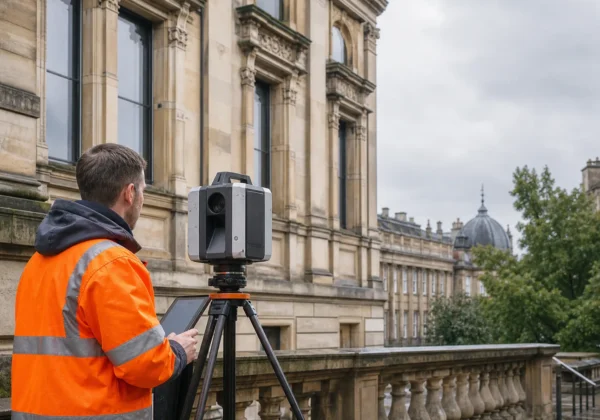
Flat roofs look simple, but hidden moisture can bite you hard. A solid commercial flat roof inspection spots problems before they turn into costly repairs. Below is the exact process you need, from prep to a clear, actionable report.
Step 1: Prepare for the Inspection
The first thing we do is gather every document that tells us what the roof is made of. Look for original design drawings, past inspection reports, and any warranty paperwork. Knowing the membrane type , EPDM, TPO, PVC , helps us pick the right thermal sensor settings.
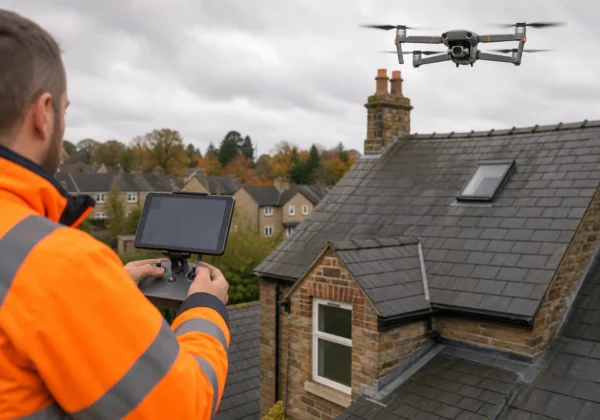
Next, we check the site for safety hazards. Identify overhead power lines, HVAC units, or skylights that could interfere with a drone flight. We also run a quick weather check; wind above 15 mph or rain will postpone the survey.
Because a flat roof can hide moisture under layers of insulation, we recognise that ponding water is the most common cause of membrane failure. Armed with that knowledge, we create a checklist of key areas , drains, flashings, and any rooftop equipment , that need extra focus.
We also reach out to the building’s facilities team to learn about recent work. A new solar array, a roof‑top HVAC overhaul, or recent roof penetrations can introduce new failure points. By the end of this prep phase you have a clear scope, a safety plan, and a list of compliance items to verify.
Step 2: Conduct a Visual Walk-Off Inspection
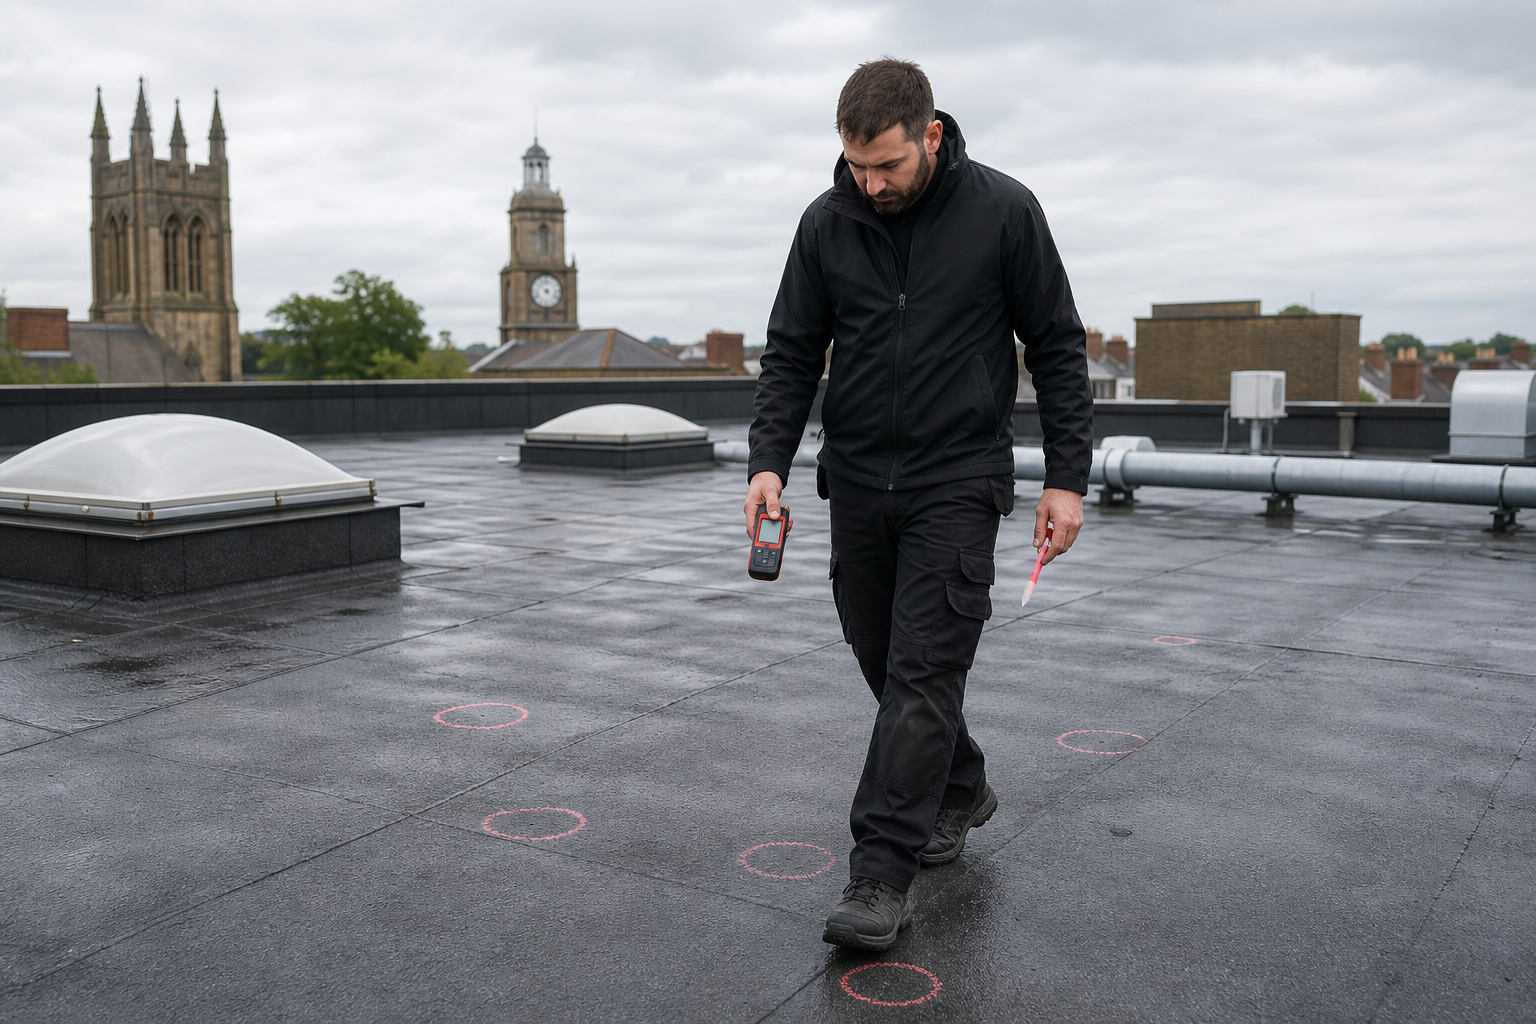
Before we launch a drone, we walk the roof surface with a handheld camera and a moisture meter. This quick walk‑over catches obvious issues like loose flashing, cracked seams, or standing water. We mark any suspect spots with bright spray chalk , they become waypoints for the drone later.
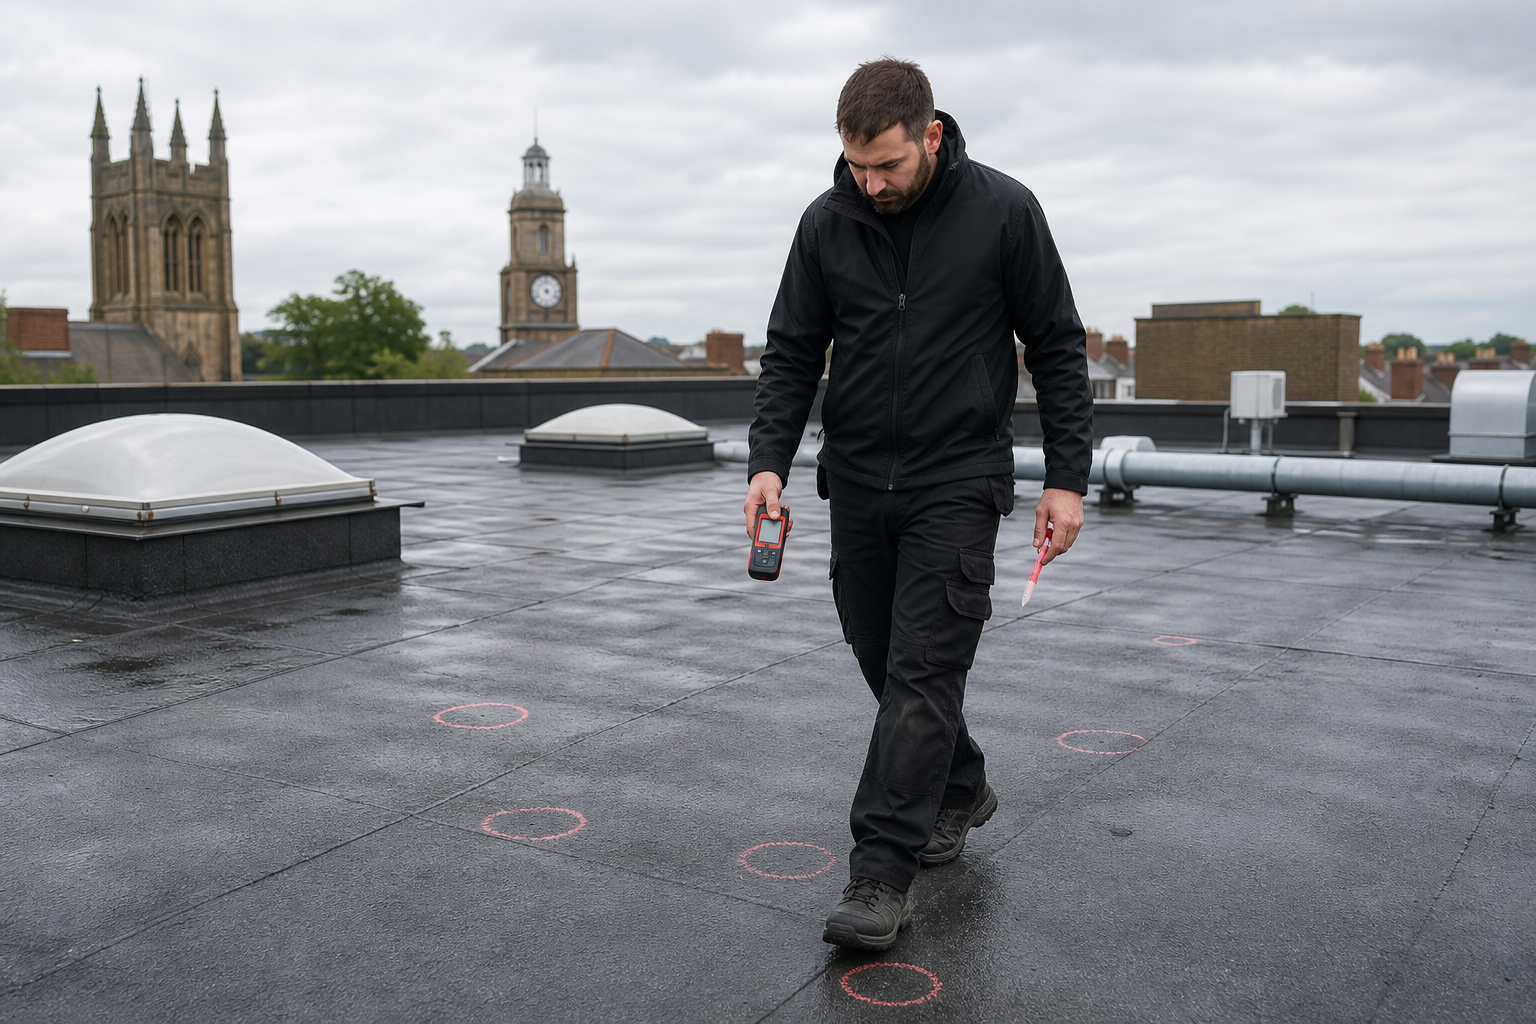
During the walk we also note the roof’s slope and drainage layout. Even a slight gradient can affect ponding, so we sketch a simple plan that shows where water should flow. If we spot ponding that lasts more than 48 hours after rain, we flag it as a high‑risk area.
We finish the walk‑off by photographing all penetrations , vents, skylights, and solar panel mounts. Each photo is tagged with the location on the roof plan. This visual record saves time when we later stitch the drone images together.
Step 3: Perform a Detailed Drone and Thermal Imaging Survey
Now the drone takes over. Our UAV carries a radiometric thermal camera with at least 640×512 resolution. That level of detail lets us see temperature differences as small as 0.05 °C, which is enough to spot a wet insulation pocket.
We launch the drone from a clear, level area away from the building’s edge. The flight plan follows a grid pattern with 70 % front overlap and 80 % side overlap. This ensures the photogrammetry software can stitch a flawless orthomosaic and generate a 3‑D model of the roof.
While the drone flies, the thermal sensor records a live video feed. Our pilot watches for hot spots that could mean a sun‑heated membrane defect, or cool spots that indicate trapped moisture. The data streams into our analysis software, where we set the emissivity to 0.95 , the typical value for roofing membranes.
After the flight, we upload the images to a secure cloud and run them through How to Conduct a Commercial Building Drone Roof Inspection. The software stitches the visuals into a 3‑D model, then overlays the thermal layer to create a heat‑map orthomosaic. This combined view lets us pinpoint the exact square metre where a defect lives.
We check that our temperature differentials meet the 5 °C threshold recommended for moisture detection on flat roofs.
Step 4: Identify Common Flat Roof Defects and Their Causes
With the 3‑D model and thermal map in hand, we start spotting the usual suspects. Below is a quick reference table that matches a visual or thermal sign to its most likely cause.
When we see a warm irregular patch away from drains, we suspect wet insulation. A quick on‑site moisture meter check confirms the reading , values over 20 % above a dry reference point usually mean the insulation is saturated.
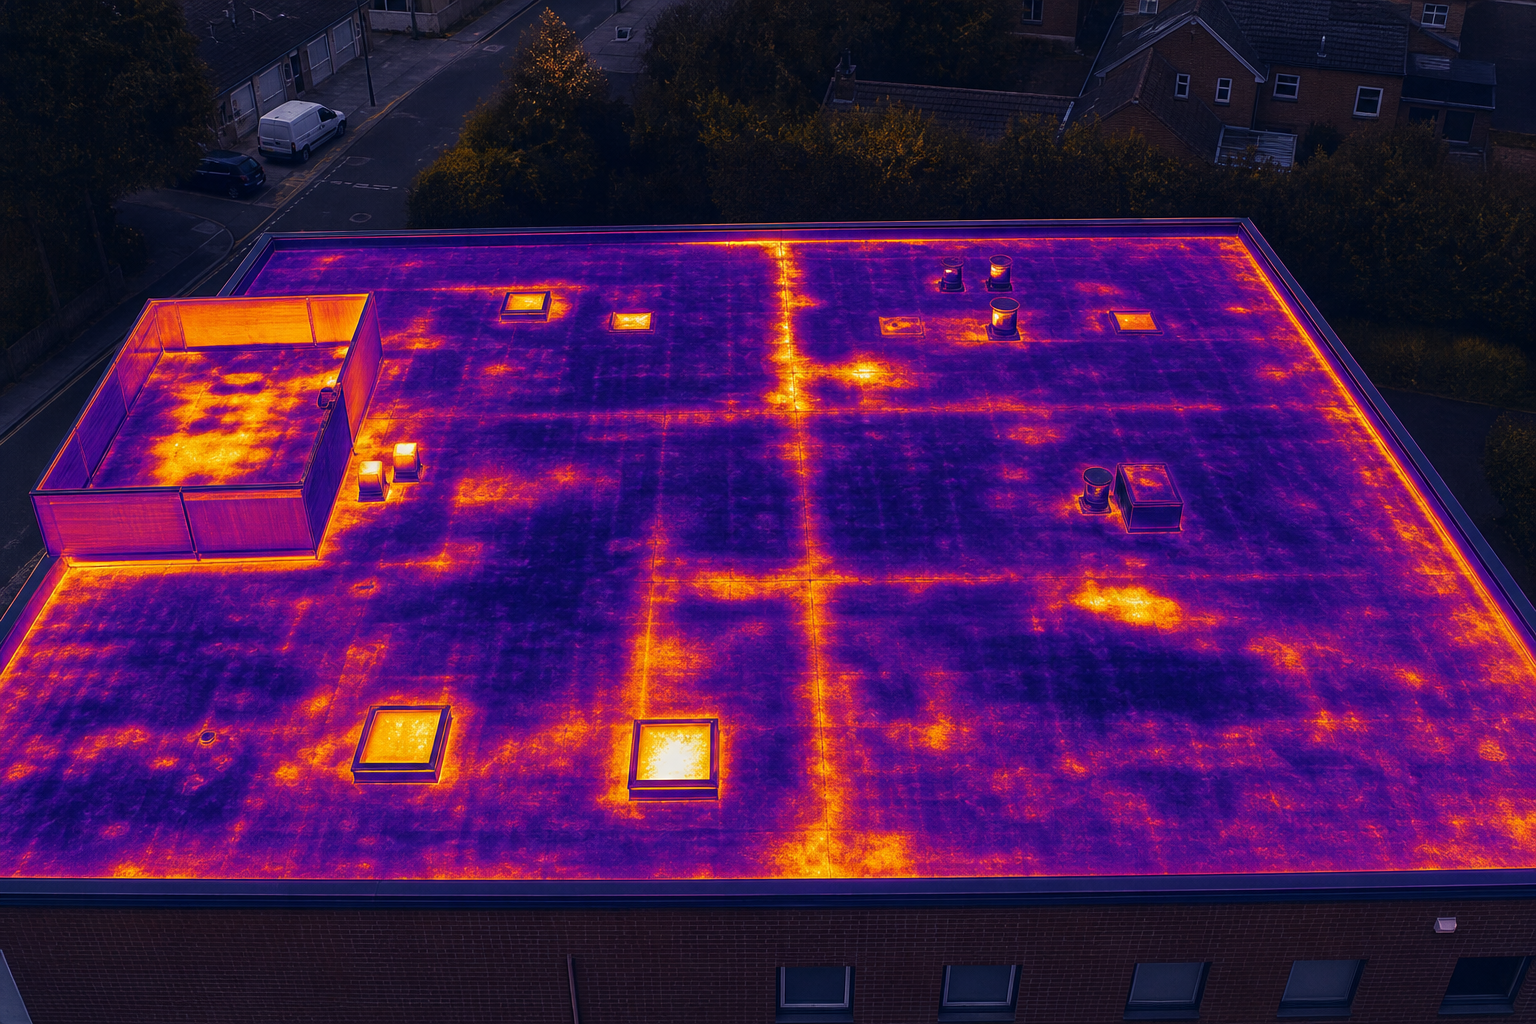
Cold spots at the roof’s edges often point to air leakage. We recommend sealing those joints and adding edge insulation to stop heat loss. For blistering, we advise a membrane repair or replacement, especially if the blister covers more than 10 % of the roof area.
Every defect we log gets a severity rating , critical, moderate, or minor , based on risk of water ingress and impact on building services. This rating drives the next step: the report.
Step 5: Compile Findings into an Actionable Report
The final deliverable is a report that translates data into decisions. We start with an executive summary that lists the top three risks and the recommended next steps.
Next we include a defect matrix , each row shows a defect, its location on the 3‑D model, a thermal image, the measured temperature, and a concise remediation suggestion. For example, a ponding area will have a photo, a temperature of +4 °C above ambient, and a note to improve drainage and reseal the surrounding membrane.
We also attach the full orthomosaic, the 3‑D model export (in .obj format), and a GIS‑compatible shapefile that facilities teams can load into their asset‑management system.
Our report follows IEC 62446 standards when solar PV panels are involved, ensuring the thermal data meets the industry’s verification criteria. All findings are signed off by a Level 2 ITC‑certified thermographer, giving you a document that insurers and auditors accept without question.
Once the report is ready, we deliver it via a secure link and offer a brief walkthrough call. That call walks you through the most critical items and answers any “what‑if” scenarios you have. For a deeing process, see our Drone Roof Inspection Guide for Commercial Buildings.
Frequently Asked Questions
What is the ideal weather for a commercial flat roof thermal survey?
The best conditions are clear skies, low wind, and temperatures above 10 °C. Evening flights just after sunset give the greatest contrast between wet and dry areas because the roof cools faster than trapped moisture.
How often should I schedule a flat roof inspection?
We recommend a full drone‑based inspection at least once every 1‑3 years, and after any major storm, roof‑work, or solar‑panel installation.
Can a drone inspection replace a physical roof walk‑over?
A drone can locate most defects, but it cannot replace tactile checks for membrane thickness or core samples. Use the drone data to target where a hands‑on inspection is truly needed.
Do I need special insurance for a drone roof survey?
Yes. In the UK, commercial drone operators must carry public liability insurance. Visual Perspectives holds coverage that meets industry standards, protecting both the client and the pilot.
Is IEC 62446 compliance required for all roof inspections?
IEC 62446 applies specifically to solar‑panel thermography. If your roof hosts PV arrays, the thermal survey must meet that standard; otherwise, standard building‑regulation compliance is sufficient.
How long does it take to get the final report?
Typical turnaround is five working days from the day the flight ends, assuming no weather delays and prompt access to site data.
Conclusion
Start with a solid prep, walk the roof, then let a drone capture high‑resolution visual and thermal data. We turn that data into a clear, IEC 62446‑compliant report that tells you exactly what to fix. Need a template to get your own inspection plan? Download our free guide and schedule a survey with Visual Perspectives today.
Ready to put this into practice? Visual Perspectives Limited was built for exactly this.