
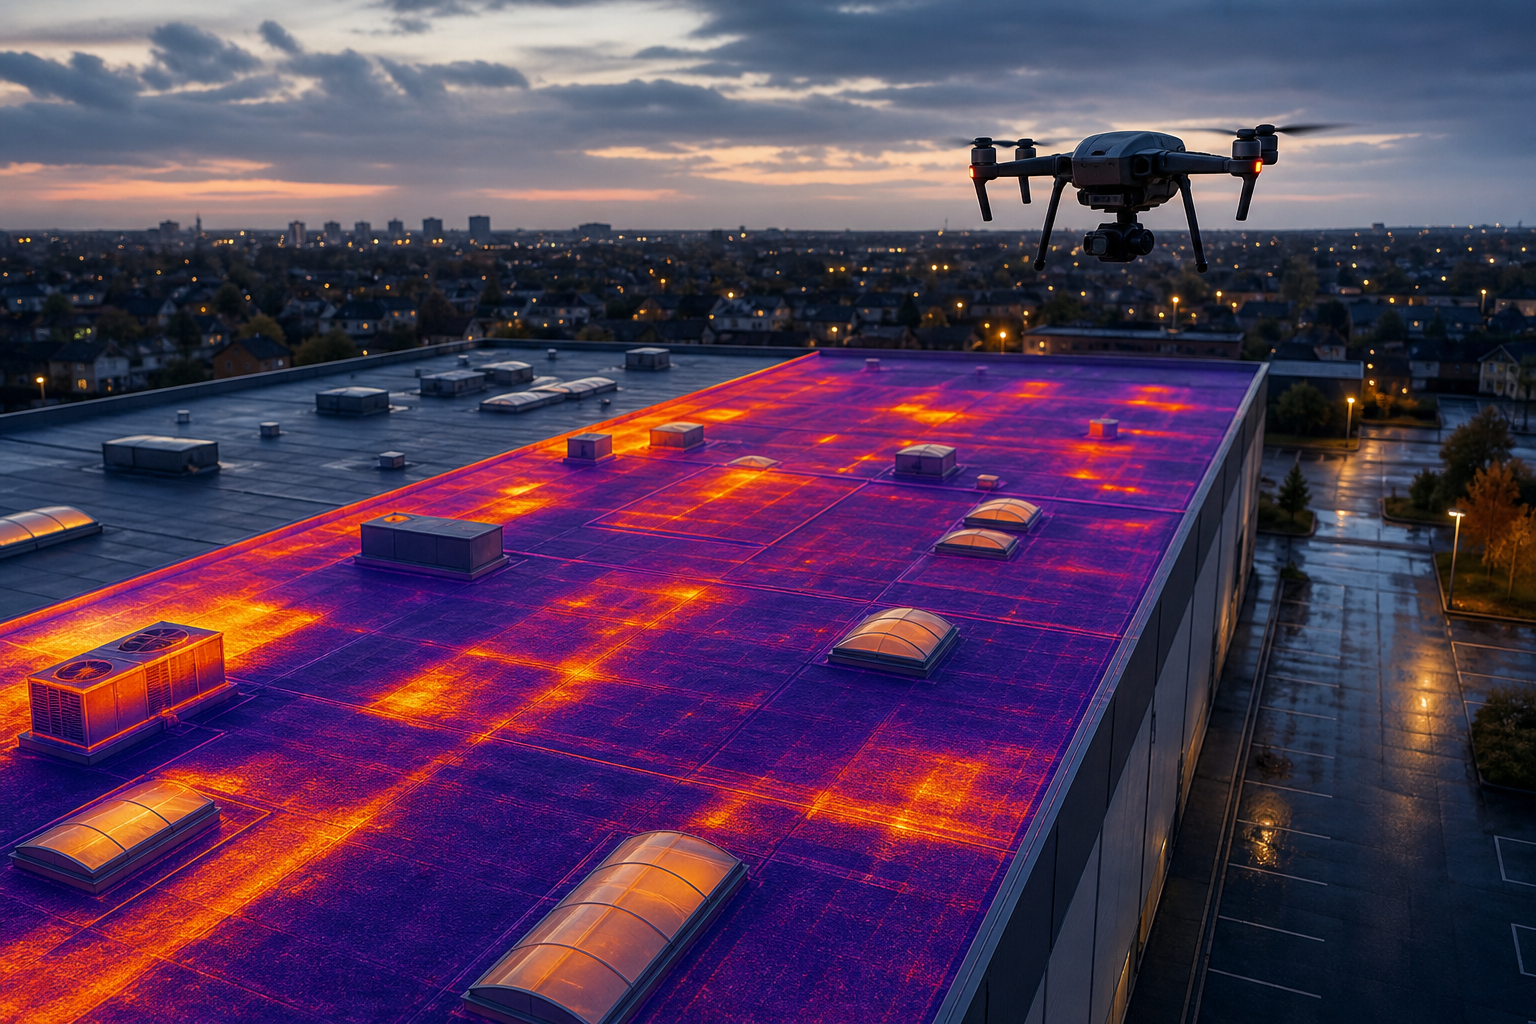
Thermal imaging spots hidden roof leaks faster than a visual walk‑around ever could. Below is a usable walk‑through that gets you from planning to a compliant report, with no guesswork.
Step 1: Understand Thermal Imaging Principles for Roof Leak Detection
Thermal cameras capture infrared radiation that objects emit based on temperature. Wet insulation holds heat longer than dry material, so a moisture‑saturated spot shows up as a warmer (or cooler at night) patch on the thermogram. The camera converts that radiation into a colour‑coded image we can read.
Because the temperature difference can be as tiny as0.1°C, the sensor must be calibrated and the environment stable. Night‑time scans avoid solar heating that can mask the contrast. The IEC 62446 standard defines the temperature range and emissivity settings you need for a reliable reading.
In practice, a thermographer looks for irregular warm blobs that break the roof’s normal pattern. Those blobs often line up with pipe penetrations, flashing failures, or membrane delamination. The key is to compare each hot spot with a known dry reference area on the same roof.
For commercial roofs, the stakes are high: a missed leak can damage HVAC rooms, cause mould, and trigger insurance claims. Using a calibrated infrared camera under the right conditions lets you pinpoint the problem before it spreads. Thermography explained on Wikipedia provides a solid technical backdrop.
Step 2: Prepare for a Commercial Roof Thermal Survey
First, check the weather. Aim for clear skies, low wind, and an indoor‑outdoor temperature gap of 5‑15 °C. Early evening or late night works best because the roof has cooled while any trapped moisture stays warm.
Next, verify your equipment. A high‑resolution infrared camera (at least 640 × 480 px) with adjustable emissivity is essential. If you’re using a drone, make sure the thermal sensor is mounted securely and the firmware is up‑to‑date. Calibration should happen at least 15 minutes before launch so the sensor stabilises to ambient temperature.
Plan the flight path. Divide the roof into a grid and set waypoints that give overlap of 60‑70 % between images. Overlap ensures the software can stitch a smooth thermal map later. Record a reference image of a dry corner; you’ll use it to normalise temperature readings.
Safety checks come next. Verify that the drone pilot holds a CAA‑approved licence and that the drone carries the required insurance (our fleet is covered up to £5 million). Finally, brief the site team on any access restrictions and confirm that the roof is clear of debris that could interfere with the flight. Thermal Imaging Moisture Detection: A How‑To Guide walks through this preparation in more detail.
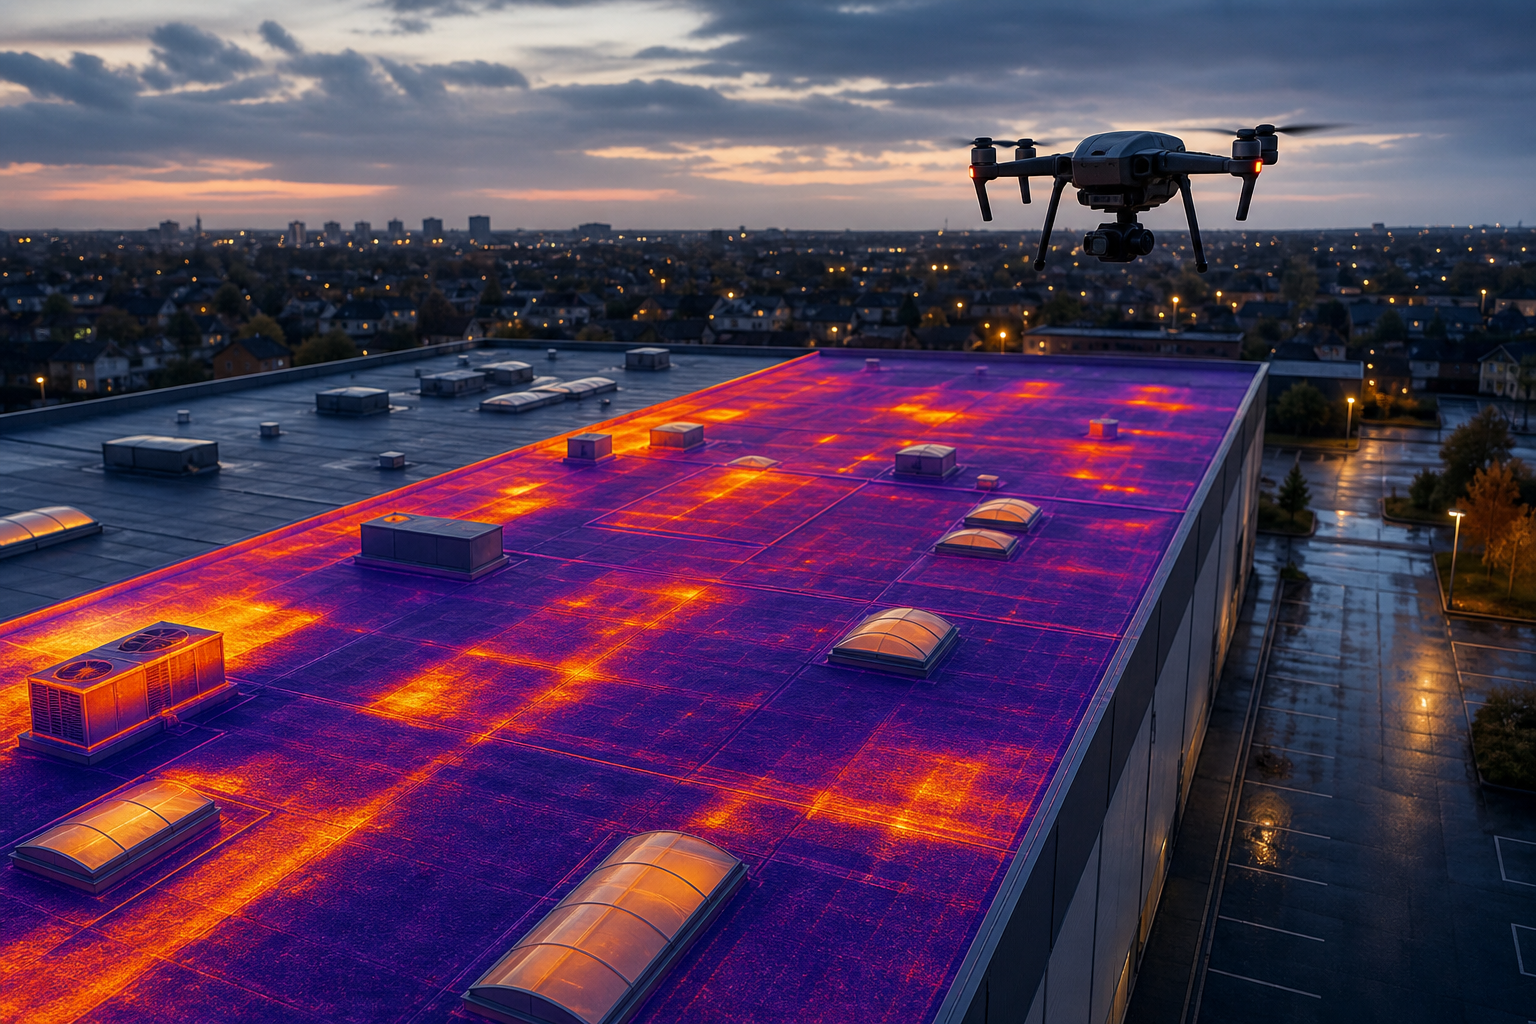
Step 3: Conduct the Thermal Inspection – Drone vs Ground Methods
Both approaches capture the same type of data, but they differ in speed, safety, and image quality.
When you launch the drone, set the flight speed under 5 m/s to avoid motion blur. The thermal sensor should stay at least 10 m above the surface to minimise the inspector’s own heat influence. Capture both nadir (straight down) and oblique angles; the latter helps reveal hidden membrane seams.
If you choose a handheld scan, keep the camera 1‑2 m from the surface and angle it no more than 60 ° to respect the IEC 62446 viewing guidelines. Walk the roof systematically, pausing at each grid cell to let the sensor settle.
Both methods produce a set of geotagged images that you’ll later stitch into a 2‑D thermal map. Drone data often includes a larger field of view per shot, making the final map easier to read and share with stakeholders. Thermal Imaging Roof Guide shows how we turn those raw frames into a polished report.
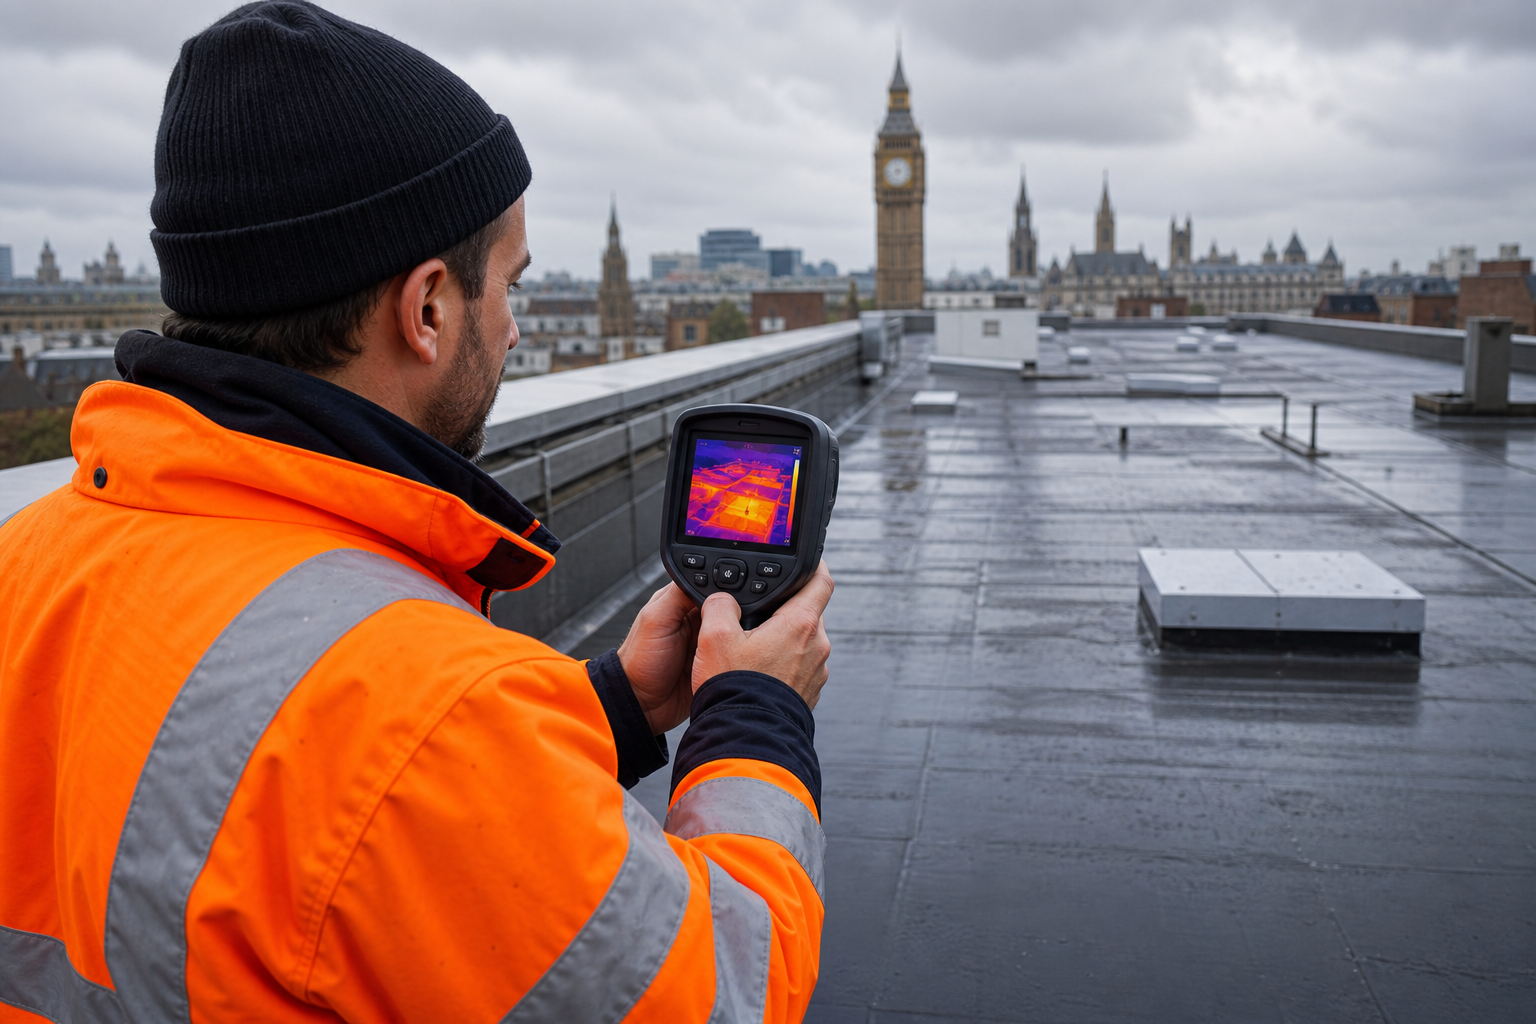
Step 4: Identify Roof Leaks, Moisture Intrusion, and Under‑Membrane Saturation
Open the stitched thermal map in your analysis software. Look for colour anomalies that break the uniform gradient of the roof surface. Warm blobs that sit under cooler surroundings usually mean water has soaked the insulation.
Mark each suspect area and note its temperature delta from the reference zone. A difference of 3‑5 °C often points to light moisture; 5‑8 °C suggests moderate saturation; anything above 8 °C likely indicates heavy water accumulation.
Validate the hot spots with a moisture meter or a blower‑door test. The combination of infrared data and point‑measurements satisfies IEC 62446’s requirement for corroborating evidence.
Below is a short video that walks through interpreting these thermal signatures on a real commercial roof.
After confirming the leak locations, map them back to the roof’s construction details. Note whether the moisture sits behind a membrane, within insulation, or along a flashing detail. That context tells the repair crew where to focus their effort.
Step 5: Inspect Solar PV Arrays for Defects and Compliance (Pre‑Installation and Post)
Solar panels generate heat when they work, so a healthy array shows a fairly even temperature across all modules. Hot spots, areas that are noticeably warmer, signal cell damage, loose connections, or shading.
Start the inspection during peak sunlight hours when the panels are under load. Position the thermal camera at a distance that captures the whole array in one frame; the FLIR sensor on our drones provides the needed resolution.
Compare the thermal image to the manufacturer’s baseline temperature map. Any cell that exceeds the baseline by more than 5 °C should be flagged. Common causes include cracked cells, bypass‑diode failure, and connector corrosion.
Document each defect with its exact location (row and column) and temperature delta. The IEC 62446‑3:2017 standard requires that you record these findings in a structured report, which we’ll cover in the next step.
Step 6: Document and Report Findings – IEC 62446 Compliance
Compliance starts with a clear three‑phase workflow: Survey → Analysis → Reporting, as defined by IEC 62446‑3:2017. First, assemble all raw images, GPS logs, and temperature data into a single project folder.
Next, analyse the data. Use the software’s built‑in tools to overlay the thermal map on a 3‑D model of the roof. Highlight each leak, moisture pocket, and solar‑panel hot spot with a numbered tag.
Finally, generate the report. It must include:All sections follow the IEC template, ensuring insurers and building owners can rely on the document for warranty claims and safety reviews. Our own reports are fully IEC 62446‑compliant, giving you peace of mind. IEC 62446 overview on Wikipedia outlines the exact format.
- A description of the inspection conditions (time, weather, equipment).
- Reference images of dry baseline areas.
- Temperature differentials for each identified issue.
- Recommended remedial actions, ranked by urgency.
- Sign‑off by a certified thermographer and a CAA‑licensed drone pilot.
Frequently Asked Questions
What equipment do I need for thermal imaging of roof leaks?
You need a calibrated infrared camera (minimum 640 × 480 px), a drone with a stable flight platform, and software that can stitch and analyse thermal images. A blower‑door test and a moisture meter help verify the findings.
Can I perform a thermal roof scan during the day?
Daytime scans work if the roof is hot and the sun is shining, but they often hide moisture signatures. Night‑time or post‑sunset scans give clearer contrast because wet areas retain heat while dry surfaces cool quickly.
How accurate are handheld thermal cameras compared to drone‑mounted ones?
Handheld units can be accurate if you keep the sensor far enough to avoid body heat bleed and maintain the proper angle. Drones stay aloft, eliminating those issues and covering large roofs in minutes, which makes them the preferred choice for commercial projects.
What does IEC 62446 compliance mean for my solar installation?
It means the inspection follows a recognised international standard that defines how to capture, analyse, and report thermal data for PV systems. Insurance carriers and manufacturers often require IEC 62446 documentation before they will honour warranties.
How often should I repeat thermal inspections on a commercial roof?
Best practice is every 2‑3 years, or after any major weather event, roof repair, or before a warranty expires. More frequent checks may be needed for roofs with known issues or in harsh climates.
Will thermal imaging find every type of roof defect?
It reveals temperature‑based anomalies such as moisture, insulation gaps, and hot spots on solar panels. It cannot see through solid waterproof membranes, nor does it give exact moisture percentages. Pairing it with moisture meters or core samples provides a complete picture.
For a deeper look at commercial roof leak detection, see our Commercial Roof Leak Detection: A Step‑by‑Step Guide.
Conclusion
Start with a calibrated thermal survey, use a drone for speed and safety, verify hot spots with point measurements, and finish with an IEC 62446‑compliant report. Need a partner that handles the whole workflow? Check out Visual Perspectives Limited’s managed drone‑based service for commercial roofs.

