A solar panel can look clean while a hidden fault cuts its output. In one recorded example, cracked glass and age-related yellowing each matched an output loss of about 22%.
Use this five-step process to assess solar panel damage without putting people or equipment at risk. It starts from the ground, then moves to visual records, thermal imaging, qualified electrical testing and a clear repair plan.
Step 1: Make the Area Safe Before Inspecting Solar Panel Damage
Safe access comes first because solar panel damage can leave live electrical equipment exposed. A PV array can still produce DC electricity in daylight, even when the building supply is switched off.
Start with a desktop check. Review the site plan, roof access rules, array layout and last inspection report. Check recent inverter alerts too. A sudden fall in generation can help your surveyor focus on the right area, but it doesn’t prove the cause.
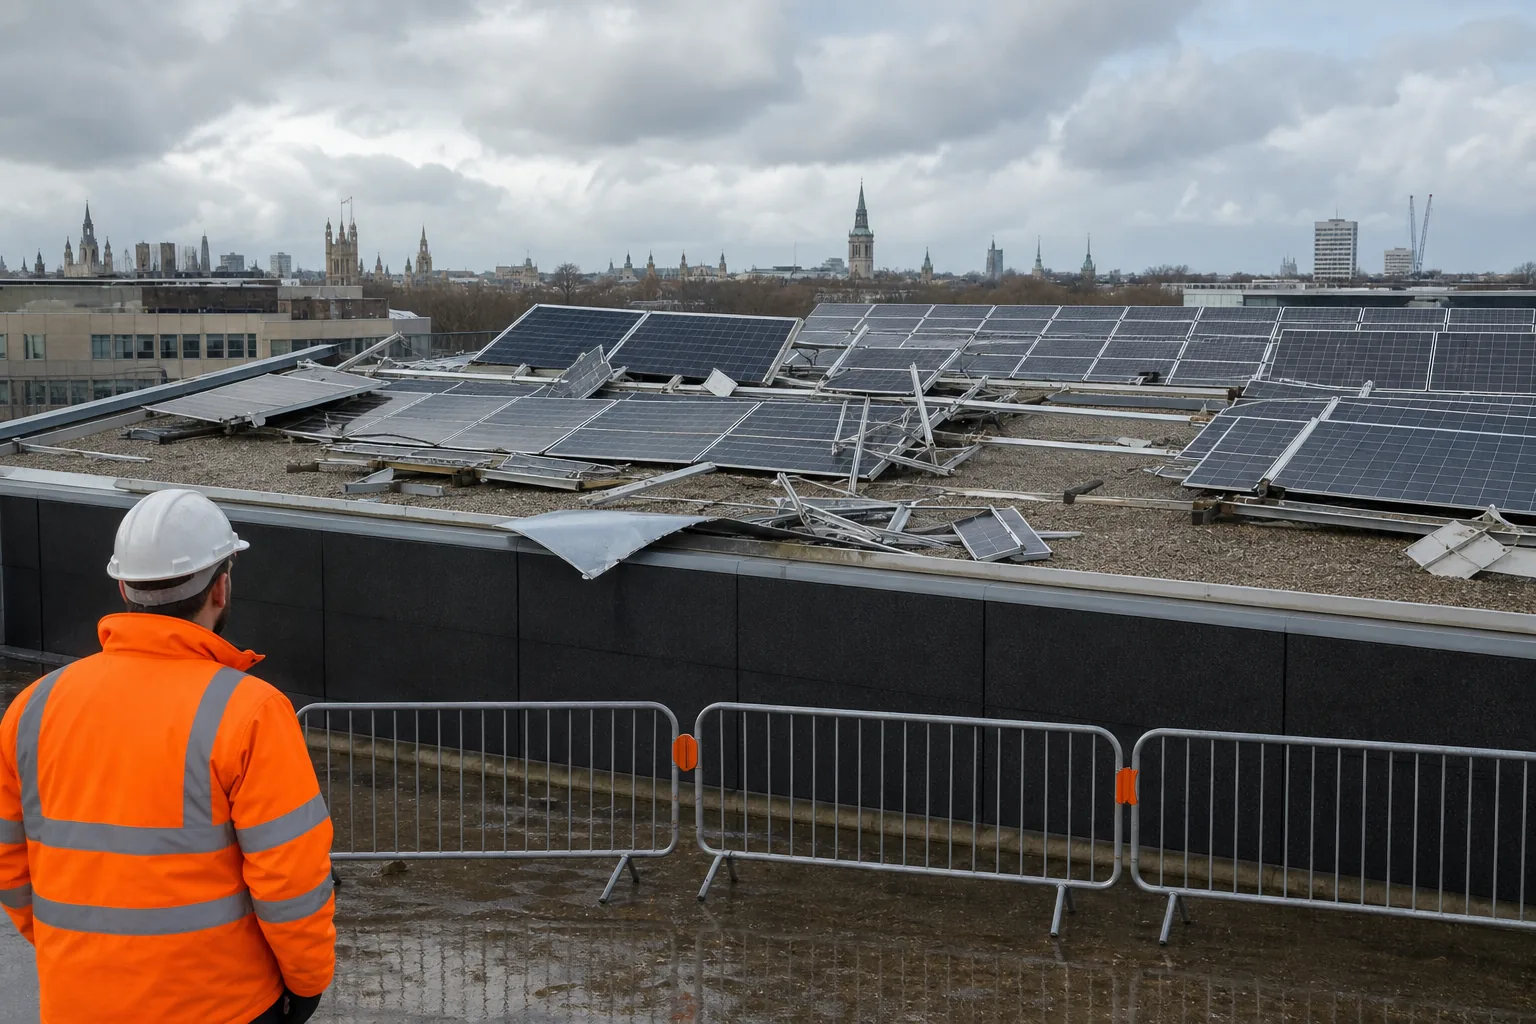
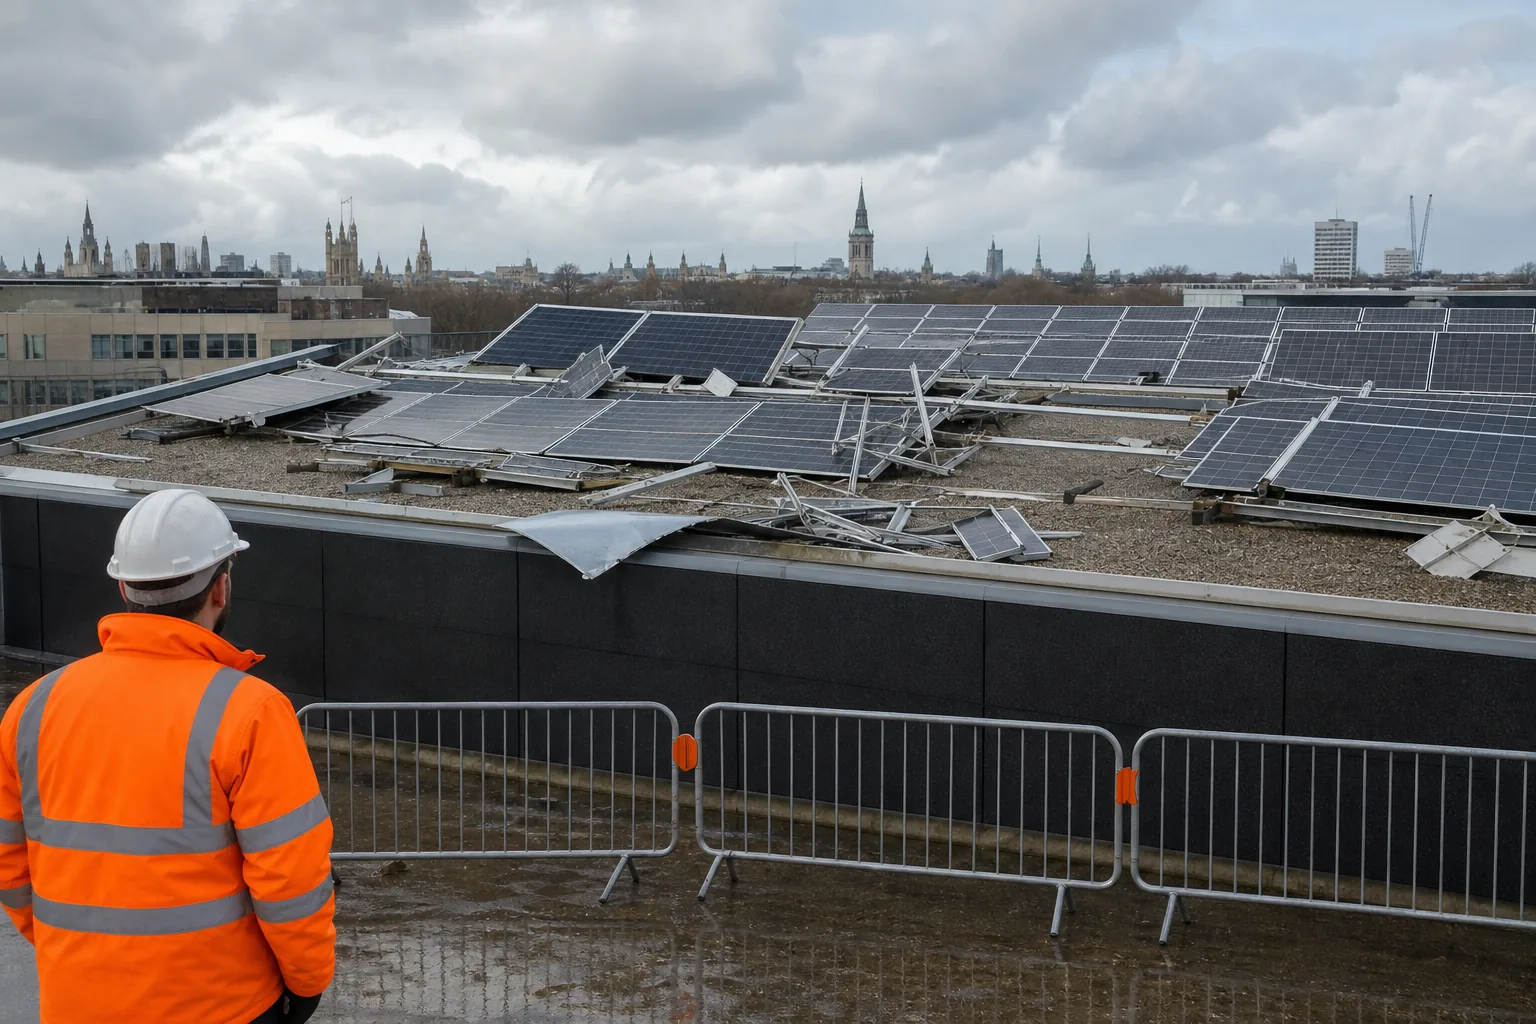
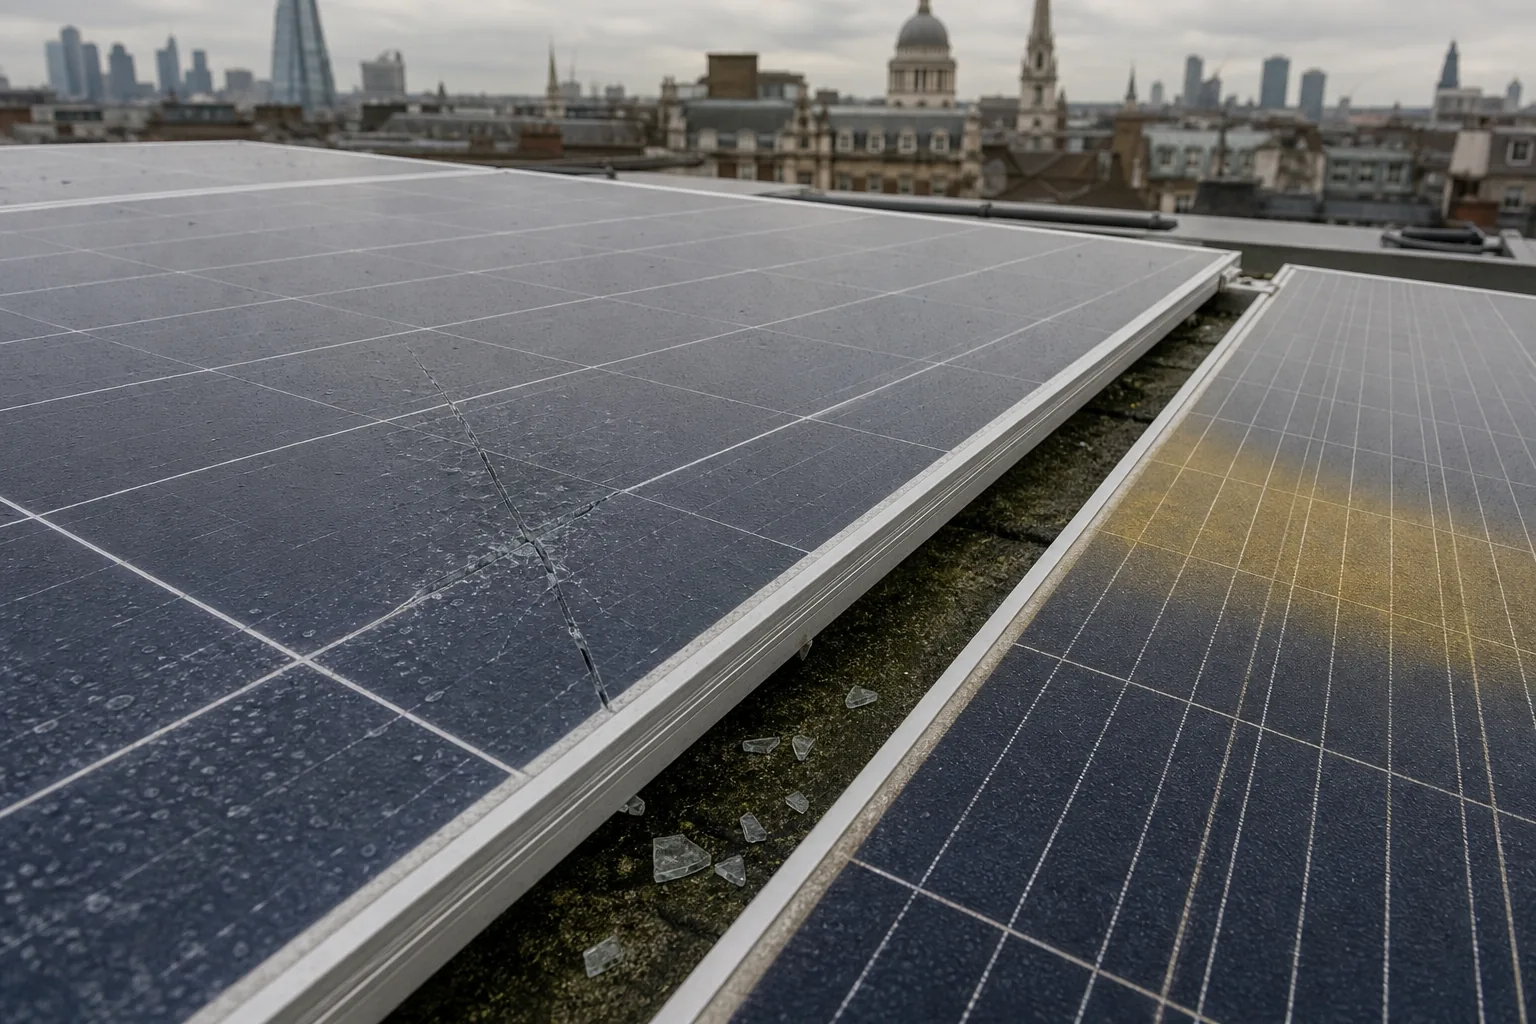
Next, inspect from a safe position at ground level. Keep people away from the roof edge and any area below damaged panels. Look for broken glass, loose objects, hanging cables or parts of the mounting system that may have moved during a storm.
Don’t climb onto a commercial roof or touch modules, connectors, isolators or cables unless you’re trained and authorised. Arrange a qualified PV engineer when the array needs electrical isolation or hands-on testing. Guidance on storm damage also recommends checking from a safe distance and having defective modules assessed by a professional.
After high winds, hail or flying debris, preserve the scene. Don’t sweep away glass or move a displaced panel before taking wide photographs. If water has entered the building, protect the affected room while keeping clear of any suspected electrical route.
For a larger roof, an independent commercial solar panel inspection process helps set the access plan before anyone visits site. Visual Perspectives Limited uses drone surveys to inspect difficult roofs without sending staff into unnecessary exposure zones.
Milestone: By now, you should have a safe viewing point, a site contact and a clear decision on whether a qualified engineer must isolate the system.
Step 2: Record Visible Signs and Establish the Likely Cause
Good records turn solar panel damage from a vague concern into a traceable defect. Record what you can see before you decide what it means.
Take a wide image first. Show the roof zone, row and nearby landmarks. Then take a closer image of the suspected module. Use the same sequence for each panel so another person can match the evidence to the array plan.
Write down the date, time, weather and system status. Include the inverter reading or monitoring alert where available. Note whether the array was producing power and whether recent rain, cloud or shade could affect a later thermal survey.
Use a panel reference rather than a description such as the third panel from the left. Roof work changes. A panel number, string reference or GPS position gives the installer, insurer or surveyor one fixed point.
Look for signs that suggest different causes:
- Shattered glass or fragments that protrude from the module suggest impact or wind damage.
- Long scratches may point to deeper cell cracks that aren’t visible from the roof edge.
- Yellowing across the centre can indicate age-related degradation.
- Soiling, bird fouling, leaf litter or industrial dust can reduce light without damaging the module.
- Lifted edges, shifted panels or loose clamps may indicate movement in the mounting system.
- Water marks near a panel may relate to the roof rather than the module itself.
Don’t treat every dark patch as a fault. Reflections, shade and dirt can look serious in a photograph. The recorded cause is only a working theory until a suitable test confirms it.
Photovoltaic systems convert sunlight into electricity. That simple point matters during inspection: if a panel is shaded, dirty or disconnected, its appearance and output may change for different reasons.
Build a defect log as you go. Give each entry a panel ID, image number, likely cause and next test. Add a field for confidence. Mark it as suspected when the evidence is visual only.
Keep the record honest: say suspected crack, possible moisture ingress or unconfirmed hotspot. That wording protects later decisions and stops a repair quote being based on guesswork.
Milestone: By now, you should have a numbered image set and a defect log that another professional can follow without visiting first.
Step 3: Check for Moisture Ingress, Cracked Glass and Degradation
Close visual checks help separate three common forms of solar panel damage: broken glass, moisture ingress and age-related degradation.
Start with cracked glass. Stand clear of fragments and avoid pressing on the module. Record the crack pattern, its position and whether the glass has shattered or only formed a line. A broken surface can expose the inside of the panel to rain. It can also point to hidden cell or electrical damage below the glass.
Wind force, hail and airborne objects can all cause impact damage. After a storm, inspect panels along the likely flight path of a branch or loose object. One damaged module doesn’t mean the next one is sound.
Moisture ingress needs care. Look for water marks, cloudy areas, staining or signs that the back of the module has been exposed. Don’t assume a dry surface means the panel is dry inside. Water can enter through a broken seal and cause degradation over time.
A clear outdoor-rated coating or suitable window film has been suggested as a temporary way to seal some cracked areas in the source material. Treat that as a repair decision for a competent specialist, not a DIY instruction. A coating may limit water entry, but it won’t restore broken cells or remove an electrical risk.
Then check for degradation. One reported example showed a yellowing stripe through the middle of a panel. Output testing found a fall from 230 watts to about 180 watts, which is roughly a 22% reduction. The same approximate loss appeared in the example of shattered glass.
That comparison is useful, but don’t apply the figure to every installation. Module age, design, weather, loading and the fault itself all affect output. Use the finding as a reason to test, not as a forecast.
Review the panel against nearby modules under similar conditions. Compare the inverter data with the array history. A single weak panel may point to module damage. A whole weak string may point to a connector, cable, bypass diode or inverter issue.
Soiling needs its own check. Bird fouling or industrial grime can cover cells without leaving a crack. If the coating is consistent across a group of panels, arrange cleaning and then compare output again. The solar panel maintenance guidance for commercial roofs explains why visual checks, thermal surveys and ongoing performance records belong in the same maintenance plan.
Hail damage may also raise a wider environmental question where broken modules release material into run-off. The research material mentions testing nearby water wells for chemical contamination in that specific situation. This is a niche check, so involve the relevant environmental and technical specialists rather than adding it to every PV inspection.
Milestone: By now, you should know which findings are visible defects, which are performance concerns and which need specialist confirmation.
Step 4: Use Thermal Imaging and Drone Inspection to Find Hidden Faults
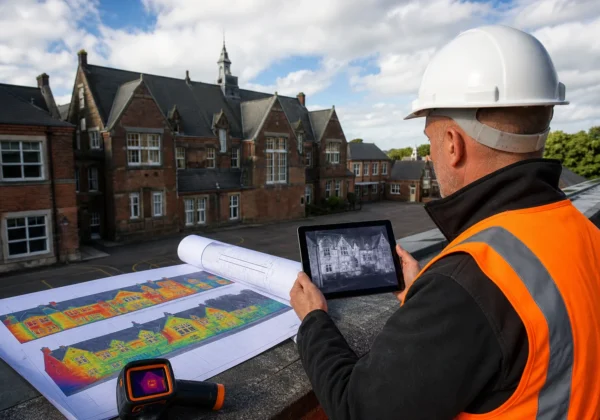
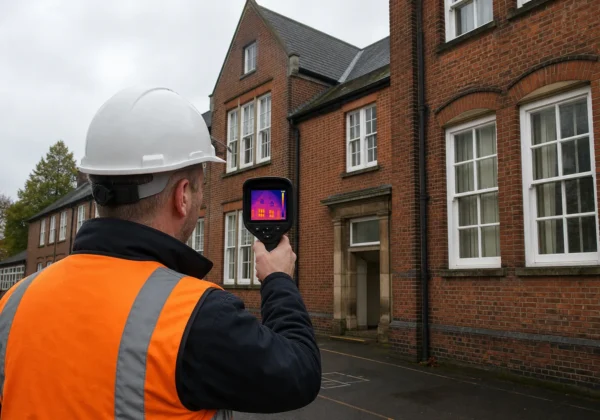
Thermal imaging finds solar panel damage that the naked eye can’t see. A drone survey adds a safe view of large or hard-to-reach roofs.
Plan the survey for a period when the array is producing power. Stable sunlight gives the camera a better chance of finding temperature differences. Recent rain, passing cloud, glare and heavy shade can weaken or distort the result.
A healthy group of modules often shows a fairly even thermal pattern under the same load. A sharp hot area may point to cell damage, a bypass diode issue, a poor connection or another electrical fault. A cooler panel may be disconnected, shaded or carrying a different load.
Thermal data is evidence of an abnormal temperature pattern. It isn’t always proof of the cause. A thermographer should compare a suspect module with nearby reference modules and check the RGB image before assigning a defect type.
Survey the wider system too. Include junction boxes, connectors, cables, combiner equipment and inverters where the method and access plan allow it. A hot connector can sit outside the module and still affect the performance or safety of the array.
For commercial roofs, drone-based thermography can map a large installation quickly, precise, and detailed. Visual Perspectives Limited provides high-resolution thermal imaging and drone surveys for commercial buildings and public estates, with reporting aligned to IEC 62446 where applicable.
A drone view also helps link PV faults to roof condition. Check for ponding, damaged membrane, poor drainage or movement around ballast. A module fault and a roof fault may need different repair sequences. Replacing a panel before fixing water entry can leave the cause in place.
After a thermal anomaly, ask a qualified PV engineer to carry out the electrical checks. These may include string voltage, current, insulation resistance and connector inspection, depending on the system and safe system of work. Never disconnect live DC connectors as a quick test.
Repeat a scan when the first image is unclear. A single thermal image can mislead if the array was partly shaded or a reflective surface changed the apparent temperature.
Decision rule: use thermal imaging to locate the fault, then use qualified electrical testing and visual evidence to confirm it.
Step 5: Classify the Damage, Prioritise Remedial Action and Document the Findings
The final step turns solar panel damage into an action plan. A report should tell the asset manager what needs to happen, who owns it and when it should be checked again.
Classify each finding by four tests:
- Safety: could the fault involve heat, exposed conductors, damaged cables or broken glass?
- Energy impact: does the evidence show a weak module, string loss or a wider performance drop?
- Likelihood of worsening: could water, movement or heat spread the defect?
- Time pressure: is there an insurance, warranty or planned maintenance deadline?
A suspected hot connector or exposed cable should move ahead of routine cleaning. A small soiling issue may wait for planned maintenance if generation remains stable and no safety concern exists. A cracked panel needs a repair decision based on its electrical condition, warranty terms and the risk of further water entry.
Write a specific action for every defect. Use terms such as clean, isolate, test, reseal, replace, inspect the roof or monitor. Avoid instructions such as fix hotspot. State the panel ID, string reference, image number and proposed test instead.
Your evidence pack should include:
- An array plan with panel and string references.
- Wide RGB images and close defect images.
- Thermal images with the survey conditions.
- Inverter records and electrical test results.
- Roof condition notes where the array affects access or water risk.
- Repair records, replacement details and warranty documents.
- Post-repair images and a repeat thermal check where needed.
Professional judgement remains necessary. Some issues, such as moisture ingress or possible chemical contamination, need a more specific investigation.
Visual Perspectives Limited can provide an independent inspection record for surveyors, facilities teams, insurers and public-sector asset managers. We work independently of installers, so the report can support a repair decision without assuming that replacement is the answer.
Once repairs are complete, verify the work. Compare the new output with the earlier reading and rescan the affected area under similar operating conditions. If the thermal pattern remains, the first repair may not have addressed the cause.
Milestone: By now, you should have a prioritised defect list, a named next action and an evidence pack suitable for handover.
FAQ: Solar Panel Damage
Can I inspect damaged solar panels myself?
You can carry out a safe ground-level visual check, but you shouldn’t touch or disconnect damaged PV equipment. Look for broken glass, loose panels, hanging cables and storm debris from a safe position. Arrange a qualified engineer for isolation, electrical testing or roof access. Solar panel damage can remain electrically live in daylight.
What does cracked glass do to a solar panel?
Cracked glass can let moisture reach the inside of a module and may hide cell damage. In one reported example, output fell from 230 watts to about 180 watts after the glass shattered. That result doesn’t apply to every panel, so confirm the impact with performance data and suitable testing.
Can thermal imaging find solar panel damage?
Thermal imaging can find abnormal heat patterns linked to some faults that a visual check misses. Hot areas may relate to damaged cells, bypass diodes, connectors or cables. The image shows an anomaly, not always its cause. A thermographer should compare nearby modules and follow up with visual and electrical checks.
How often should commercial solar panels be inspected?
Commercial PV arrays should have a planned inspection programme, with an extra check after hail, storms or other severe weather. The right interval depends on the roof, system design, environment and insurance terms. A visual check, performance monitoring and periodic thermal inspection give different kinds of evidence.
What should a solar panel damage report include?
A useful report includes the inspection date, weather and system conditions, plus an array plan with panel references. Add RGB and thermal images, the suspected cause, severity, recommended action and any electrical test results. Include roof findings where relevant. Clear location data lets an installer return to the exact defect.
Conclusion
Assess solar panel damage from the ground first, then confirm hidden faults with thermal imaging and qualified electrical testing. For a commercial or public-sector roof, arrange an independent drone survey before approving major repairs. Visual Perspectives Limited provides UK-wide drone and thermal inspections that give asset teams quickly, precise, and detailed evidence of what the naked eye can’t see. You’ll be in good hands.