A building can look sound yet lose heat through a roof hatch, take in water at a failed joint, or hide damp behind a wall finish. This building envelope diagnostic checklist gives you a clear inspection route, from scope and visual checks to thermal imaging, pressure tests and repair planning.
For UK public estates, good evidence matters. It helps you set priorities before a small defect becomes a major repair. Visual Perspectives Limited supports this process with independent drone surveys, thermal imaging and high-resolution mapping, quickly, precise, and detailed.
Step 1: Define the Inspection Scope and Gather Existing Evidence
Start the building envelope diagnostic checklist by fixing the survey boundary and the question you need answered. A roof leak needs a different plan from a whole-estate heat loss survey.
Write down the building use, age, construction type and known defects. Note whether the site includes a flat roof, pitched roof, cavity wall, external wall insulation, curtain walling, basements or internal spaces with unusual conditions. A plant room, swimming pool or cold store may need its own envelope review because its heat and moisture loads differ from nearby rooms.
Gather records before visiting site:
- Architectural and construction drawings, including wall build-ups.
- Previous condition surveys, repair records and warranty information.
- Energy bills, meter data and complaints about drafts or cold rooms.
- Roof plans, access details, asbestos information and site risk assessments.
- Records of floods, storms, leaks, condensation or failed insulation work.
Mark the survey boundary on a plan. Include parapets, rooflights, gutters, hatches, plant areas, service penetrations and hard-to-see elevations. For a wider estate, give each block its own reference. Our drone survey planning guidance follows this same principle: define the area before collecting data.
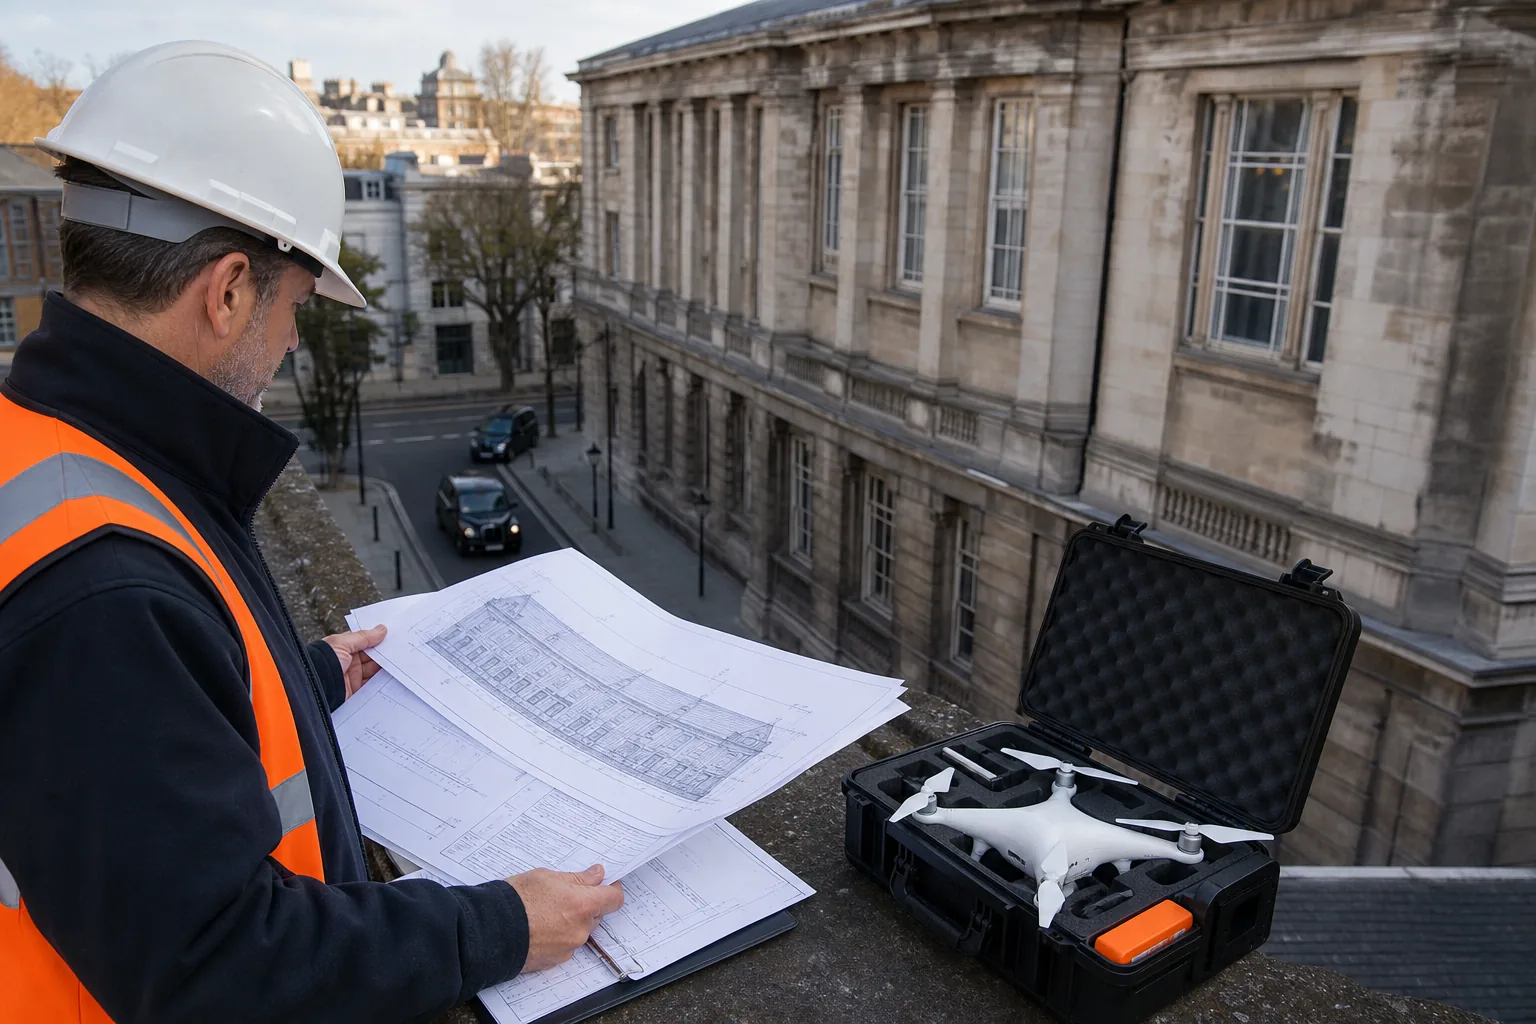
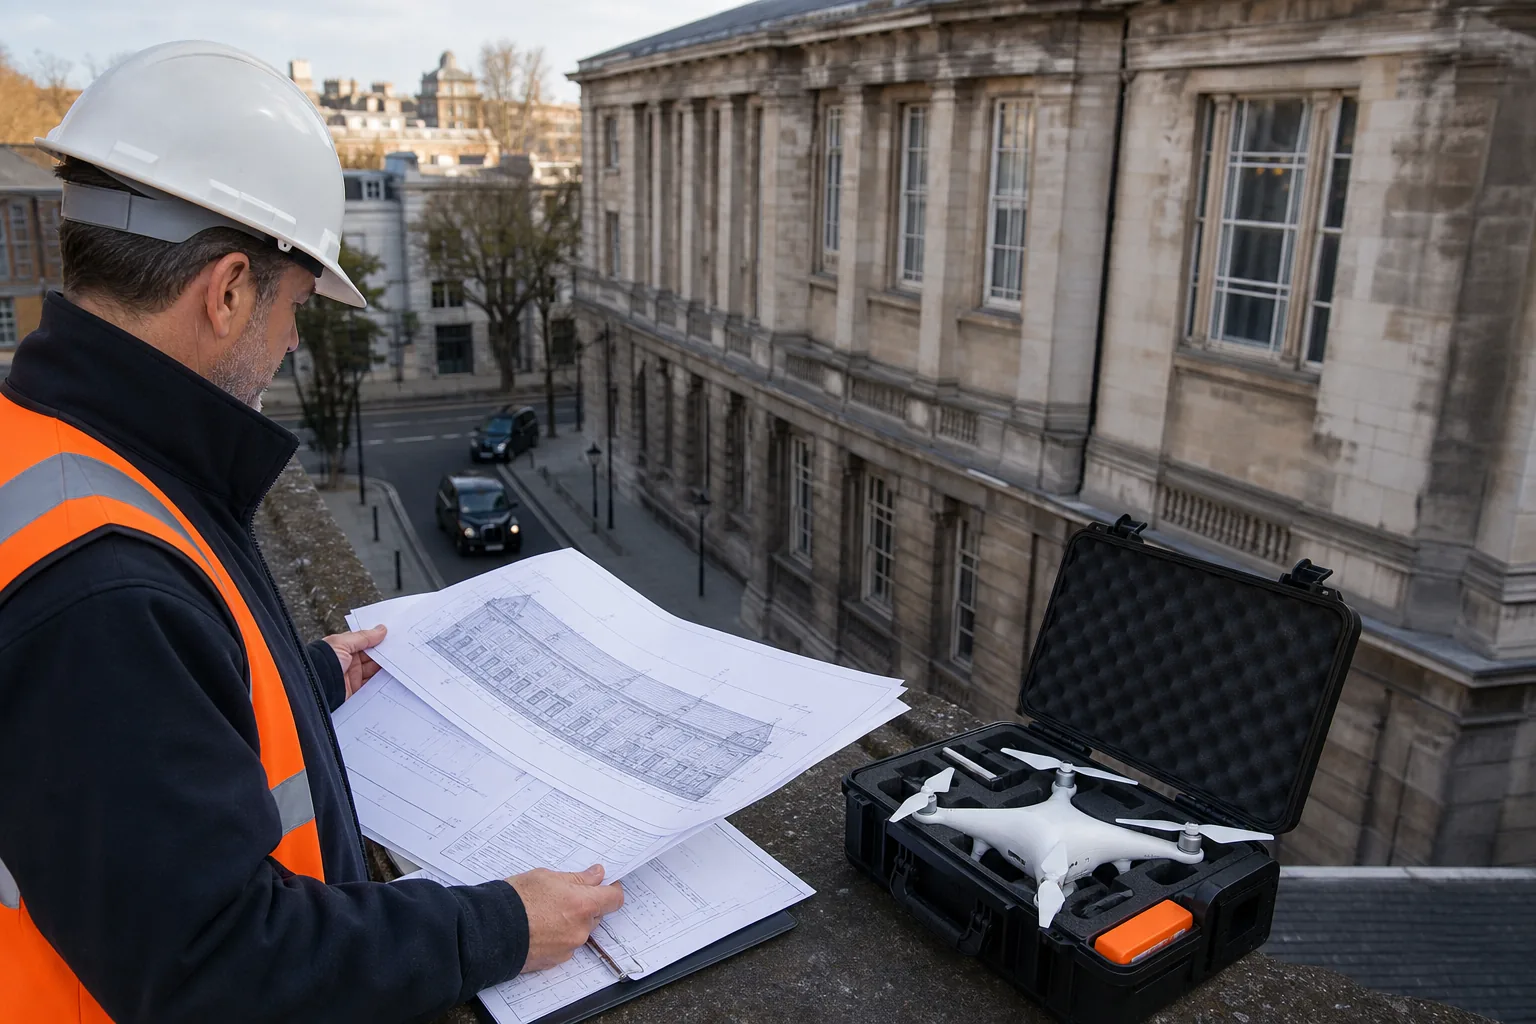
Set access rules early. A drone roof survey may reduce work at height, but it still needs a competent operator, a site briefing and a check of airspace, people, weather and nearby structures. A physical inspection may need suitable access equipment or specialist access arrangements. Ask contractors for suitable insurance, method statements and evidence of competence before they start.
Agree the output too. You may need a defect register, thermal images, a measured roof plan, a 3D model, repair advice or a budget by year. If the report has no clear use, the survey can gather detail without helping you make a decision.
By now you should have a marked scope, a document pack, an access plan and a list of questions. You’ll be in good hands when the inspection has a defined purpose.
Step 2: Inspect Each Envelope Element and Locate Common Leak Paths
Use the checklist to move around the building in a fixed order. This makes missed areas less likely and gives each defect a location that another person can find.
Roof and upper edge
Look for damaged membranes, missing tiles, open seams and ponding water. Check flashings around rooflights, vents, chimneys and perimeter edges. Inspect roof hatches for worn seals, then look below for ceiling stains or damp insulation.
Flat roofs need close attention at outlets, upstands and plant supports. A leak may travel beneath the membrane before it appears indoors, so record the visible symptom separately from the suspected source. Do not assume the nearest stain marks the entry point.
Walls, joints and penetrations
Inspect masonry, concrete, render, cladding and external wall insulation for cracks, spalling, bulges or loose sections. Staining can point to water movement. Fungal growth or a persistent musty smell needs further moisture checks, not a coat of paint.
Focus on interfaces. Sealants fail at window frames, parapets, movement joints and service penetrations. Expansion joints need enough movement capacity. A rigid patch across a moving joint may crack again within a short time.
Windows, doors and below-ground areas
Check glazing seals, weatherstrips, frame gaps, hinges and drainage paths. Look for condensation between panes. Test doors for a clean seal when closed, especially doors between heated rooms and garages, stores or plant areas.
At ground level, inspect cracks, damp walls, blocked drains and failed waterproofing. Check that ground falls away from the building where the site allows it. In basements and crawl spaces, record the height and spread of damp rather than writing only “water ingress”.
A useful façade inspection survey can add high-resolution images, thermal data and a geo-referenced envelope map when height or access makes close viewing difficult. Visual Perspectives Limited can collect this information without asking staff to walk fragile roof areas.
Photograph each defect with a wider location view and a close detail. Add the elevation, grid reference or room number. Record weather conditions and whether the surface was wet during the visit. The checklist should distinguish a confirmed defect from a possible cause.
That distinction protects your budget. A cracked finish may be cosmetic, or it may point to movement behind the wall. Escalate signs of structural movement, loose façade material or serious water ingress to a suitably qualified building professional.
The inspection milestone is a defect map that covers the roof, walls, openings, joints and foundations. You’ll be in good hands when every image links to a location and an action.
Step 3: Use Thermal Imaging and Air- and Water-Tightness Tests
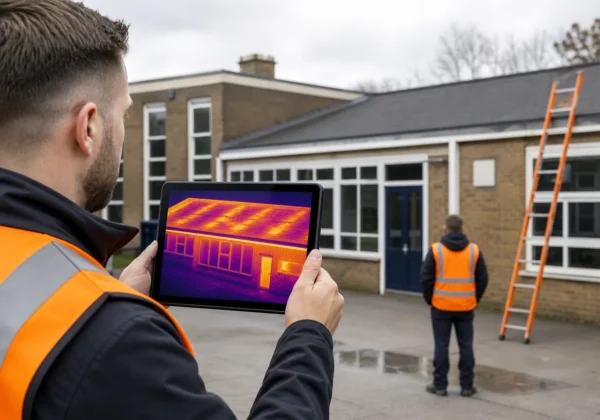
Thermal imaging adds evidence that a visual building envelope diagnostic checklist cannot provide on its own. It shows surface temperature patterns, which may point to air leakage, missing insulation, thermal bridging or wet roof insulation.
A thermal camera does not see damp directly. It sees temperature differences. Wet insulation can conduct heat faster than dry insulation, so a roof may show a distinct pattern under suitable conditions. The operator must compare the image with visible defects, construction details and moisture readings before recommending an intrusive repair.
Plan the survey around conditions. Indoor and outdoor temperature need enough difference to reveal patterns. Sun, wind, rain and plant operation can change surface temperatures. Record those conditions with the images. A report with no environmental notes is harder to defend later.
Infrared surveys use surface temperature differences to identify areas that need further investigation. The same basic limit applies in UK work: a thermal image is evidence for diagnosis, not proof of a defect by itself.
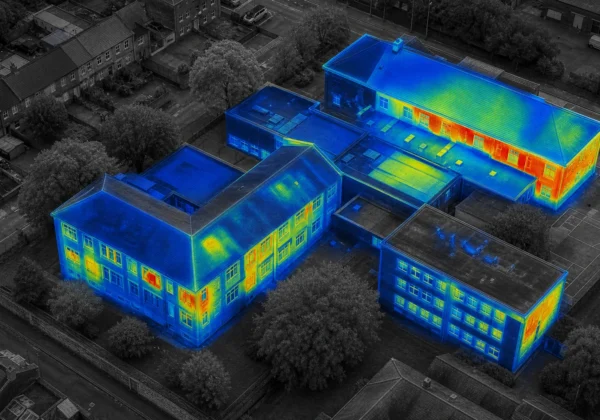
For larger or difficult sites, Visual Perspectives Limited combines drone imagery with thermal data and high-resolution 3D mapping. This helps place a cold area or suspected roof defect on a measured surface. The result is quickly, precise, and detailed, with a record that can support a surveyor’s review or a repair tender.
Use pressure testing when you need to measure air leakage or find its path. A blower door depressurises or pressurises a building. A thermal camera or other suitable leak-detection method can then help locate leaks at doors, hatches, downlights, ducts, service risers and hidden wall junctions.
Separate large leaks from many small leaks. A loose roof hatch may need a new seal. Repeated gaps around sockets or pipework may need a planned air-sealing package. Keep ventilation in the discussion. Sealing uncontrolled leakage without checking designed ventilation can affect indoor air quality and pressure balance.
Use a controlled water test only when the risk and test area are clear. A controlled water application can test a window, joint or façade section. Protect internal finishes and agree the stopping point before water is applied. Standards such as ASTM E779 and ASTM C1153 are cited in envelope testing guidance, but your UK project should also follow the appointed consultant’s specification and applicable requirements.
By now you should have visual, thermal and test evidence that points to likely causes. You’ll be in good hands when each test has a stated purpose and a recorded limitation.
Step 4: Diagnose Moisture, Condensation and Building-Services Interactions
Moisture diagnosis turns a symptom into a cause. This part of the building envelope diagnostic checklist should link damp marks with weather, indoor humidity, ventilation and building services.
First, decide whether the moisture comes from outside, inside or a plumbing fault. External water often follows failed flashings, open joints, blocked outlets or cracks. Internal moisture can condense on cold surfaces when warm air reaches a cold bridge. A leaking pipe may mimic both.
Record:
- Room temperature and relative humidity.
- Surface temperature at the affected area.
- Moisture readings in nearby materials.
- Recent weather and the timing of the complaint.
- Heating, cooling and ventilation operation.
Condensation risk rises when indoor moisture meets a cold surface. Schools may see high moisture after a crowded lesson. Healthcare spaces have strict environmental needs. Offices may have rooms that are heated unevenly because doors stay shut or air grilles are blocked.
Check the air barrier and vapour control layer as separate functions. The air barrier limits uncontrolled air movement. A vapour control layer manages vapour movement through the construction. A gap around a pipe can weaken the first. A poorly designed wall build-up can affect the second. The repair must match the failure.
Building services can hide or cause envelope problems. Warm plant may create false thermal patterns. Extract fans can pull air through gaps when the building is under negative pressure. Poorly sealed duct penetrations can carry warm, moist air into roof or wall voids.
Use thermal imaging as a guide, then confirm findings with other appropriate checks or carefully planned opening-up work. Do not label every cold patch as missing insulation. Metal fixings, structure and air movement can all produce a similar image.
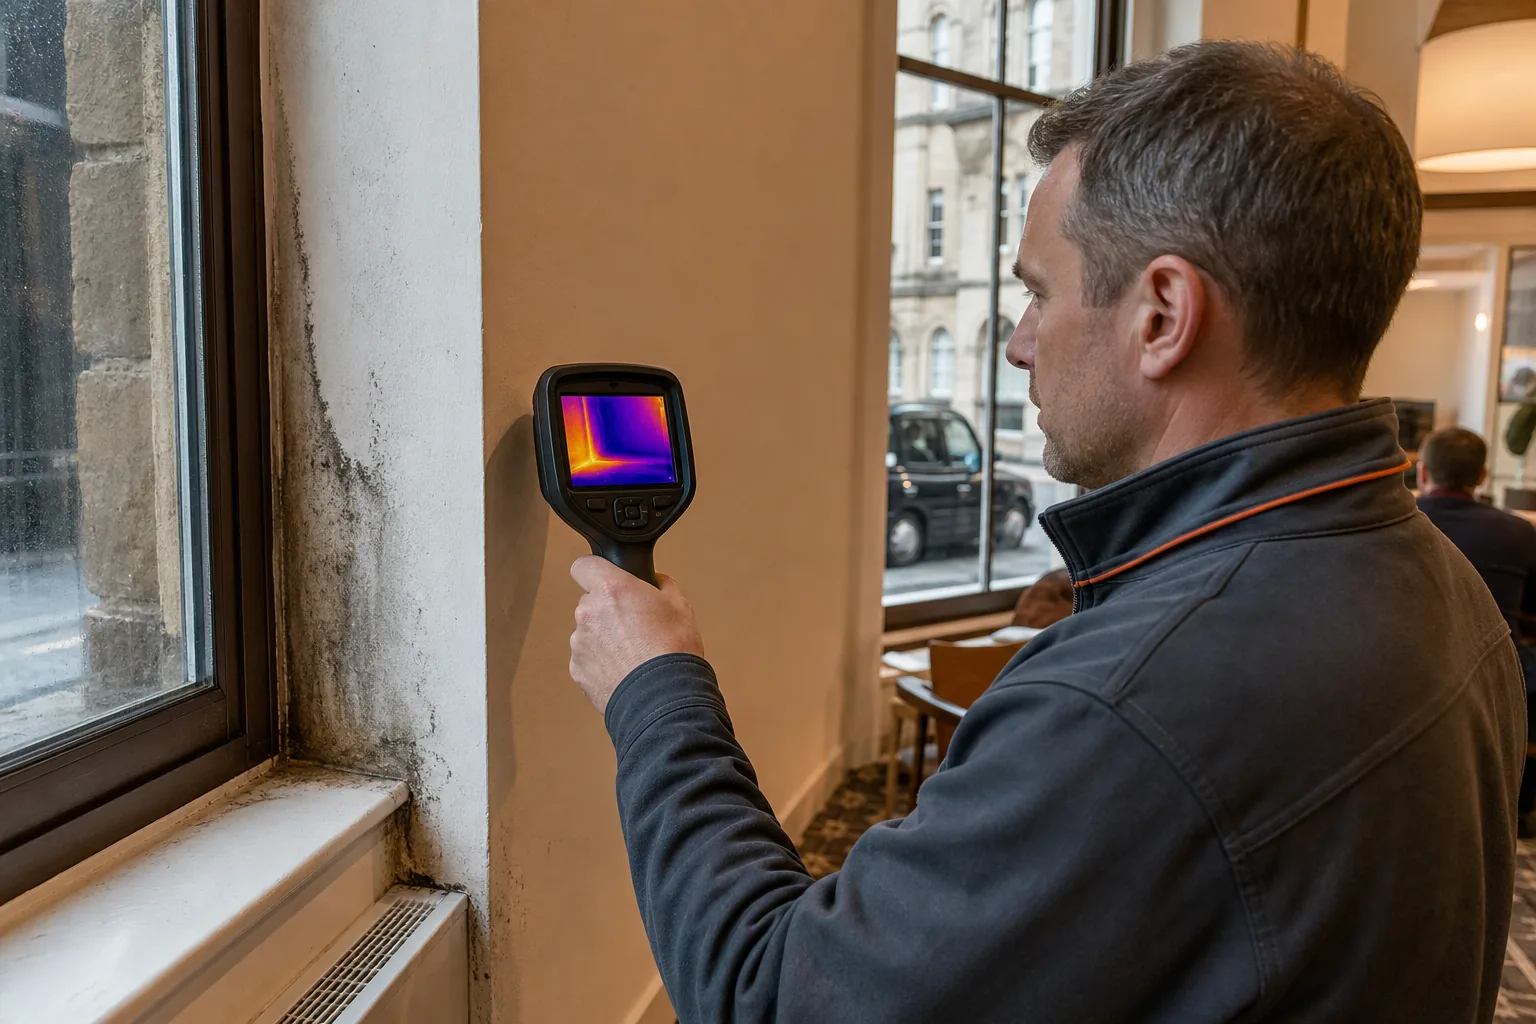
Visual Perspectives Limited can help identify what the naked eye can’t see, while the final diagnosis should still involve the right building surveyor, engineer or retrofit professional. You’ll be in good hands when the moisture path is tested before the finish is replaced.
Step 5: Record Findings, Prioritise Remedial Work and Plan Seasonal Follow-Up
A useful checklist ends with a decision record. Set out the defect, evidence, risk, likely cause, recommended action, owner and target date.
Use a simple priority scale:
- Immediate: a life-safety concern, active water entry, loose façade material or structural risk.
- Planned soon: a defect that could damage fabric, disrupt occupants or increase energy use.
- Routine: a minor seal, finish or maintenance issue with no current sign of wider damage.
- Monitor: an uncertain condition that needs a repeat visit or better test evidence.
Attach the cost plan to the defect register. Separate investigation costs from repair costs. Include access, design, enabling work, temporary protection, testing and post-repair checks. A low-cost seal may not stay low-cost if access requires specialist equipment.
Ask contractors for a written scope that states the repair limit and the materials proposed. Check public liability insurance, professional indemnity where design advice is included, employer’s liability cover and relevant competency records. For higher-risk façade or structural work, appoint an independent professional to review the scope rather than relying on the repair contractor alone.
For new work, consider envelope commissioning before handover. Review drawings, inspect mock-ups, check installation during construction and test selected assemblies before finishes hide them. This gives the owner a better chance of proving that the installed air barrier, insulation and weather barrier match the design intent.
Plan seasonal follow-up. In spring, check storm damage, blocked outlets and winter moisture. In summer, inspect roof surfaces, sealants and heat-related movement. In autumn, clear drainage paths and review roof plant penetrations. In winter, repeat thermal checks during suitable temperature differences and look for cold surfaces, drafts and condensation.
Keep one record across the asset’s life. Add post-repair photographs, test results, invoices, warranties and dates. A digital register lets a facilities team compare the same elevation after each intervention instead of starting from scratch.
Our building condition survey guidance uses this record-led approach, with defects linked to descriptions and future budget decisions. By now you should have a ranked work plan, a responsible owner and a date for the next check.
FAQ
What is included in a building envelope diagnostic checklist?
A building envelope diagnostic checklist covers the roof, walls, windows, doors, joints, penetrations and below-ground elements. It should also record air leakage, thermal patterns, moisture, condensation, access limits and service interactions. The best checklist links each finding to a location, image, risk level and next action.
How often should a building envelope be inspected?
Most buildings need planned inspections at least once or twice each year, with extra checks after major storms or extreme weather. The right interval depends on age, construction, exposure, occupancy and known defects. A school, NHS estate or housing block may also need targeted checks after refurbishment or insulation work.
Can thermal imaging find a roof leak?
Thermal imaging can help locate wet insulation and unusual temperature patterns linked to roof leaks. It cannot prove the leak source on its own. The operator should compare thermal images with roof details, moisture readings, weather conditions and visible defects before specifying an opening-up or repair.
Do I need a blower door test for a commercial building?
A blower door test is useful when you need measured air leakage data or want to locate uncontrolled drafts. It can support new-build commissioning, retrofit checks and investigations into cold rooms or pressure problems. The test plan should account for building size, occupancy, ventilation systems and the performance target set for the project.
Who should complete a building envelope diagnostic checklist?
A trained surveyor, thermographer or building specialist should complete the inspection when defects may affect structure, moisture safety or retrofit design. Facilities staff can carry out routine visual checks, but they should escalate loose materials, repeated damp, major cracks and uncertain thermal results. Independent evidence helps separate diagnosis from the repair contractor’s sales interest.
Conclusion
Use the checklist as a repeatable inspection record, not a tick-box exercise. Start with scope and history, then combine visual evidence with thermal imaging and targeted air or water tests. For public estates, Visual Perspectives Limited provides independent drone roof surveys, façade imaging and building thermography across the UK. Set the next inspection date now, while the findings are still clear.