
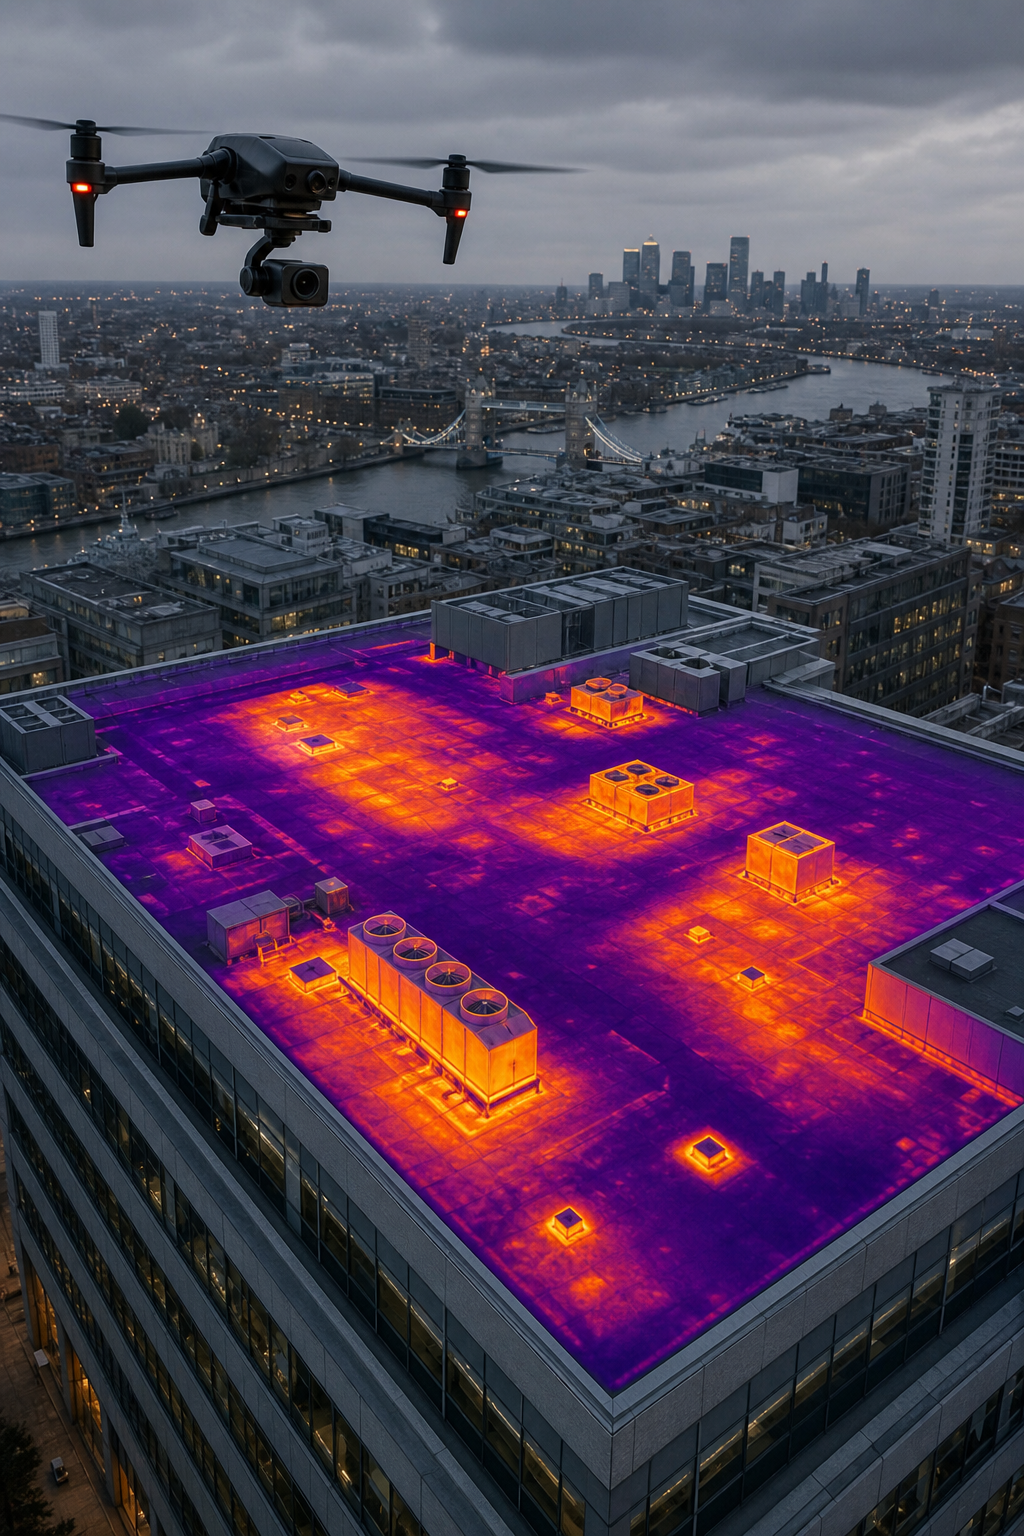
Ever looked at your heating bill and wondered where all that money is going? You’re not alone. For commercial building owners and facilities managers, heat loss isn’t just a comfort issue, it’s a budget drain. Traditional visual inspections can only see surface problems. But thermal imaging? It shows you what the naked eye can’t: missing insulation, air leaks, moisture trapped in roofs, and thermal bridges that waste energy. In this guide, we’ll walk through eight thermal imaging insulation checks you can use on commercial buildings. Each one targets a different part of the envelope. We’ll explain how it works, what to look for, and how to act on the findings. Let’s start.
1. Drone-Based Thermal Imaging Insulation Survey (Our Pick)
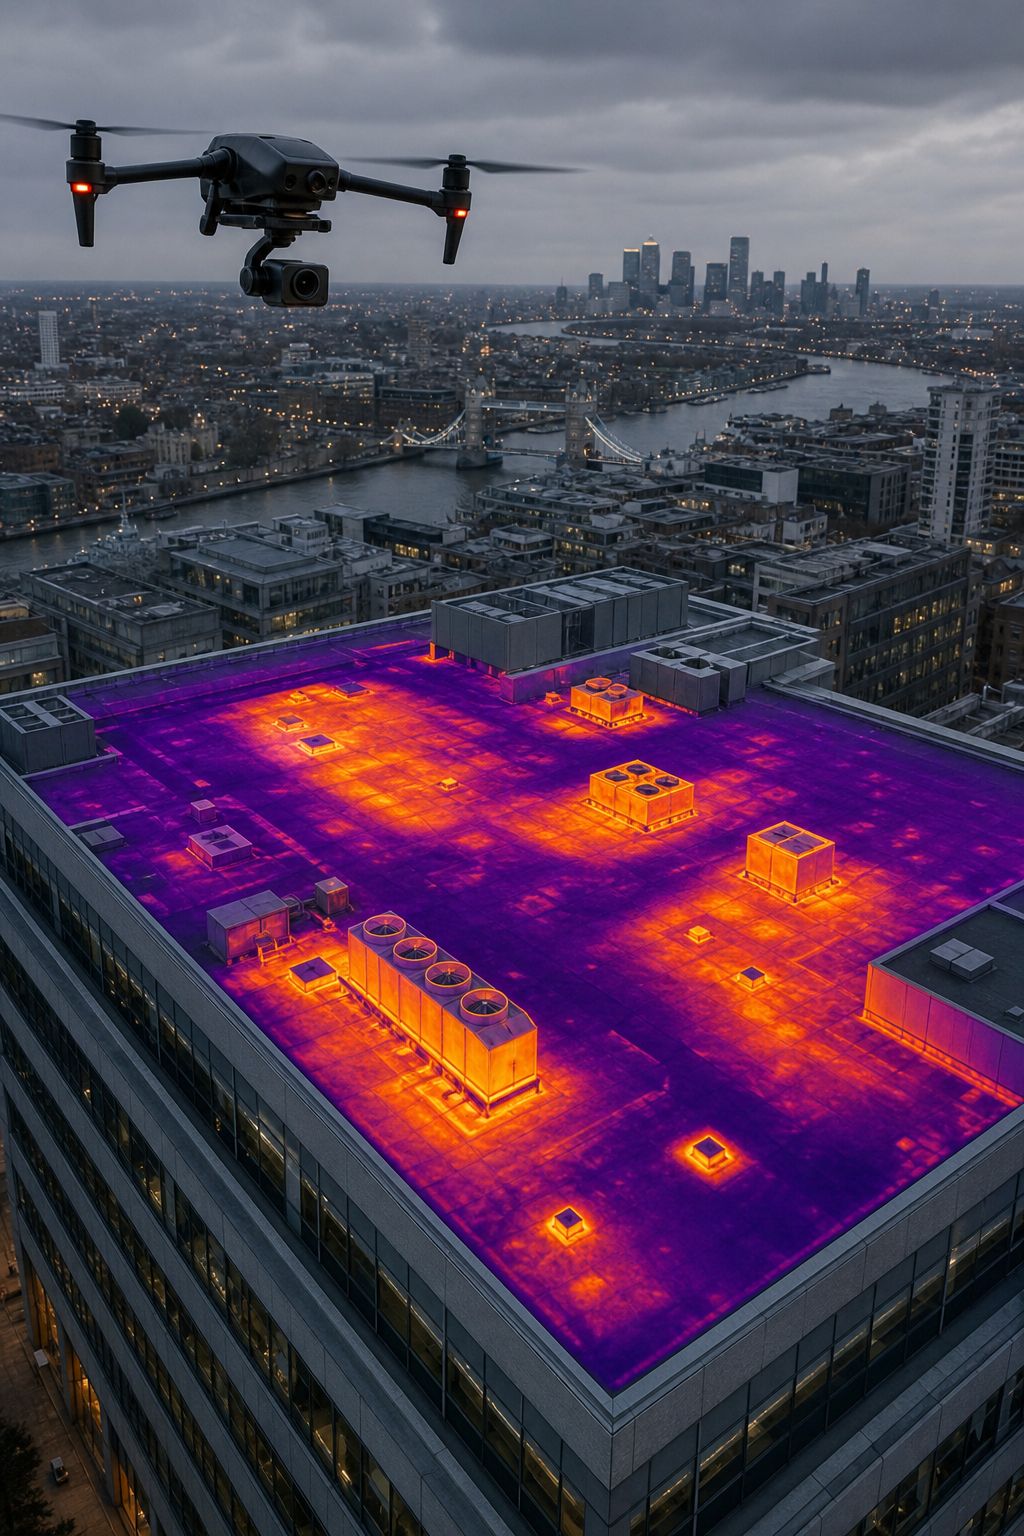
When you need to inspect a large commercial roof or facade, drones are the fastest, safest, and most accurate option. A drone-mounted thermal camera flies over the entire building, capturing thousands of temperature readings per second. It can spot insulation gaps, moisture pockets, and thermal bridges that are invisible from the ground.
At Visual Perspectives Limited, we combine advanced drone thermography with ITC Level 1 and 2 certified thermographers. Our reports are compliant with IEC 62446 for solar PV systems and include high-resolution imagery and defect diagnostics. We’ve found that drone inspections reduce the need for scaffolding by up to 90%. That means lower costs and less disruption.
What can drone thermal imaging reveal?
- Missing or compressed insulation, Areas where the thermal pattern shows a sharp temperature difference indicate where insulation is absent or has settled.
- Moisture intrusion, Wet insulation holds heat differently, appearing warmer at night during radiational cooling.
- Thermal bridging, Steel beams, concrete columns, and other conductive materials create lines of heat loss.
- Air leakage, Gaps around roof penetrations (vents, pipes, HVAC units) show as distinct cold spots.
Drone surveys are especially useful for buildings with complicated rooflines, multiple levels, or sensitive operations that can’t tolerate roof traffic. on drone thermal inspections, this technology “considerably reduces the need for scaffolding or moving personnel on rooftops.” We couldn’t agree more.
One operational example: a 50,000 sq ft distribution centre in the Midlands had sky-high energy bills. A visual walkthrough showed nothing wrong. But a drone thermal survey revealed a 12-metre strip of missing insulation along the north parapet wall. Fixing that single defect saved the owner £8,000 per year in heating costs.
2. Loft and Roof Void Insulation Inspection
Not every commercial building has a flat roof. Pitched roofs with loft spaces are common in older office buildings, schools, and retail units. Insulation in these voids can settle, become dislodged by pests, or get compressed by stored items. A thermal imaging check from inside the loft or from the exterior on a cold night can pinpoint problem areas.
For interior inspections, you’ll need a thermal camera and a stable temperature difference (at least 10°C between inside and outside). Walk the entire loft space, scanning the ceiling joists and insulation batts. Look for:
- Uniform colour patterns, Consistent blue (cold) indicates good insulation. Warmer spots (yellow/orange) mean heat is escaping.
- Gaps at edges, Where insulation meets the eaves or roofline, gaps are common.
- Thermal bypasses, Air moving through unsealed penetrations (wiring, plumbing) can carry heat around insulation.
External inspections during cold weather can also show roof voids. A warm roof deck with cold edges often points to missing insulation at the perimeter. As industry guidelines explain, thermal imaging for insulation deficiency detection relies on ASTM C1060 standards to ensure accurate results.
For commercial buildings with HVAC equipment or ductwork in the loft, pay special attention to those areas. A poorly insulated duct can dump heat into the void, making it look like the roof is losing heat when it’s actually just the duct.
A usable tip: always perform the inspection when the building is up to temperature. Turn off any space heaters or fans that could create false readings. And remember, thermal imaging finds anomalies, not causes. If you see a hot spot, you’ll still need to verify it with a visual check or borescope.
3. Wall Cavity Insulation Assessment
Cavity walls are the norm in modern commercial construction. But insulation can fail in many ways, it can be installed incorrectly, become damp, or settle over time. Thermal imaging is the go-to method for assessing cavity wall insulation without drilling holes.
How does it work? You scan the exterior wall on a cold day (or the interior on a cold night). Areas where the insulation is missing or wet will show a different surface temperature than properly insulated sections. The key is to look for patterns:
- Vertical stripes, Often indicate missing insulation between studs or cavity ties that bridge the gap.
- Large cold patches, Could signal settled insulation at the bottom of the cavity.
- Horizontal bands, May correspond to floor slabs or intermediate steelwork acting as thermal bridges.
One common problem in older buildings is cavity wall insulation that was retrofitted but has become damp. Damp insulation conducts heat more readily, so it will appear cooler on the exterior (or warmer on the interior) than dry insulation. A thermal survey can locate these damp areas without invasive testing.
A UK thermal imaging provider notes that thermographic surveys of cavity wall insulation help “localise any expensive cavity clearing work to the necessary minimum” (source). That’s a big deal for commercial budgets.
For a thorough assessment, combine thermal imaging with a blower door test to exaggerate air leakage. The pressure difference helps reveal infiltration pathways that thermal patterns alone might miss. Our heat loss survey guide covers this in more depth.
4. Flat Roof Insulation Defect Detection
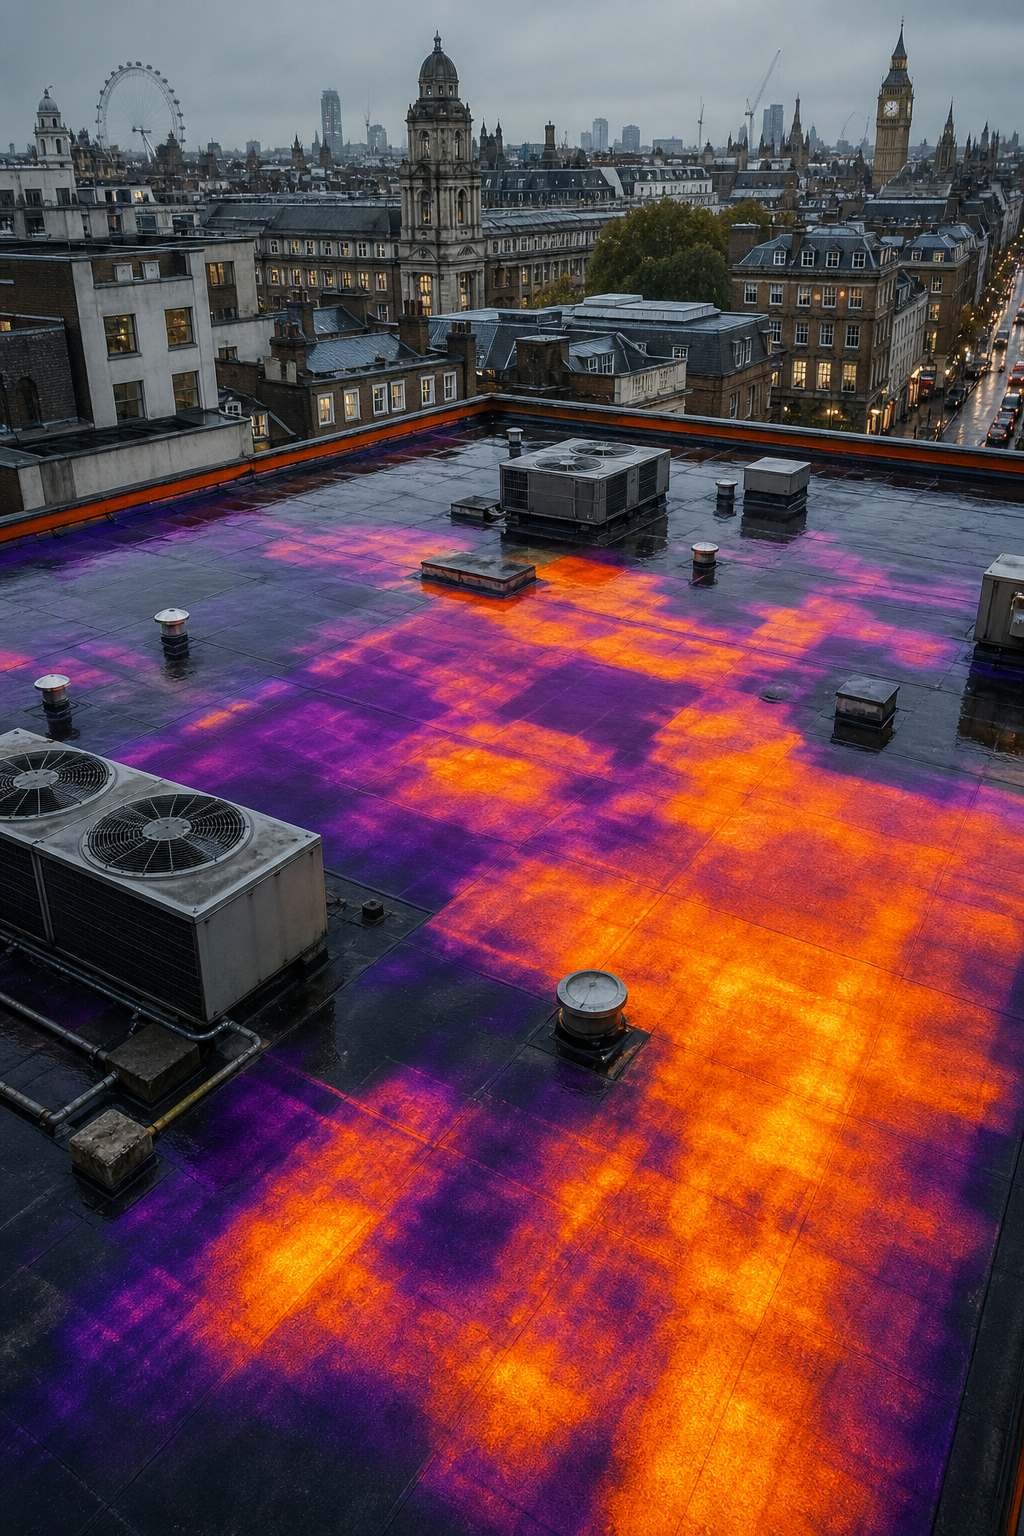
Flat roofs are notorious for insulation problems. Water ponds, membrane punctures, and failed flashings can saturate the insulation, rendering it useless. Thermal imaging on a flat roof is best done after sunset, when the roof is cooling down. Wet areas retain heat longer due to higher thermal mass, so they appear warmer (lighter) in the thermal image.
Here’s what to watch for:
- Warm irregular patches, These are likely wet insulation. The larger the patch, the more extensive the damage.
- Linear warm patterns, Could be drainage paths or water tracking along seams.
- Cold spots around edges, Indicate air leakage at the parapet or missing edge insulation.
A systematic approach works best: grid the roof and scan every 10 feet. Mark anomalies with spray chalk for later verification. For large roofs, a drone is far more efficient than walking the entire surface.
One of the biggest cost savers is using thermal imaging to target repairs instead of replacing the entire roof. Industry sources confirm that “by using the information generated by a detailed thermal survey report, the owner’s roofing professional can recommend cost-effective and tactical removal and replacement of only wet areas” (source). That can save tens of thousands of pounds.
Don’t forget to inspect the roof after a heavy rain. Standing water on the thermal image is obvious, it’s cold and uniform. But trapped moisture within the insulation requires the right thermal conditions (clear sky, cool night) to show up clearly.
5. Ductwork and HVAC Insulation Leak Detection
HVAC systems in commercial buildings lose a lot of energy through leaky ducts and poorly insulated plenums. Thermal imaging can locate these losses quickly. The principle is simple: conditioned air escaping from a duct creates a temperature anomaly on the surface of the duct or the surrounding structure.
To perform a duct inspection, turn on the HVAC system and let it run for 15-20 minutes. Then scan all accessible ductwork, especially at joints, seams, and connections. Look for:
- Hot or cold streaks along the duct , Indicate where air is leaking.
- Temperature differences at registers, A register that is much warmer or cooler than others may indicate a disconnected or crushed duct.
- Thermal patterns on walls near ducts, Could be from duct leakage inside the wall cavity.
For supply ducts carrying cooled air, leaks will appear as cold patches on the duct surface or surrounding surfaces. For return ducts, leaks suck in unconditioned air, making the return plenum cooler in summer or warmer in winter.
A transient infrared method that uses the HVAC system’s normal pressure pulses to identify air leakage without a blower door has been developed by researchers. That technology is still emerging, but the principle is sound: thermal imaging combined with pressure changes reveals leaks that static conditions hide.
In practice, we’ve found that many commercial buildings have leaky duct connections that are easy to seal with mastic or foil tape. The payback period for sealing duct leaks is often less than a year.
If you’re inspecting a large HVAC system, use a thermal camera with good resolution (at least 320×240) and a temperature sensitivity of 0.05°C or better. That way you can catch even small leaks.
6. Commercial Refrigeration Insulation Audit
Supermarkets, cold storage warehouses, and commercial kitchens rely on refrigeration. Insulation failures in cold rooms and freezers cause energy waste and can lead to product loss. Thermal imaging is ideal for auditing these systems.
The method is similar to building envelope inspections but with the temperature gradient reversed. You want the cold room to be at its normal operating temperature (e.g., -20°C for a freezer) and the outside ambient to be warmer. Scan the interior walls, ceiling, and floor. Also check door seals, gaskets, and pipe penetrations.
Look for:
- Warm spots on cold surfaces, Indicate missing or damaged insulation, or thermal bridging through structural elements.
- Cold spots on outside walls, Where cold is escaping, usually around doors, corners, or floor/wall junctions.
- Ice buildup patterns, That match air infiltration paths.
According to industry professionals, common problem areas include “door seals, panel joints, pipe penetrations, floor/wall junctions, and roof/wall interfaces” (source). Cold room leak detection inspections follow a systematic approach that we replicate in our own surveys.
One supermarket chain we worked with had a cold room that was running compressors 24/7 without cycling off. A thermal scan revealed insulation gaps at the top of the wall panels where they met the ceiling. Sealing those gaps reduced run time by 30%.
For walk-in freezers, also check the floor. Sub-floor heating cables are sometimes installed to prevent ground freezing. If those fail, the floor insulation gets wet and loses effectiveness. Thermal imaging from the interior can detect cold patches that indicate sub-floor issues.
7. Pipework and Mechanical Insulation Inspection
Commercial buildings have miles of pipes carrying steam, hot water, chilled water, and refrigerant. Poor insulation on these pipes wastes energy and can cause condensation damage. Thermal imaging makes it easy to inspect pipe insulation without climbing all over the building.
Scan pipes where insulation ends, at valves, flanges, hangers, and expansion joints. Those are the most common failure points. Look for:
- Hot spots on insulated pipes, Where insulation is missing or damaged, the bare pipe surface will show a high temperature.
- Cold spots on chilled pipes, Similar, but with low temperature.
- Thermal patterns on adjacent surfaces, If a hot pipe is poorly insulated, the structure around it may show heat damage.
The thermal inspection of mechanical systems is well documented. A well-known industry publication on infrared thermography notes that “all mechanical systems generate thermal energy during normal operation which allows Infrared Thermal Imaging to evaluate their operating condition.” For pipe insulation, you’re looking for energy loss, but the same principle applies.
We also use thermal imaging to check steam traps. A failed steam trap that is blowing steam into the condensate return line will show a hot pipe downstream where it should be cooler. That’s a quick fix that saves fuel.
For chilled water systems, look for wet insulation. Wet insulation on cold pipes loses its thermal resistance and can lead to mold growth. Thermal imaging often reveals the extent of moisture damage that isn’t visible from the outside.
Pipes in inaccessible areas, like above suspended ceilings or in service tunnels, are prime candidates for thermal inspection. A drone with a thermal camera can sometimes reach these spaces, but a handheld camera with a flexible probe is often more usable.
8. Air Leakage and Thermal Bypass Identification
Air leakage is one of the biggest sources of energy loss in commercial buildings. Thermal bypasses occur when air moves around insulation rather than through it. For example, a gap at the top of a wall where it meets the roof can allow warm interior air to bypass the attic insulation, creating a heat loss path.
Thermal imaging can detect these bypasses when there is a sufficient indoor-outdoor temperature difference (at least 10°C). The leaking air changes the surface temperature of the surrounding materials. Look for:
- Drafty spots on walls and ceilings, Often appear as cool areas near baseboards, electrical outlets, or light fixtures.
- Thermal shadows, For example, a cool line along a wall top where air is moving through a gap.
- Temperature differences at transitions, Where walls meet floors, ceilings, or other walls.
Blower door testing greatly enhances thermal imaging for air leakage. When the building is depressurized, outdoor air is pulled in through every gap. The thermal camera then shows these infiltration points as cold streaks. A commercial engineering firm notes that “blower door testing exaggerates air leakage through faulty building envelope components” when used with thermal imaging (source).
For large commercial buildings, a full blower door test may not be usable. Instead, we often use the building’s own HVAC system to create a slight pressure difference. Turn on all exhaust fans and close windows. The resulting negative pressure will draw outside air in through leaks. Then use the thermal camera to scan the envelope.
Common bypass locations:
- Top of wall cavities, Air can flow from the interior wall cavity into the attic or roof void.
- Penetrations, Pipes, ducts, conduits, and cables that pass through insulated assemblies need proper sealing.
- Masonry walls, Air can travel through hollow blocks or between wythes of brick.
Sealing these bypasses often yields an immediate improvement in comfort and energy savings. Many commercial buildings have payback periods of less than two years for air sealing measures.
Comparison of Thermal Imaging Inspection Types
Frequently Asked Questions
What is thermal imaging insulation inspection?
Thermal imaging insulation inspection uses infrared cameras to detect temperature differences on building surfaces. These differences indicate where insulation is missing, damaged, wet, or bypassed by air leakage. It’s a non-destructive method that helps pinpoint energy waste. The cameras convert infrared radiation into visible images, making hidden defects visible to the inspector.
How accurate is thermal imaging for finding insulation gaps?
Under proper conditions (temperature difference of at least 10°C, dry surfaces, low wind), thermal imaging is highly accurate at locating insulation deficiencies. It can detect temperature differences as small as 0.1°C. However, it does not measure insulation R-value directly. It’s best used as a screening tool to identify areas for further investigation. Coring or borescope inspection is sometimes needed to confirm the exact cause.
Can thermal imaging detect moisture in building insulation?
Yes, thermal imaging is excellent at detecting moisture in insulation. Wet insulation has a higher thermal mass and conductivity, so it appears warmer during cooling cycles (like at night on a flat roof) or cooler during heating cycles. It’s commonly used to find roof leaks and damp wall insulation. The moisture pattern often shows as a distinct thermal anomaly that matches the shape of the affected area.
Do I need a professional for thermal imaging insulation checks?
While you can rent a thermal camera and do a basic scan yourself, professional inspections are much more reliable. Certified thermographers know how to set proper emissivity and reflection corrections. They also interpret patterns correctly, distinguishing between insulation defects and other thermal anomalies (like HVAC ducts or solar loading). For commercial buildings, professional reports provide documented evidence for energy audits, warranty claims, or capital planning.
What is the best time of day for a thermal imaging survey?
For most building envelope inspections, the best time is early morning (before sunrise) or after sunset, especially for roofs. This avoids solar loading that can mask temperature differences. For interior scans, cold weather provides better contrast. Ideally, schedule the survey after a period of stable weather, not immediately after rain or extreme temperature swings, to get the most accurate data.
How much does a commercial thermal imaging inspection cost?
Costs vary widely based on building size, complexity, and location. A simple wall cavity scan might cost £200-£600. A full drone-based thermal survey of a large commercial roof could be £500-£2000 or more. The investment often pays for itself in energy savings within a few months to a year. Many energy efficiency grants and incentives cover part of the cost of thermographic surveys.
Can thermal imaging see through walls?
No, thermal imaging cannot see through solid walls. It only measures surface temperature. However, temperature patterns on the surface can reveal what’s happening behind the wall. For example, missing insulation causes the wall surface to be colder in winter, creating a visible pattern. Thermal imaging essentially makes the wall “transparent” to thermal differences, but not to visual content.
What certifications should a thermal imaging provider have?
Look for certifications from recognized bodies. In the UK, ITC (Infrared Training Center) Level 1 and Level 2 thermography certifications are common. ASNT certification is also respected. For drone operators, CAA approval and insurance are essential. For solar PV inspections, IEC 62446 compliance is important. Our team at Visual Perspectives holds ITC Level 1 and Level 2 certifications, CAA compliance, and £5 million insurance.
Conclusion
Thermal imaging is a powerful tool for keeping commercial buildings energy efficient. The eight inspections we’ve covered, drone surveys, loft voids, wall cavities, flat roofs, ductwork, refrigeration, pipework, and air leakage, each target a specific type of insulation problem. When used together, they create a complete picture of your building’s thermal performance.
The key is to act on the findings. A thermal image of missing insulation doesn’t save you money until you fix it. That’s why we always provide clear, actionable reports with prioritised recommendations. And if you’re planning a solar panel installation, remember that your roof needs to be dry and well-insulated first. A thermal survey before solar panels go up can prevent costly removals later.
We’ve seen buildings cut their heating bills by 15-25% just by addressing the defects found in a single thermal survey. The cost of the survey is often recovered within months. For building owners and facilities managers, it’s one of the smartest investments you can make.
If you’re ready to take the next step, we’ve created a detailed Thermal Imaging Survey guide that walks through the process from start to finish. And if you need a partner who combines advanced drone technology with certified thermography, Visual Perspectives is here to help. Contact us to schedule a consultation for your commercial property.

