
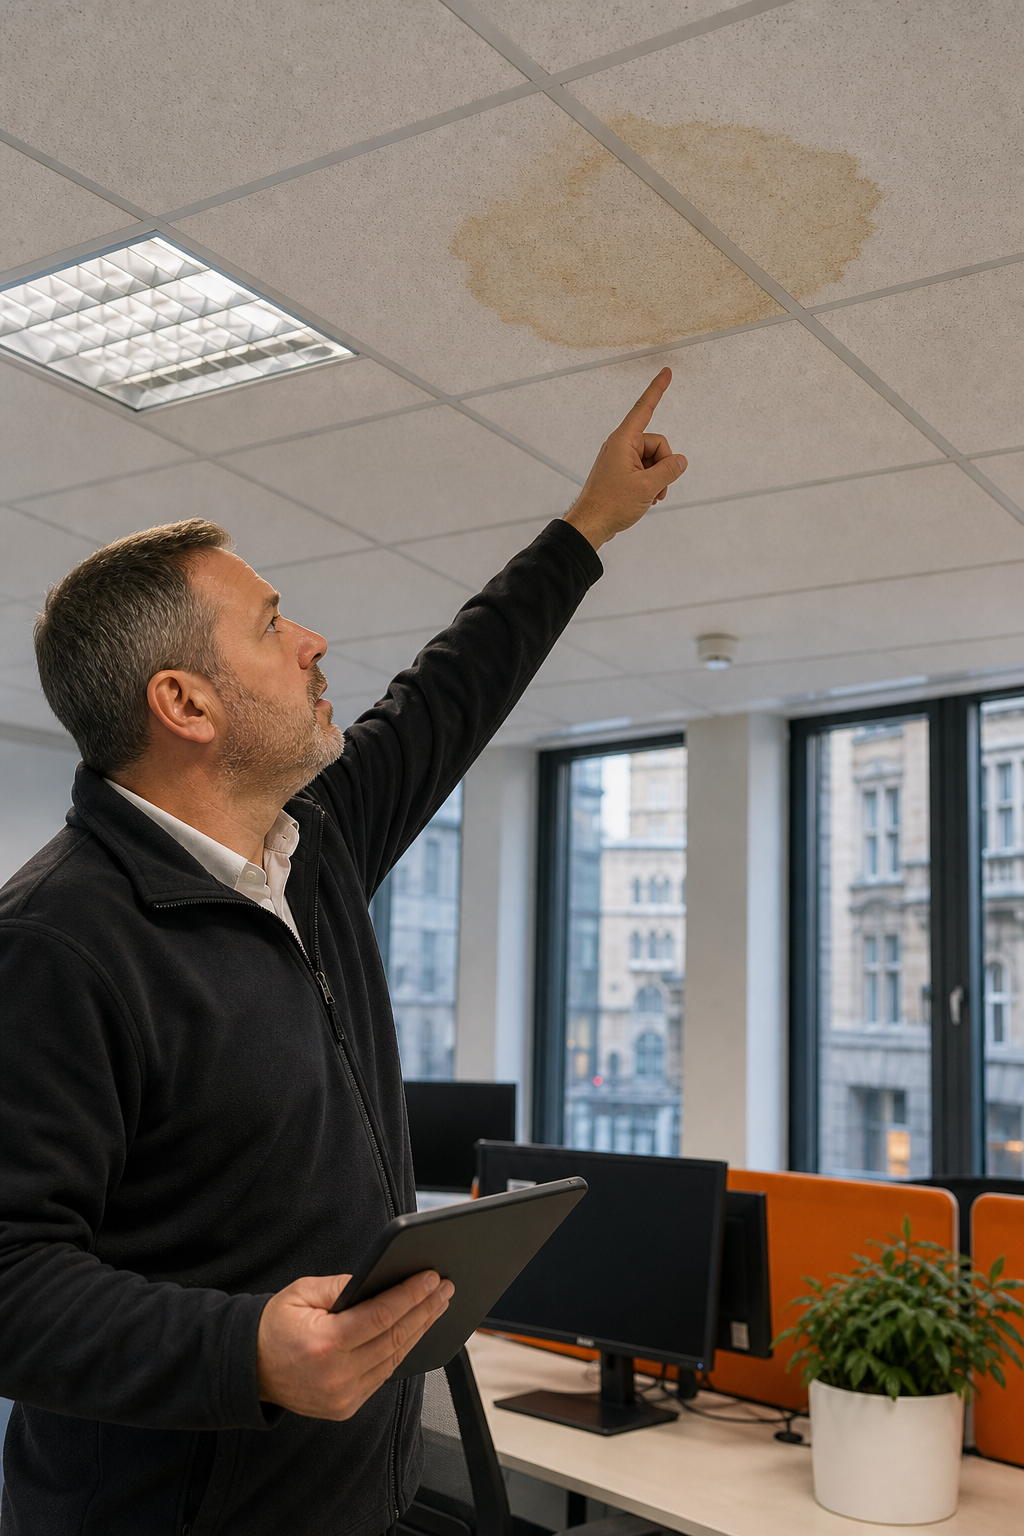
Walking into your office on a wet Monday and hearing that drip-drip-drip from the ceiling is every facility manager’s nightmare. A commercial roof leak can disrupt operations, damage inventory, and lead to costly repairs. But you don’t have to wait for the drip. With the right detection steps, you can find and fix the leak before it wrecks your bottom line. Here’s our step-by-step guide to commercial roof leak detection.
Step 1: Identify Common Leak Sources
Before you start poking around, know where leaks usually happen. Most commercial roof leaks come from a handful of repeat offenders.
Flashing failures. Flashing is the material that seals roof penetrations , vents, HVAC units, skylights, drains. When it cracks or pulls away, water gets in. Flashing failure is one of the top causes of commercial leaks. Check these points twice a year, especially after storms.
Ponding water. Water that sits on a flat roof for more than 48 hours after rain adds weight and wears down the membrane. Over time, it’ll push through. Make sure drains are clear and the roof slopes enough.
Membrane damage. UV rays, foot traffic, and debris can puncture or crack single-ply membranes like TPO, PVC, and EPDM. Look for blisters, cracks, and open seams.
Penetrations and equipment. Every pipe, conduit, or solar panel mount is a potential entry point. Seals age and shrink. Reseal them as part of routine maintenance.
Age and climate. Freeze-thaw cycles widen tiny cracks. As the roof ages, materials lose flexibility. If your roof is over 15 years old, be extra vigilant.
For a deeper dive on how thermal imaging catches hidden moisture, check out our thermal imaging roof guide.
Step 2: Conduct an Interior Inspection
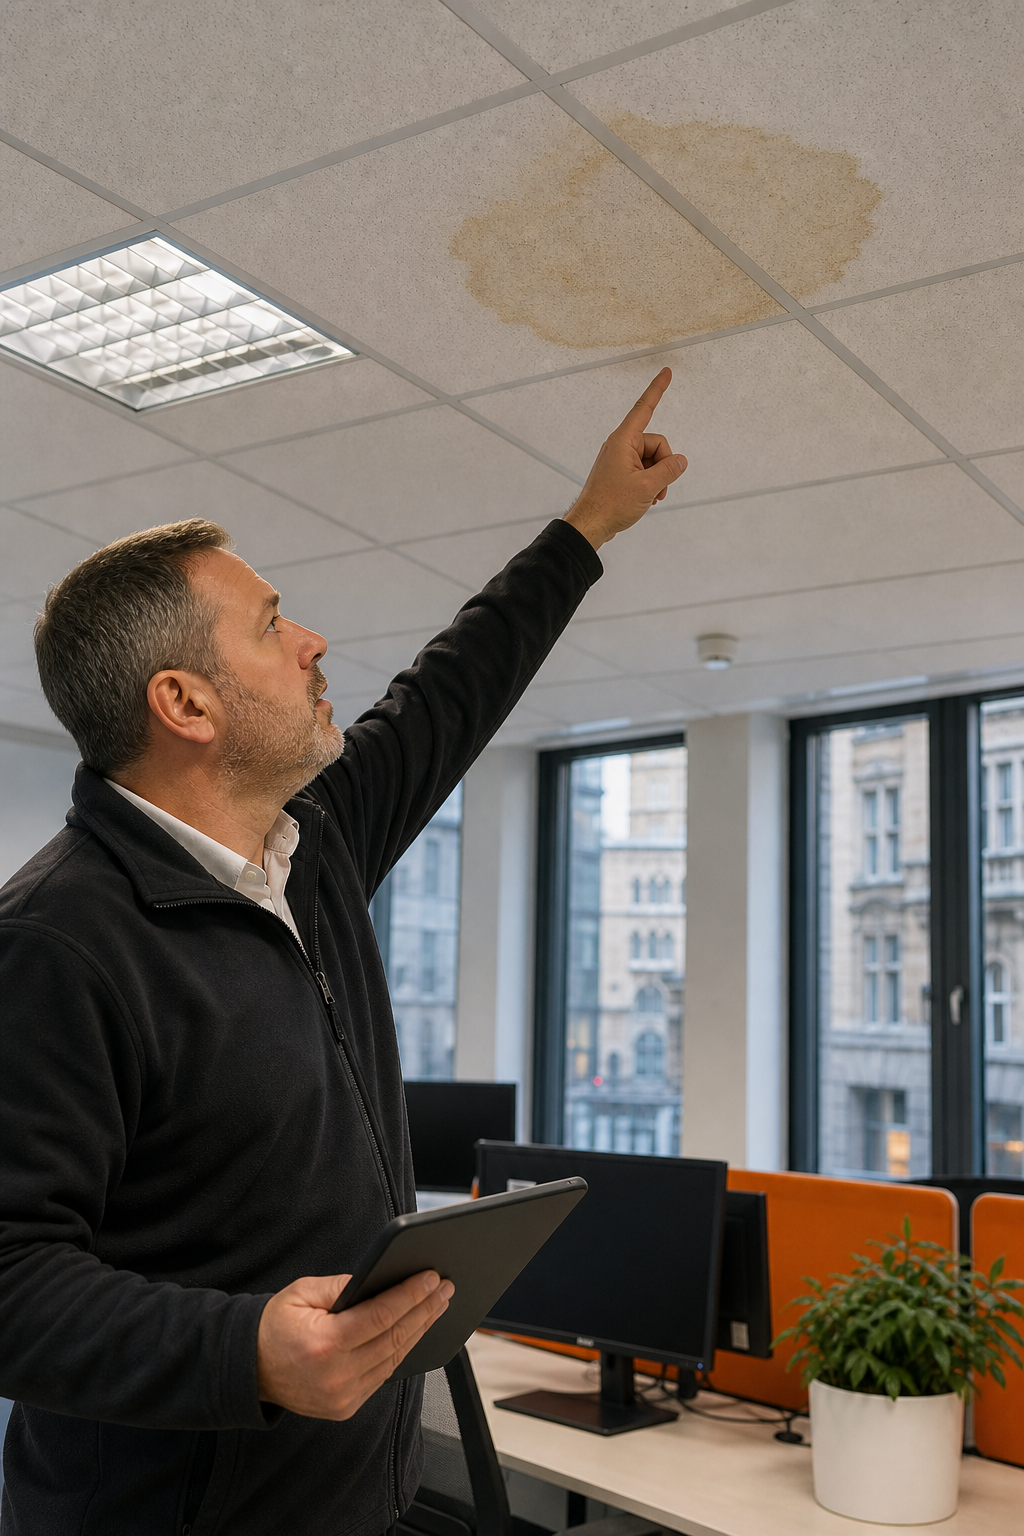
Start inside. It’s safer and often faster. Walk through the building and look for telltale signs of water intrusion on ceilings and walls.
Find the stain. Yellow or brown discoloration means water has been there. Use a moisture meter to confirm if the area is still wet. Mark the location on the floor or a plan.
Measure to two walls. Once you find the stain, measure its distance from two perpendicular walls (say, 4 feet from the north wall and 6 feet from the east wall). This gives you a point on the roof directly above the leak , but be warned: water can travel along structural members. On a flat roof with metal deck, the actual entry point could be up to 20 feet away, as roofing experts note.
Check for musty smells. A damp odour often means hidden moisture behind walls or insulation. Use a thermal camera to scan for cool spots that indicate trapped water.
Look at the energy bill. A sudden spike in heating or cooling costs can mean wet insulation has lost its R-value. That’s another clue.
For professional building defect thermography, we combine interior inspections with drone thermal surveys to get the full picture.
Step 3: Perform a Roof Walk-Over Inspection
If it’s safe to go on the roof, do a walk-over next. Wear slip-resistant shoes and use a safety use on sloped surfaces. Follow the measurements from your interior inspection to narrow the search area.
Look at seams and flashings. Use a probe to test seams. If the probe slides in easily, the seam has failed , that’s a cold weld. Check around all penetrations: pipes, drains, HVAC supports. Pry up loose flashing and reseal.
Inspect the membrane. Walk every section. Look for punctures, blisters, and cracks. Pay special attention to low spots where water ponds. If you step on a bubble and water squirts out, you’ve found a leak source.
Check drains and gutters. Clear any debris. Standing water near a drain often means the drain is clogged or the roof surface around it has settled.
Mark your findings. Use a marker or tape to flag every defect. This helps when you come back with repair materials.
The video below shows a real roof inspection on a TPO roof, demonstrating how to locate and mark leak points.
For large or dangerous roofs, consider drone roof inspection services to avoid the risk of walking on fragile membranes or steep slopes.
Step 4: Use Advanced Detection Technologies
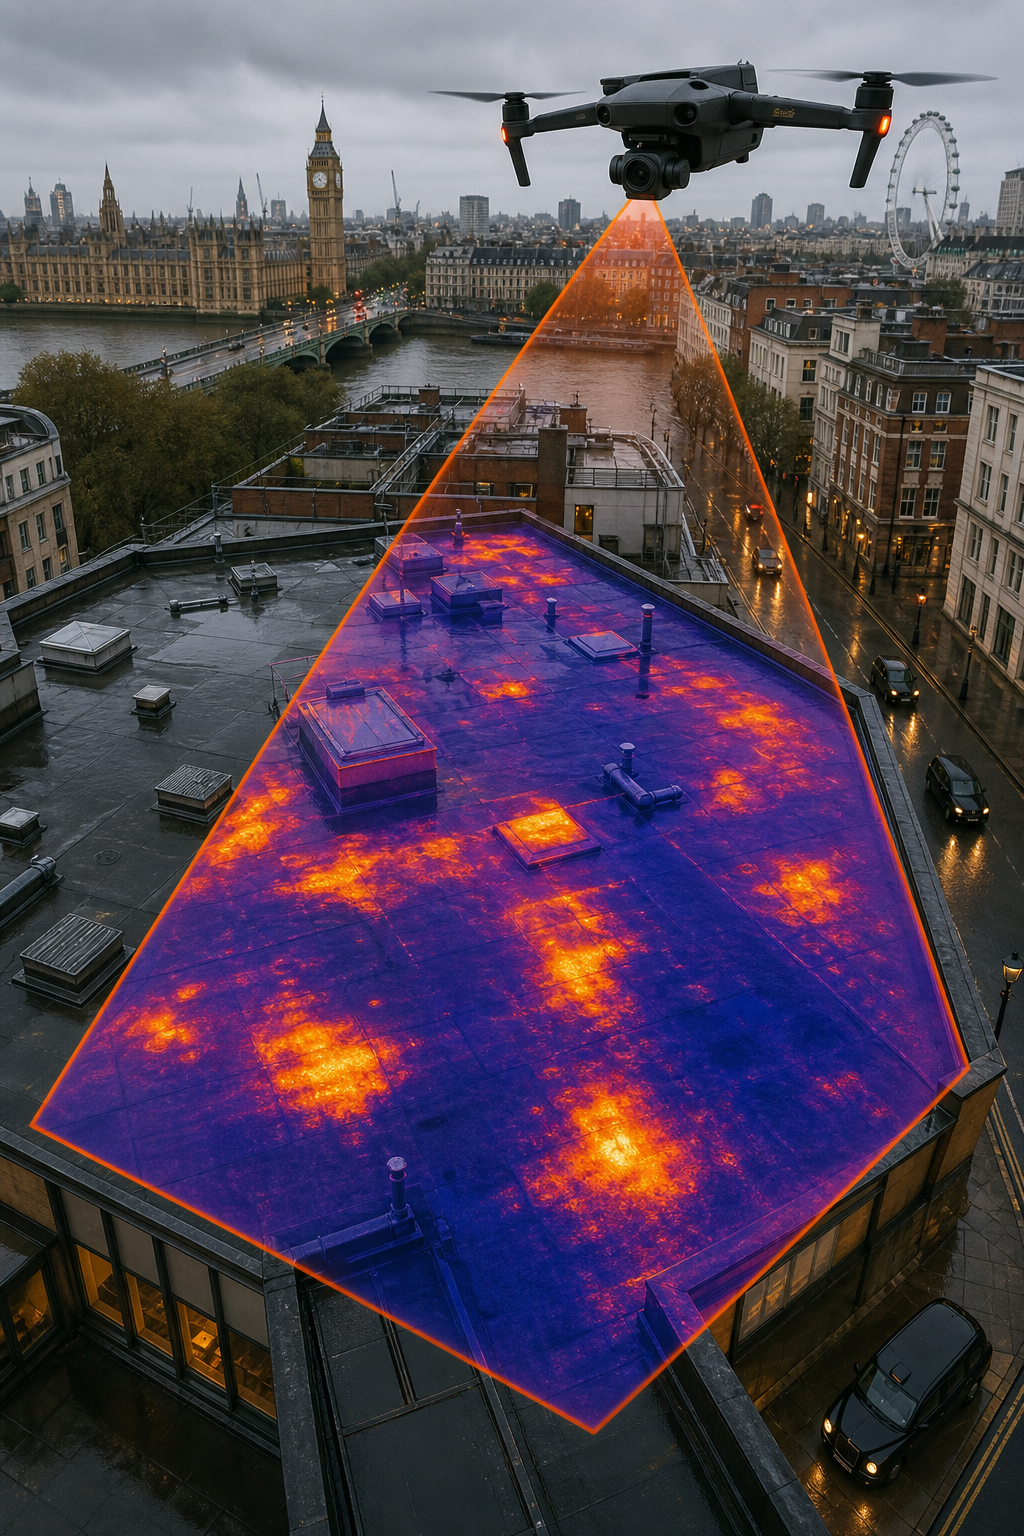
Visual inspections only catch surface issues. To find hidden moisture, you need technology. Here are the most effective methods for commercial roof leak detection.
Of these, drone thermography offers the best balance of speed, safety, and coverage. At Visual Perspectives, we use high-resolution thermal cameras on drones to map the entire roof surface, identifying trapped moisture, missing insulation, and thermal bridges. Our surveys comply with IEC 62446 for solar PV inspections, giving you a standardised report you can trust.
Pro Tip: Schedule thermal surveys after a sunny day , the temperature swing makes moisture stand out on the thermal image. For best results, fly at least 30 minutes after sunset.
Step 5: Confirm and Repair the Leak
Don’t start patching until you’re sure you’ve found the right spot. False positives waste time and materials.
Double-check with a moisture meter. Once the thermal scan or visual inspection points to an area, use a non-penetrating moisture meter to confirm. Compare readings with a known dry section. If the wet reading is significantly higher (e.g., >20% on wood), you’ve confirmed the leak. Moisture meters are essential for verifying thermal imaging results.
Clean the area. Use a roof cleaner or solvent to remove dirt, old sealant, and loose granules. A clean surface is key for a lasting repair.
Apply the repair. For small punctures and tears, use a patch of the same membrane material. Heat-weld or apply adhesive as per manufacturer instructions. For larger areas, you may need to replace a section of membrane. Re-seal all edges with a compatible sealant.
Check adjacent areas. Water often travels before dripping. Inspect a 5-foot radius around the leak point for secondary damage.
Test after repair. If possible, flood the area with water or wait for the next rain. Verify no new leaks appear inside.
Frequently Asked Questions
How do I find a leak on a flat commercial roof?
Start inside: locate the water stain and measure its position relative to two walls. Then move to the roof, using those measurements as a starting point. Use a probe to check for failed seams and a moisture meter to confirm hidden moisture. For large roofs, consider drone thermal imaging to pinpoint the exact location.
What is the best method for detecting hidden roof leaks?
Drone-based infrared thermography is the most effective for commercial flat roofs. It scans large areas quickly, detects temperature differences as small as 0.05°C, and can find moisture trapped under the membrane. It’s safe, non-destructive, and covers areas that are hard to reach on foot.
Can thermal imaging find water under a roof membrane?
Yes. Water holds heat longer than dry insulation or roofing materials. A thermal camera captures that temperature difference, showing wet areas as hot spots (if scanned at night) or cool spots (if scanned during the day). It’s a proven method for under-membrane moisture detection.
How often should I inspect my commercial roof for leaks?
At least twice a year: once in spring and once in autumn, before extreme weather seasons. Also inspect after major storms, heavy snow, or after any rooftop work (HVAC replacement, solar installation). Regular inspections catch small problems before they become costly leaks.
What are the most common causes of commercial roof leaks?
Failed flashings around penetrations (vents, HVAC, drains), ponding water that degrades the membrane, punctures from foot traffic or debris, open seams on single-ply roofs, and aging materials that lose flexibility. Freeze-thaw cycles in cold climates accelerate all of these.
How much does a professional commercial roof leak detection cost?
Costs vary based on roof size, access difficulty, and technology used. A basic visual inspection may start around a few hundred pounds, while a full drone thermographic survey for a large roof can be several thousand. The investment is small compared to the cost of water damage repairs and business disruption. Contact a specialist for a quote.
Conclusion
Detecting a commercial roof leak doesn’t have to mean endless guesswork. Follow this step-by-step approach: start inside, walk the roof, use advanced technology like drone thermography, and confirm with a moisture meter. The sooner you find the leak, the less damage it does. For complete, compliant surveys across the UK, get in touch with Visual Perspectives. We’ll help you see what the naked eye can’t.
Ready to put this into practice? Visual Perspectives Limited was built for exactly this.

