
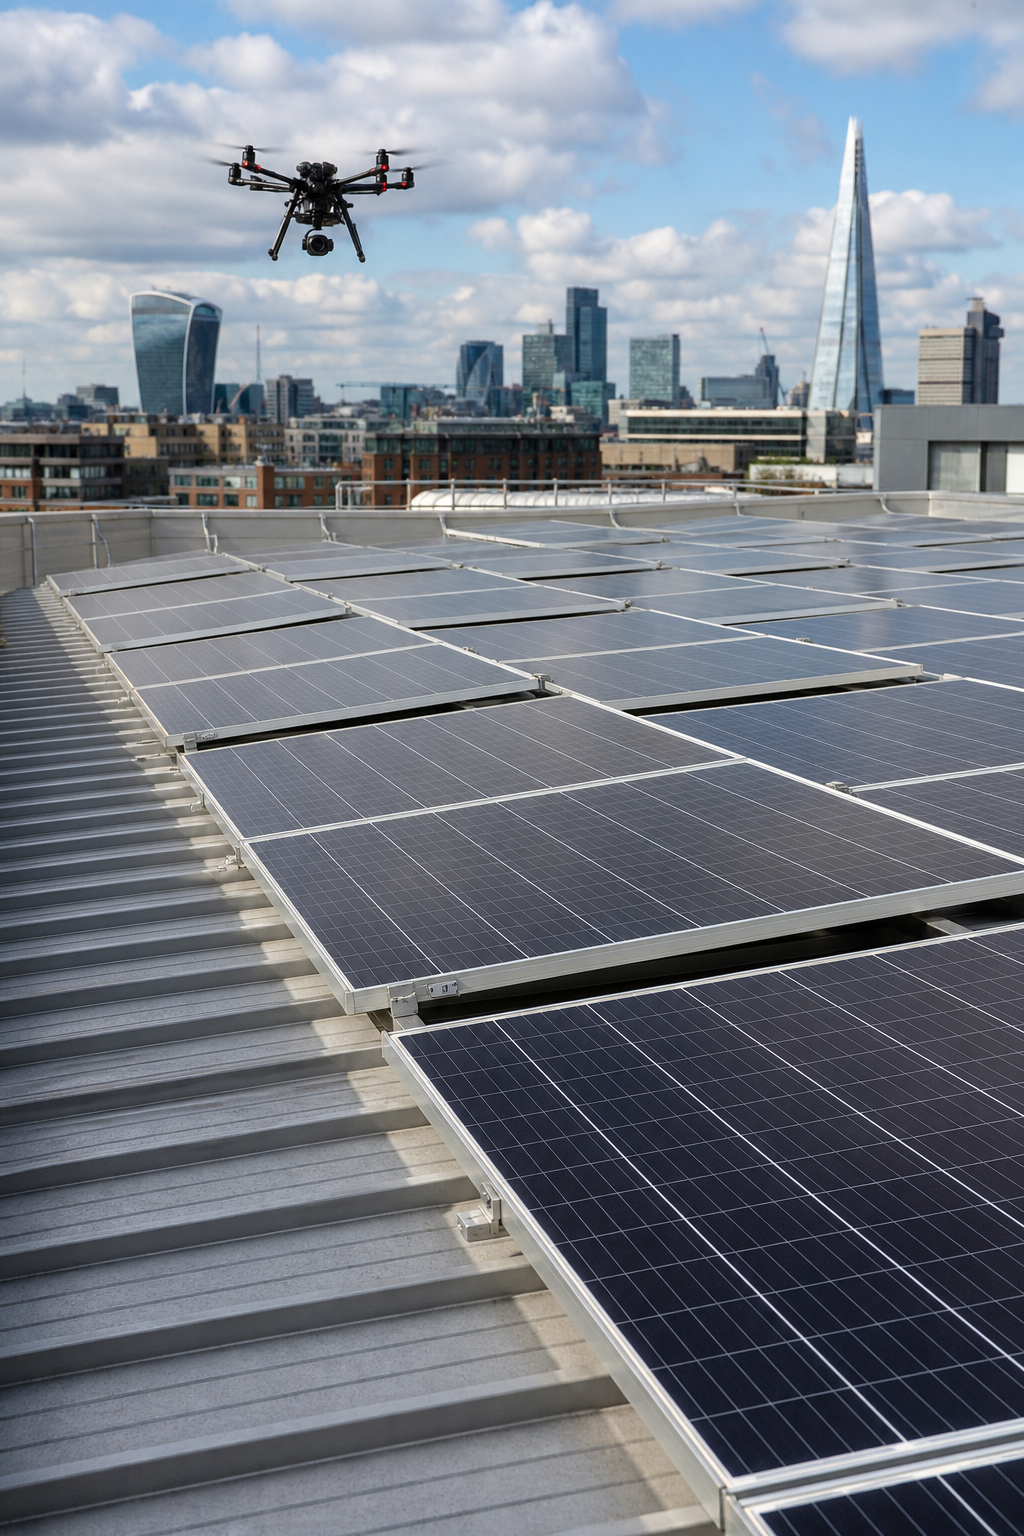
Solar panel inspections are more than a checkbox. They keep your system safe, efficient, and compliant. But doing it right takes the right steps. We’re going to walk through a complete commercial solar panel inspection process. From paperwork to drone thermography, you’ll get a practical guide you can use today.
Even though the UK’s official inspection standard (BSESPV03) lays out 13 steps, only three of those steps list the equipment you need. That’s a big gap. That’s where a specialist service like Visual Perspectives comes in , we fill the gaps with certified thermographers and CAA-approved drone pilots.
Step 1: Prepare for the Inspection , Documentation and Safety
Before you step on the roof, you need the right documents. Start with the system design. Get the one-line diagram, the module datasheet, and the inverter specification. Check that the installers followed the original plans. Small changes during installation can cause big problems later.
Next, review the IEC 62446 standard. This is the international benchmark for PV system documentation and testing. It spells out what tests you need to run and how to report them. We recommend reading the official standard on the IEC webstore for the full details.
Safety is non-negotiable. Wear the right PPE , hard hat, safety glasses, gloves, and fall protection if you’re on the roof. Lock out and tag out the AC and DC disconnects so the system can’t energise while you work. Bring a voltage tester to confirm zero energy before touching any live parts.
Gather your tools: multimeter, clamp meter, thermal camera (if flying), and a checklist. A pre-printed checklist saves time. You can find good templates online, but our team at Visual Perspectives uses a customised version that matches the 13-step UK standard.
Pro Tip: Print out the one-line diagram and take it with you. Mark each test as you go. That way you won’t miss anything.
Bottom line: Proper preparation with documentation and safety gear ensures a smooth, compliant inspection that protects both people and equipment.
Step 2: Visual Inspection of Panels, Mounting, and Wiring
Now it’s time to look at the physical installation. Walk the perimeter first. Check the roof for any signs of leaks or standing water near the panels. Examine the mounting system. Is it rafter-attached or deck-mounted? Rafter attachments should follow common rafter spacing , typically 24 inches. If the spacing looks random, it’s probably deck-mounted, which may not meet structural requirements.
Look at the flashings under each roof attachment. They should be metal and properly sealed. Old or missing flashings are a common defect that leads to leaks. Check the modules themselves. Are any frames bent or cracked? Is the glass chipped? Also check for hot spots using a thermal camera , but that’s step 3.
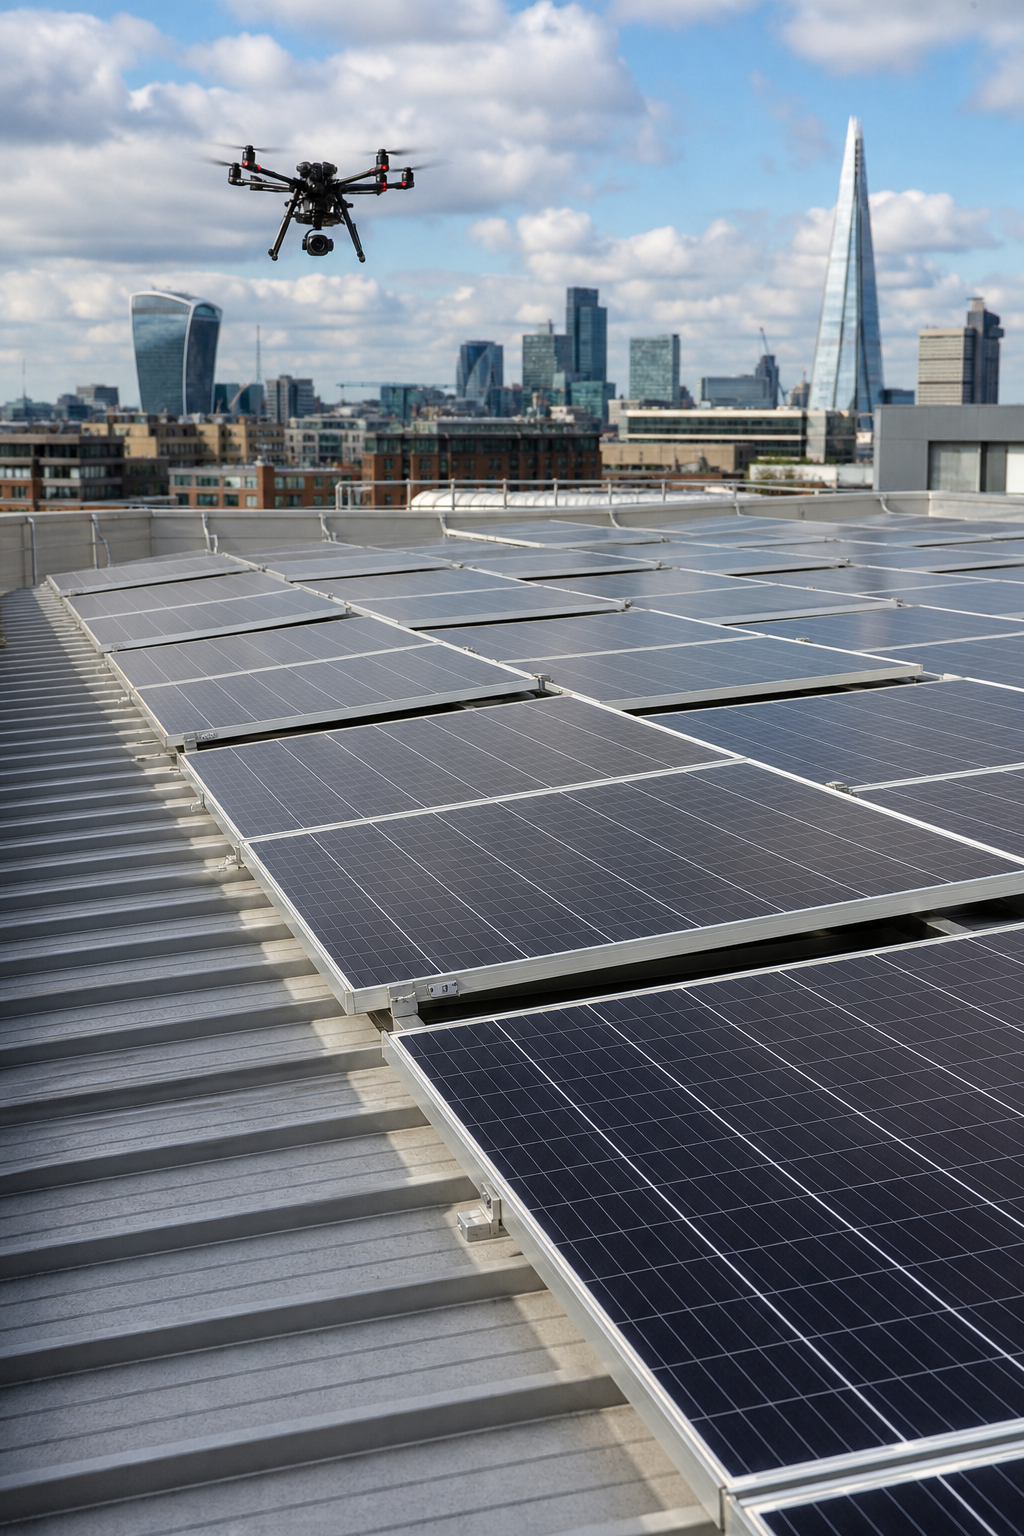
Inspect the wiring. All conduit should be rigid metal on exterior walls. It must be strapped every 10 feet and within 3 feet of each electrical box. Make sure knockouts are sealed , open knockouts let moisture in. Look at the junction boxes and combiner boxes. Wires should be neat and well-terminated. Any corrosion or burned spots are red flags.
Don’t forget the ground equipment. Check the inverter, disconnects, and production meter. All labels should be clear and legible. The DC and AC disconnects must be labelled with system voltage and current. Also check working clearance , at least 3 feet in front of all electrical panels.
For a detailed visual checklist, the drone roof inspection guide from Visual Perspectives covers the specific items for commercial buildings.
Bottom line: A methodical walk-down of the array and electrical equipment reveals most common installation errors and safety hazards.
Step 3: Drone-Based Thermal Imaging for Solar PV Systems
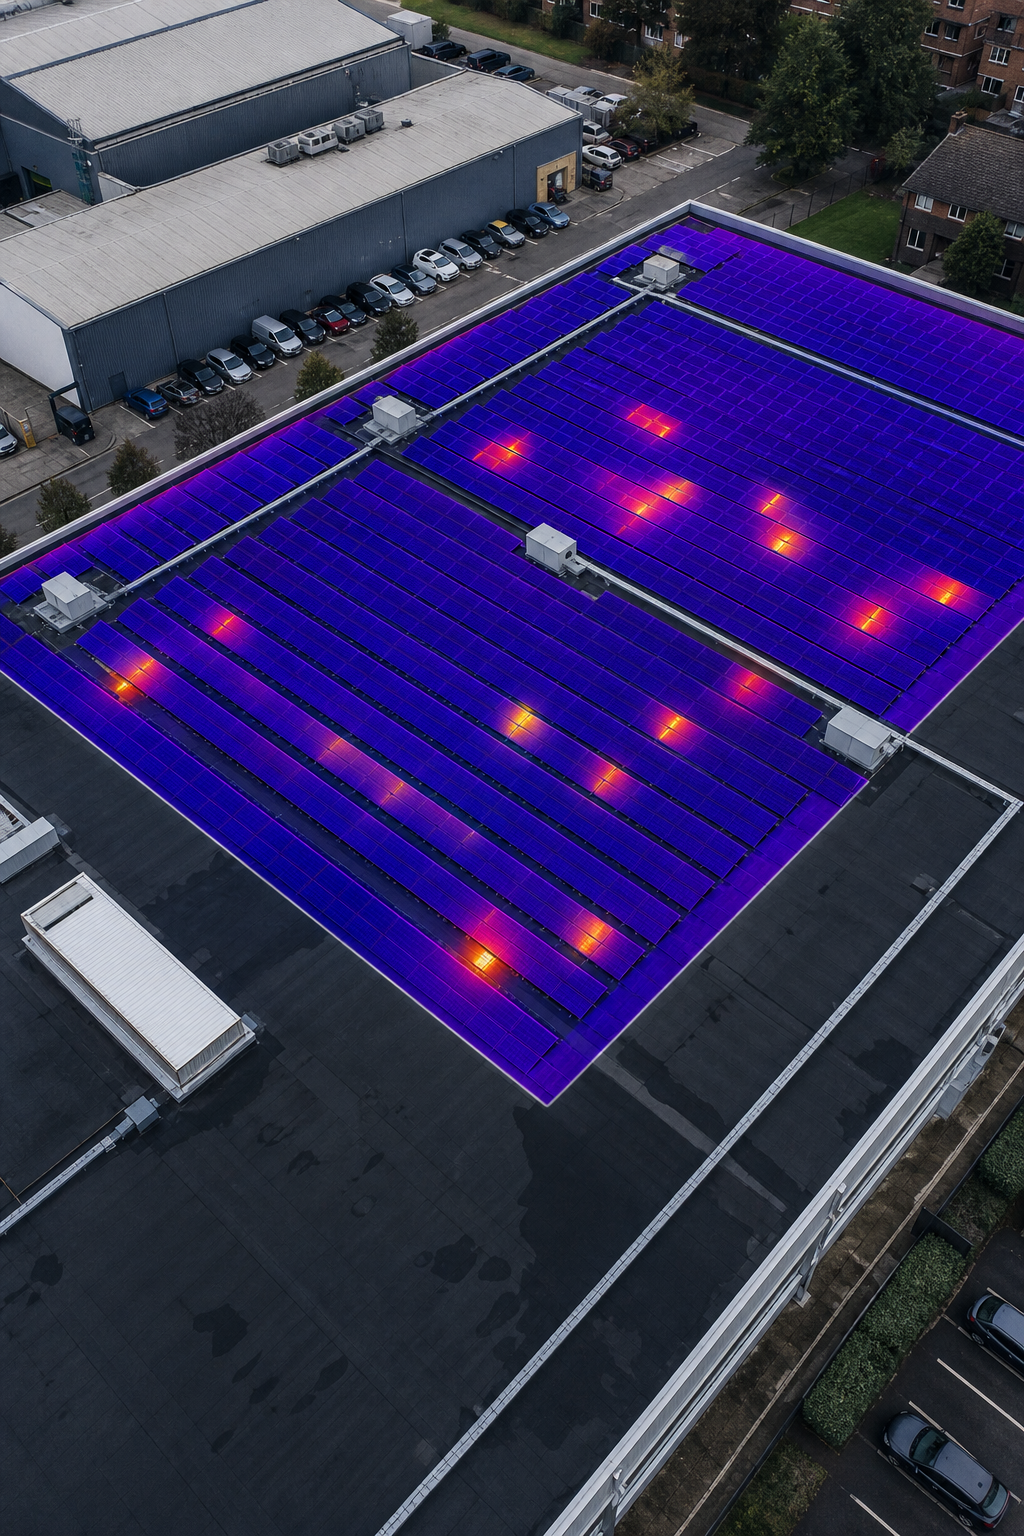
Thermal imaging shows you what the naked eye can’t see. When solar panels are under load, defects generate heat. A drone with a radiometric thermal camera can capture those temperature differences from the air. That’s faster and safer than walking the roof with a handheld imager.
Fly the drone in the early morning or late afternoon when the sun is lower , that gives the best thermal contrast. The camera should have at least 640×480 resolution and a thermal sensitivity of 0.1°C. We use DJI Matrice drones with Zenmuse XT2 cameras at Visual Perspectives.
What are you looking for? Hot spots on individual cells indicate cell damage or bypass diode failure. Warm connections at junction boxes or MC4 connectors point to resistive faults. A whole string that’s hotter than its neighbours suggests a partial shadow or module mismatch.
Thermal imaging can also detect soiling patterns, bird droppings, and debris that reduce output. And it’s non-destructive , no need to touch the panels. For a deeper dive into the technique, check out our drone thermal imaging for commercial buildings guide.
According to Wikipedia’s article on thermography, the technology measures infrared radiation emitted by objects, converting it into temperature maps. In solar inspections, it’s a proven method for early fault detection.
Pro Tip: Always cross-reference thermal findings with a follow-up visual inspection. A hot spot could be a cell crack or just a bird dropping , only a closer look confirms it.
Bottom line: Drone-based thermal imaging is the fastest, safest way to detect electrical and performance issues across a commercial solar array.
Step 4: Electrical Performance Verification and Testing
Visual and thermal checks find physical defects, but electrical testing proves the system works. Start by measuring open-circuit voltage (Voc) on each string. Use a multimeter set to DC volts. Compare the readings to the module datasheet. Any string that’s more than 5% lower may have a problem.
Next, measure short-circuit current (Isc). But be careful , cover the panels first to reduce current. Then connect the meter leads and uncover one panel at a time. The current should be close to the rated Isc under full sun. If it’s low, check for shading, dirty panels, or failed bypass diodes.
For larger systems, you also need to test insulation resistance. This verifies that the cables and modules are properly isolated from ground. Use an insulation tester set to 1000 V. The standard says the resistance should be at least 1 MΩ per 1000 V of system voltage.
If the system uses power optimisers or micro-inverters, the testing is different. Each module operates independently. Check the manufacturer’s app or monitoring portal for per-panel data. Any panel reporting zero or low output may need replacement.
Finally, check the inverter’s AC output. Use a clamp meter to measure current on each phase. Compare it to the inverter’s rated power. Also listen for abnormal noises , buzzing or whining can indicate failing components.
Bottom line: Electrical verification confirms that every string and inverter is producing the expected power, ensuring the system meets its performance guarantees.
Step 5: Document Findings and Generate an Actionable Report
All that data is useless if you can’t act on it. The final step is to compile a clear, actionable report. Start with a summary of the system (size, location, inverter model). Then list every defect found, with photos and thermal images. Rank them by severity: critical, major, minor.
For each defect, include the exact location (panel row, string number, combiner box). Describe what’s wrong and the recommended fix. For example: “String 4 , Voc 10% low. Suspect bypass diode failure. Replace module.”
Also include the test results table. Highlight any readings that fall outside the acceptable range. Add a section on performance: actual vs expected kWh, and any shortfall.
The report should comply with IEC 62446-1. This standard specifies what documentation must be provided to the customer. For commercial systems, the report must include a one-line diagram, test results, and a list of all equipment.
At Visual Perspectives, we generate reports that are easy to read and ready for insurance or warranty claims. Our reports include embedded thermal images with temperature markers, 3D site maps, and a priority action list. Learn more about our commercial solar panel survey service.
Bottom line: Proper documentation turns raw inspection data into a practical roadmap for repairs and improvements.
Frequently Asked Questions
How often should a commercial solar panel inspection be performed?
Most experts recommend a full inspection annually. Some insurance policies require it. For new systems, a baseline inspection within the first six months is wise to catch installation defects early. If your system is in a harsh environment , coastal, dusty, or high wind , consider semi-annual inspections. Thermal imaging is typically done annually, but more often if problems are found.
What is the IEC 62446 standard and why does it matter?
IEC 62446 is the international standard for testing, documenting, and maintaining grid-connected PV systems. It defines which tests must be performed on the DC side, how to document them, and what information to provide to the customer. Compliance is often required by insurers and warranty providers. Using a service that follows this standard ensures your inspection is recognised by all parties.
Can a drone inspect solar panels without disrupting operations?
Yes. Drone inspections are non-contact and can be done while the system is generating power. Thermal imaging requires the system to be under load, so it’s actually better to inspect during operation. The only disruption is a brief visual flight , no shutdown needed. That’s why drones are becoming the preferred method for large commercial arrays.
What defects can thermal imaging detect that visual inspection cannot?
Thermal imaging reveals hot spots from cell damage, bypass diode failures, loose electrical connections, and soiling patterns. These issues produce heat but are invisible to the naked eye. By catching them early, you can prevent fires, reduce downtime, and extend panel life. Visual inspection misses about 80% of electrical defects.
How long does a commercial solar panel inspection take?
For a 100 kW rooftop array, a full inspection (visual + thermal + electrical) typically takes 4, 6 hours in the field. Drone thermal imaging is the fastest part , about 30 minutes for the thermal flight. Documentation and report generation add another day. The total turnaround is usually 2, 3 business days.
Do I need to shut down the system for inspection?
Not for visual or thermal inspections. Electrical testing does require the system to be isolated for safety. We follow a strict lockout/tagout procedure. The inverter is turned off, and the AC and DC disconnects are locked in the off position. Only after verifying zero energy do we perform electrical tests.
What qualifications should a solar inspection company have?
Look for a company with certified thermographers (ITC Level 1 or 2), CAA approved drone operators, and public liability insurance (at least £5 million). They should be familiar with IEC 62446 and have experience with commercial systems. At Visual Perspectives, we meet all these requirements and have been inspecting solar arrays since 2009.
Can an inspection detect microcracks in solar cells?
Yes, thermal imaging can detect microcracks , they show up as hot lines or spots on the thermal image. However, very small cracks may require electroluminescence testing. For most commercial inspections, thermal imaging is sufficient to identify significant cell damage. If you suspect many cracks, ask for an electroluminescence survey as a follow-up.
Conclusion: Ensure Long-Term Performance and Compliance
Commercial solar panel inspection isn’t just about ticking boxes. It’s about protecting a major capital investment. A thorough inspection , visual, thermal, and electrical , uncovers problems before they cause failures. It keeps your system running at peak efficiency and reduces the risk of fire or downtime.
The UK standard (BSESPV03) provides a solid framework, but it leaves equipment decisions to the operator. That’s where experience matters. At Visual Perspectives, we’ve been performing drone-based thermal inspections for over a decade. Our team holds ITC Level 2 thermography certifications and we’re covered by £5 million insurance.
Whether you manage a single commercial roof or a portfolio of solar assets, a proper inspection schedule is essential. We can help you set up an annual programme that fits your budget and compliance needs. Explore our electrical predictive maintenance services to see how we support long-term system health.
Don’t wait for a breakdown. Schedule your next inspection today. You’ll be in good hands.

