Flat roofs hide problems that can hit your budget hard. A solid inspection spots those hidden issues before they turn into costly leaks or safety risks. Below we break down what an inspection looks at, the defects you’re likely to see, the tools we use, from ladders to drones, and how the report feeds straight into your estate‑maintenance plan.
What a Flat Roof Inspection Assesses
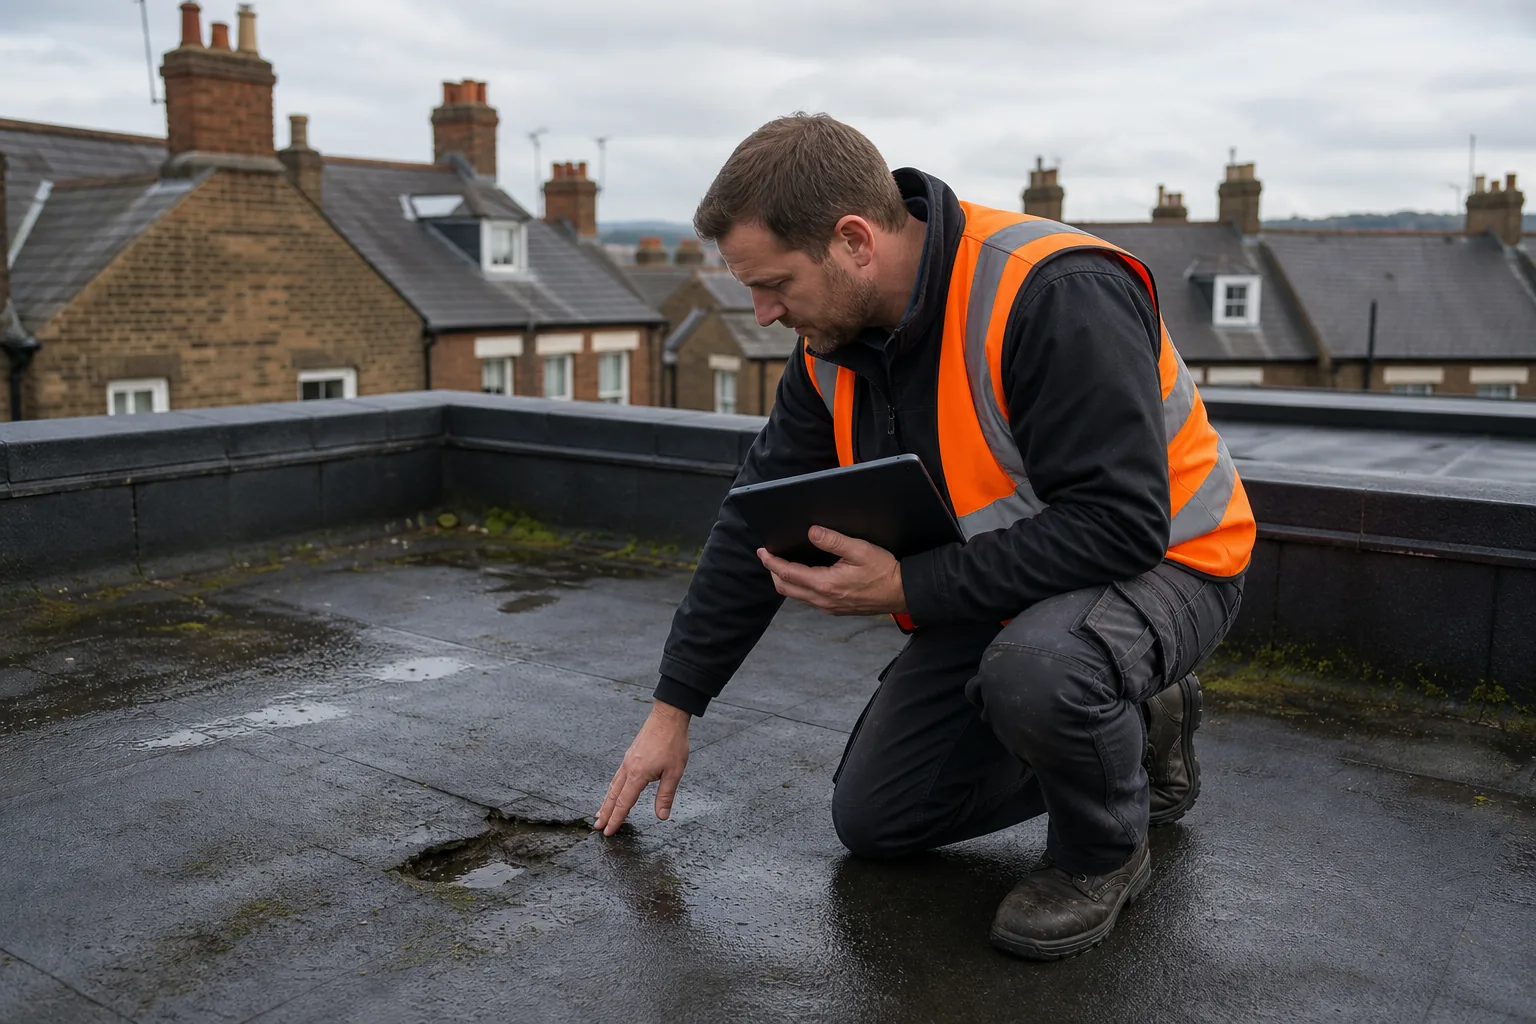
A flat roof inspection is a full‑system health check. We start with the membrane, the waterproof skin that stops rain from getting inside. Its condition tells us if it’s still sealed, cracked or blistered.
Next we look at the flashings and upstands. These are the metal or concrete edges that tie the roof to walls, parapets and roof‑level services. Bad flashings are a favourite leak route.
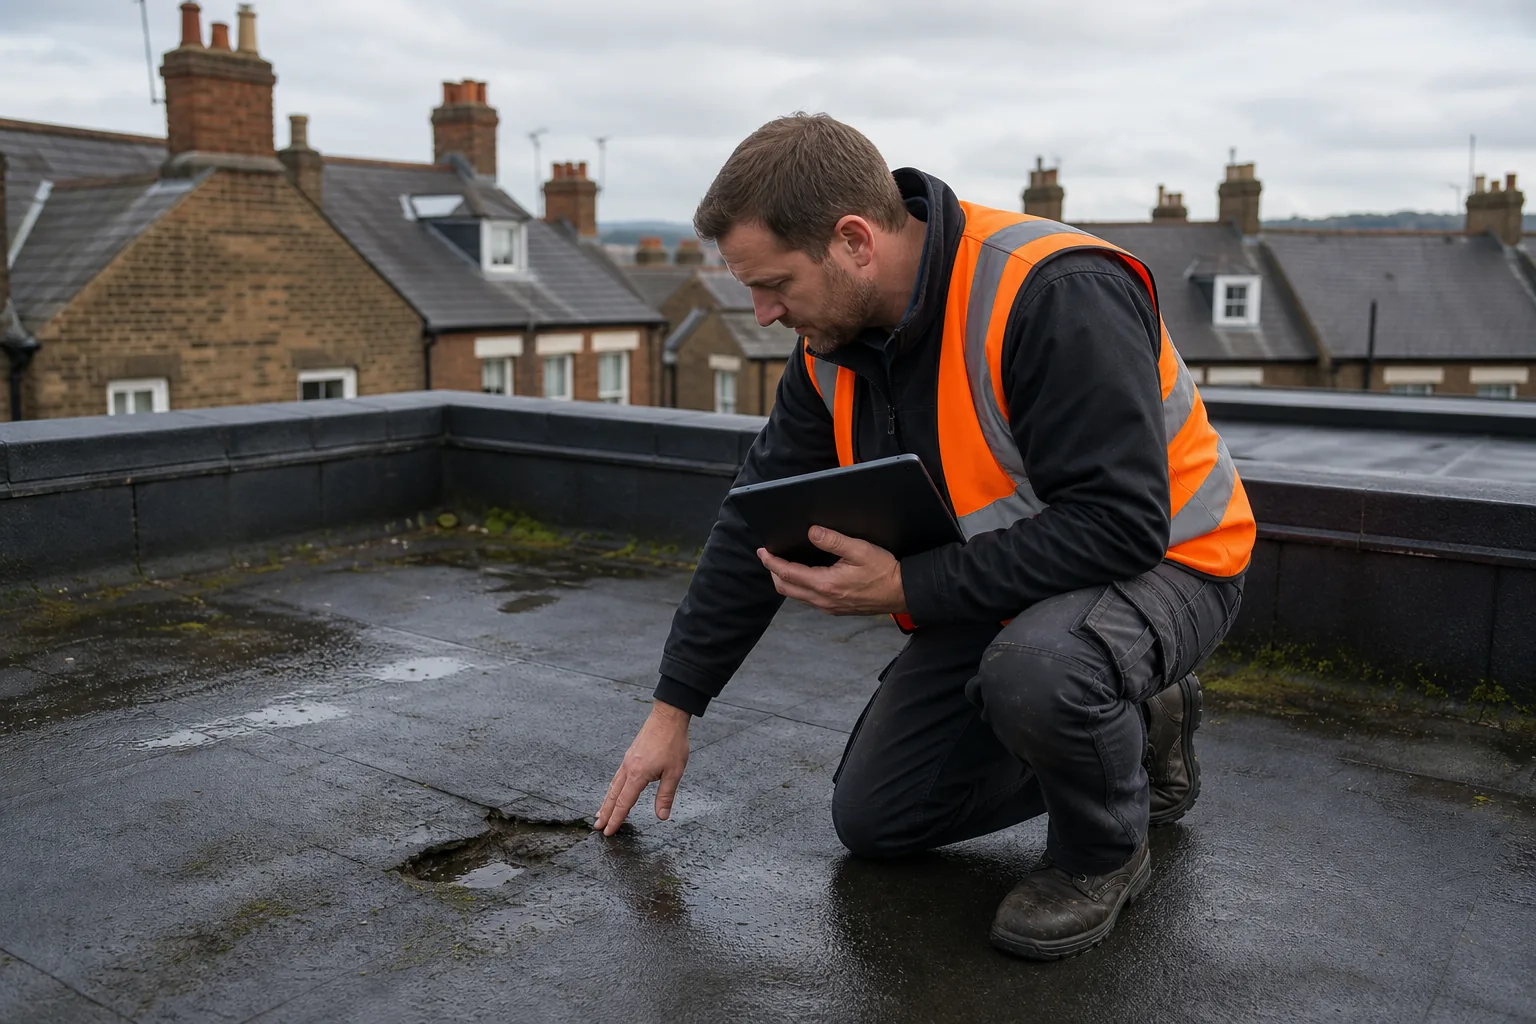
Drainage is the third pillar. We verify that primary outlets, overflow pipes and gutters are clear and that the roof’s fall directs water towards the outlets.
Inside the building we check for signs of water, staining, mould, warped plaster or a musty smell. Those clues point back to the roof area that’s letting water in.
Finally we assess the supporting structure, the deck, insulation and any ballast. Moisture trapped here can rust steel fixings, rot timber decks or lower the thermal performance of the whole building.
All of these data points end up in a single report that grades each element and flags the urgency of repair.
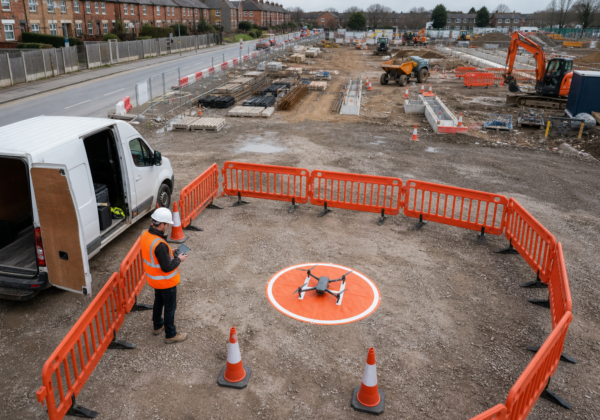
Our own managed drone‑based aerial inspections capture high‑resolution 3‑D maps and thermal overlays, giving you the same depth of insight without the scaffolding risk. Commercial Flat Roof Inspection: A Step‑by‑Step Guide explains how we turn those images into a defect matrix you can act on.
Common Flat Roof Defects and What They Can Indicate
Flat roofs fail at the details before the whole field gives way. The most frequent defect is membrane blistering, tiny bubbles that form when air or moisture gets trapped under the surface. A blister can mean a lost seal, which will let water seep into the insulation.
Seam failures are next on the list. When two sheets of single‑ply membrane are joined, the joint must stay tight. Over time, movement or poor adhesive can open a seam, creating a direct path for rain.
Ponding water is a classic red flag. If water sits for more than 48 hours after a storm, the extra weight can push the membrane down, creating stress cracks. In the long run, ponding accelerates ageing of both membrane and insulation.
Failed flashings around penetrations, vents, skylights, HVAC units, are another common source of leaks. Even a small gap around a pipe can let a trickle grow into a major drip inside the building.
When you see any of these signs, the likely impact is three‑fold: increased heat loss, structural degradation and internal water damage. A targeted defect map lets you prioritise the most dangerous items first.
For a practical walk‑through of spotting these problems on site, see How to Identify Flat Roof Problems. The guide walks you through a five‑step checklist that turns vague symptoms into a clear repair plan.
Inspection Methods: Close Access, Drone Surveys and Thermal Imaging
Traditional close‑access inspections rely on ladders, safe walk‑ways and a trained surveyor moving across the roof. This gives a tactile feel, you can press a probe, feel a soft spot and take a core sample. It works well where the roof is easily reachable and the risk of fall is low.
Drone surveys remove the height risk altogether. A drone flown by an operator who meets CAA requirements follows a grid pattern, captures overlapping RGB photos and builds a photogrammetric 3‑D model. The model lets us measure slopes, locate missing membranes and spot visual damage from a bird’s‑eye view.
Thermal imaging adds the ‘what the naked eye can’t see’ layer. Infrared cameras detect temperature differences that reveal hidden moisture, insulation gaps and cold bridges. After sunset, wet insulation stays warm longer than dry areas, appearing as bright spots on the thermal map.
When we combine visual, drone and thermal data, the result is a fully layered report. The visual layer shows surface cracks, the 3‑D layer maps exact locations, and the thermal layer flags hidden water. For building-fabric thermography the usual reference standard is BS EN 13187; IEC 62446‑3 applies to solar PV arrays.
How to Conduct a Commercial Building Drone Roof Inspection walks you through the planning and safety steps we take before each flight.
From Inspection Findings to Estate Maintenance Decisions
The inspection report is more than a list of defects, it’s a decision‑making tool. Each finding is graded (low, medium, high risk) and tied to a recommended action and timeline.
High‑risk items, for example a cracked membrane over a critical service hatch, demand immediate repair or temporary protection. Delaying those can lead to water damage, electrical hazards or even structural failure.
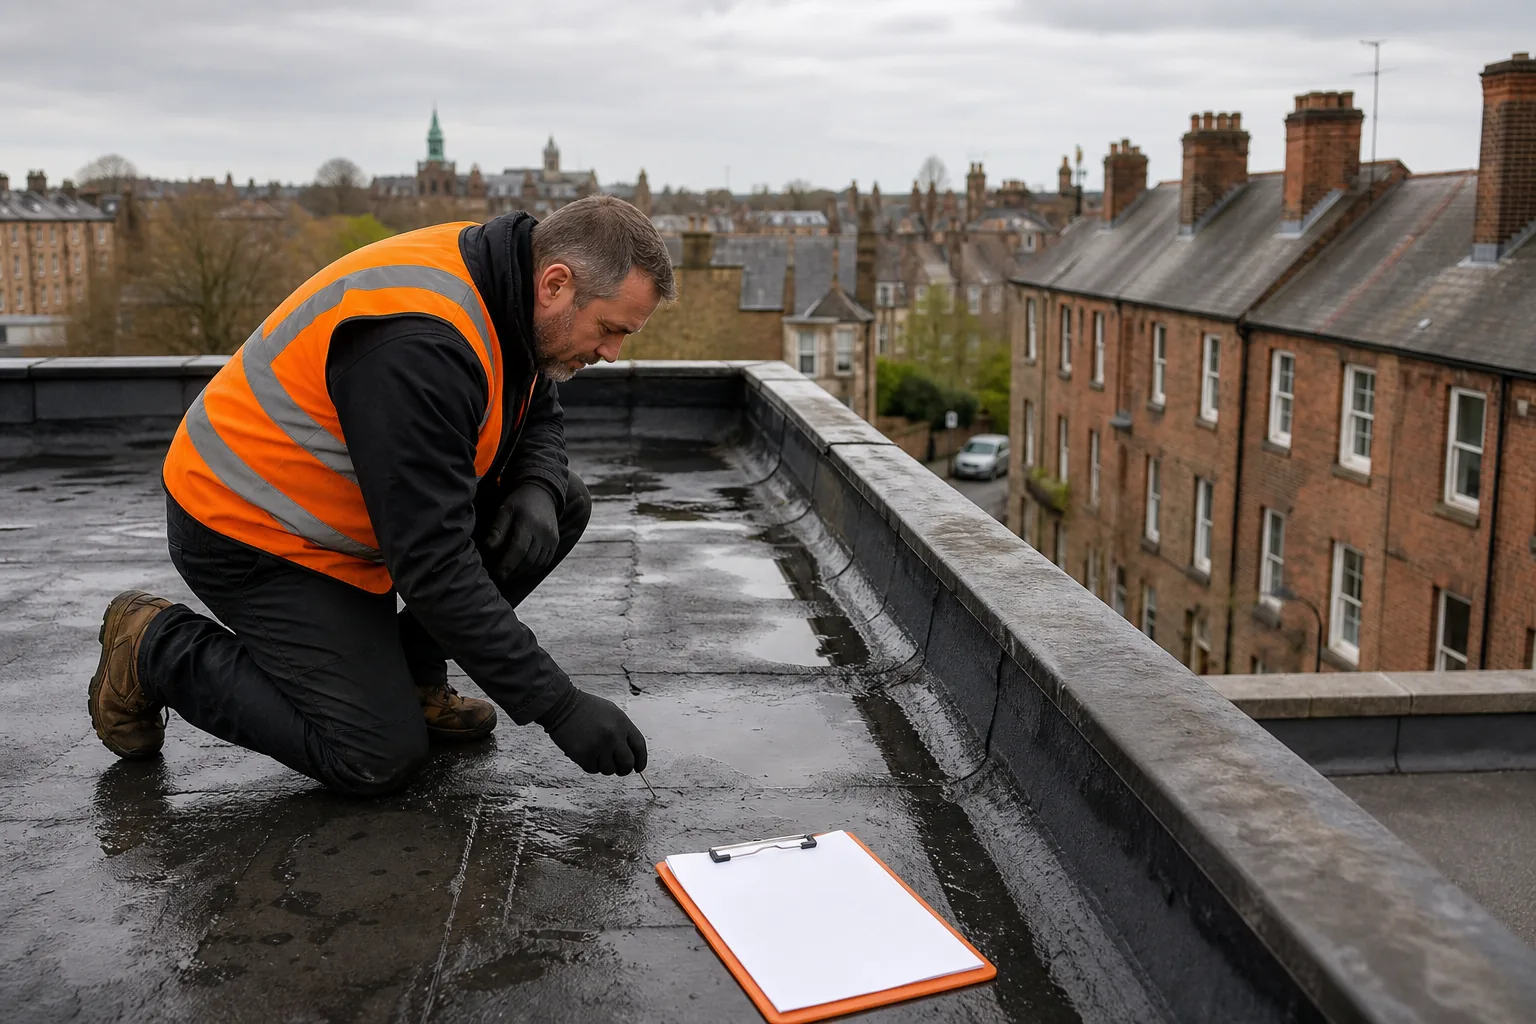
Medium‑risk issues, such as a modest ponding area that exceeds the 48‑hour guideline, are usually scheduled for the next planned maintenance window. The report can feed directly into a capital‑works programme, helping estate managers justify budget allocations to senior stakeholders.
Low‑risk observations, like minor surface scuffing, are logged for future monitoring. Because our drone surveys produce a geo‑referenced 3‑D model, you can compare new surveys with previous ones to see how a defect evolves over time.
When the findings tie into wider sustainability goals, the data becomes even more valuable. Thermal hotspots highlight poor insulation, which can affect the building’s energy performance and net‑zero targets.
The report can be shared with architects, contractors or energy consultants as evidence for retrofit planning.
Flat Roof Inspection FAQs
What is the typical frequency for a flat roof inspection?
A common recommendation is to inspect a flat roof at least once a year, ideally in spring and autumn, and after any major storm, roof work or solar‑panel installation.
Can a flat roof be inspected without a drone?
Yes, a close‑access walk‑over can capture surface defects, but it does not produce the 3‑D mapping a drone provides, and hidden moisture needs probing, core samples or thermal imaging to confirm.
How does thermal imaging detect hidden leaks?
Thermal imaging measures surface temperature; wet insulation retains heat longer than dry material, so it shows up as a warm spot on a night‑time thermal map.
Do I need to shut down building services before an inspection?
Only if the survey includes interior thermography or moisture mapping; otherwise the roof can be surveyed while the building remains occupied.
What reporting standards do you follow?
Thermographic surveys of building fabric are usually reported against BS EN 13187, while IEC 62446‑3 covers solar PV arrays. Ask which standard your report will reference.
Is a flat roof inspection covered by insurance?
Many insurers require a recent condition report as part of the risk assessment, and a professional inspection can satisfy that requirement.
Start with a professional flat roof inspection that combines visual, drone and thermal data. The clear, actionable report will let you plan repairs, meet regulatory standards and keep your estate running smoothly.
Ready to put this into practice? Visual Perspectives Limited was built for exactly this.