
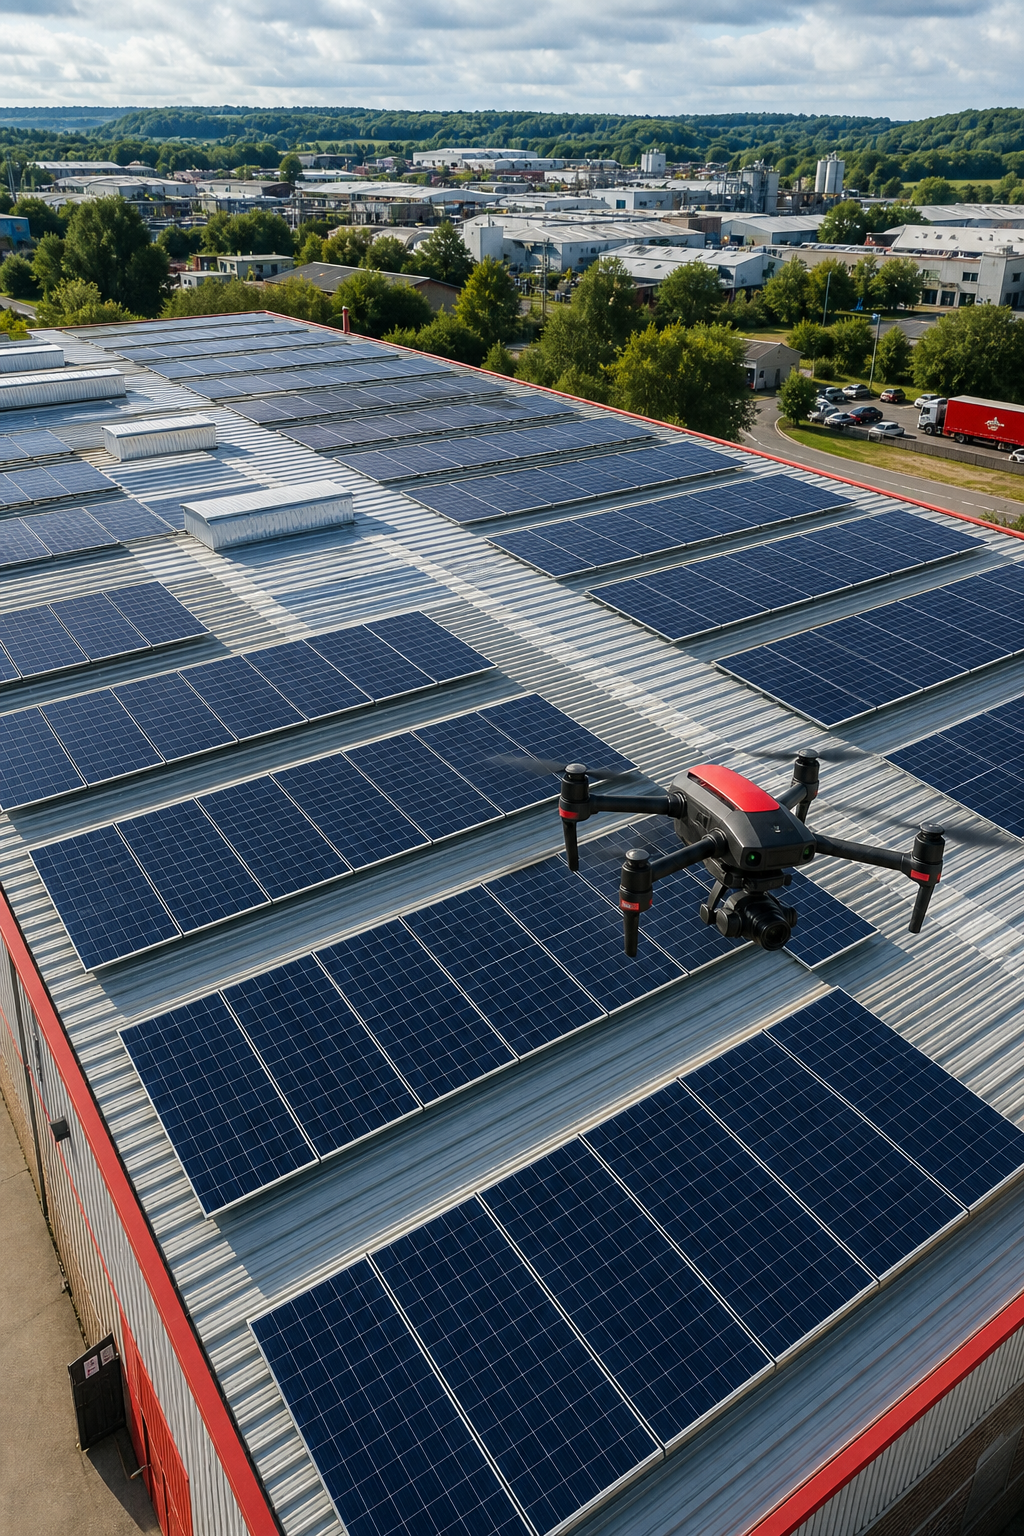
Solar panels on a commercial roof can suffer from performance degradation due to undetected defects and soiling. The loss isn’t just a number on a spreadsheet, it’s money slipping through the cracks of your bottom line. In this guide we walk through the most reliable, data‑driven process to inspect and assess those panels, capture accurate thermal data, and keep your asset performing at peak efficiency.
You’ll discover how a professional drone inspection kick‑starts the workflow, why high‑resolution visual and thermal imaging matters, how to turn defect maps into a prioritized inspection report, and what a solid post‑inspection verification looks like. By the end you’ll be ready to schedule, execute, and document an inspection routine that meets IEC 62446 standards and protects your investment.
Step 1: Schedule a Professional Drone Inspection
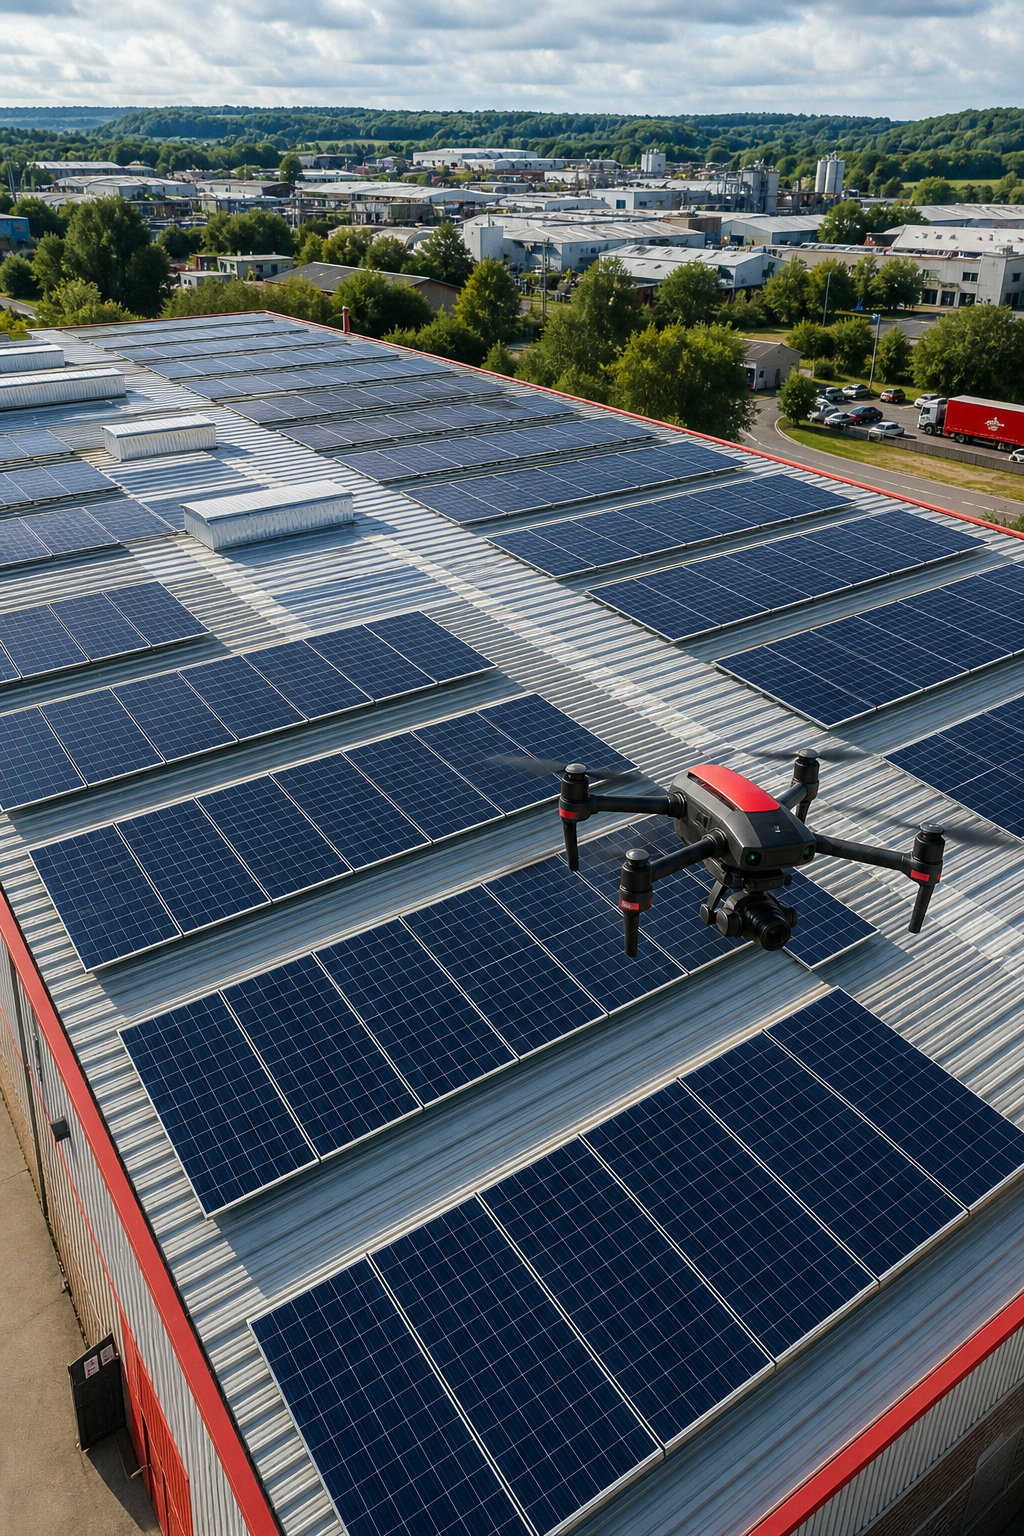
First, book a qualified aerial survey crew. A commercial‑grade UAV can sweep a rooftop in minutes, collect 3‑D point clouds, and flag hot‑spots that a ground crew would miss. When you reach out, ask for a CAA‑compliant operator with at least Level 2 thermography certification , that’s the benchmark we use at Visual Perspectives Limited.
Ask the provider to include a full GIS‑referenced map of the PV array. The map should label each module, string, and balance‑of‑system component. This data layer becomes the backbone of your inspection and maintenance schedule.
We recommend a pre‑inspection briefing where you share system specs, warranty constraints, and any recent weather events. That way the pilot can set flight parameters that respect safety zones and avoid blowing debris onto delicate glass.
For a detailed look at how we meet these criteria, see our guide to commercial solar panel inspections. We deliver the “quickly, precise, and detailed” service promise you can rely on.
Step 2: Conduct High‑Resolution Visual and Thermal Imaging
With the drone in the air, the next step is to capture both visual RGB photos and infrared thermograms. Visual images let you see dust, bird droppings, or cracked glass. Thermal images reveal hidden hot‑spots that indicate electrical or material faults.
Choose a thermal camera that meets the IEC TS 62446‑3 pixel density rule , at least five pixels per cell. This ensures you can see temperature differences as small as 0.5 °C, which is enough to spot a failing bypass diode.
Fly the mission during peak sun hours (10 am, 2 pm) on a clear day. Cloud cover can flatten thermal gradients and mask anomalies. Keep the drone at a consistent altitude so the sensor’s field‑of‑view stays uniform across the array.
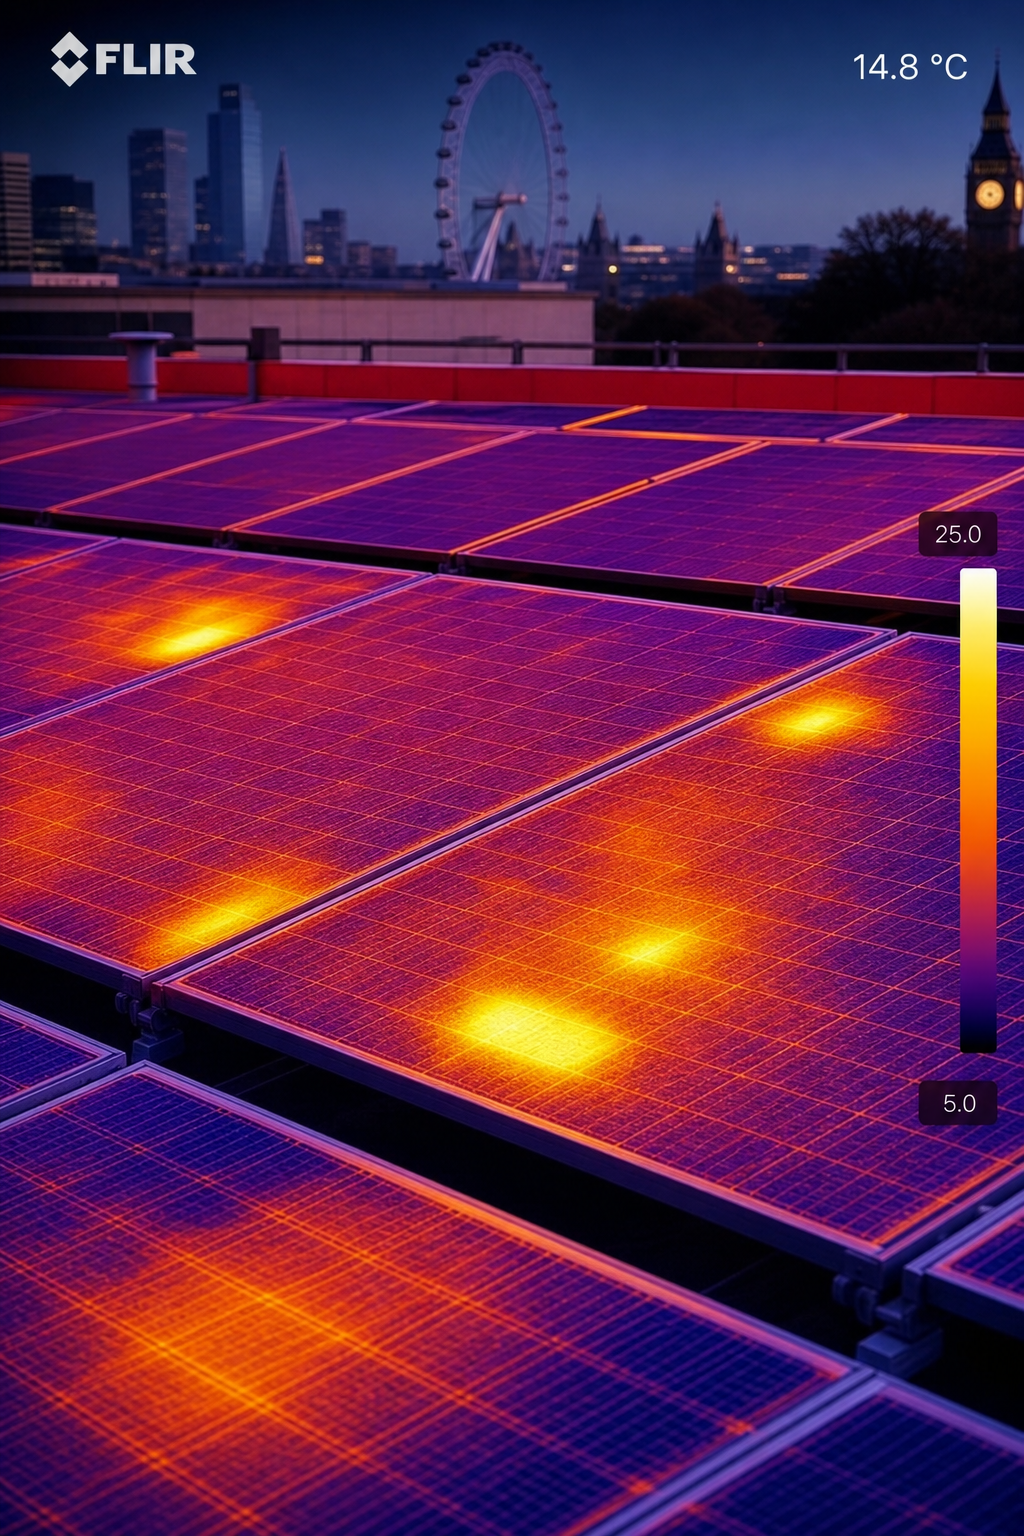
When you review the footage, look for bright orange or red patches that stand out from the surrounding cool blues. Those are your hot‑spots.
For a deeper dive on the science behind infrared cameras, consult professional resources on thermal imaging that explain emissivity settings and why a clean glass surface reflects the sensor’s calibration.
Step 3: Analyse Defects and Prioritise Cleaning
Now turn the raw data into an action plan. Export the thermograms and overlay them onto the 3‑D map. Each hot‑spot should be tagged with its module ID, string number, and measured temperature delta (ΔT).
Compare ΔT against the IEC 62446‑3 thresholds: a ΔT greater than 5 °C under full irradiance usually signals a serious fault, while a 2‑3 °C rise may just be surface soiling.
Rank the findings:
- Critical:ΔT > 5 °C , clean immediately and schedule a detailed electrical test.
- Moderate:3 °C < ΔT ≤ 5 °C , clean at the next routine service.
- Low:ΔT ≤ 3 °C , monitor; cleaning can wait.
Below is a simple matrix you can copy into your asset‑management system.
Once you have the priority list, hand it off to the cleaning crew with clear instructions: which rows need a wipe‑down, which need a full‑panel wash, and which may need component replacement.
Our own field reports show that when cleaning follows a data‑driven priority, average output loss drops from 12 % to under 2 % after the first service.
For more on how to read and act on thermal data, refer to official best‑practice temperature thresholds for commercial arrays.
Step 4: Implement Targeted Cleaning Based on Inspection Data
With the priority list in hand, the cleaning crew can work efficiently. The industry consensus says the safest method is a low‑pressure water rinse combined with a mild, non‑abrasive soap.
Start with a gentle hose spray to loosen loose dust. Follow with a soft‑bristle brush or sponge dipped in a 5 % mild detergent solution. Scrub in small circular motions , avoid any abrasive pads that could scratch the anti‑reflective coating.
Rinse with de‑ionised water to prevent mineral streaks. For hard‑to‑reach sections, a water‑fed pole system works well and keeps the crew off the roof.
Never use a pressure washer above 100 psi; the research notes that high‑pressure streams can chip the tempered glass and void warranties.
After the wash, let the panels air‑dry or use a squeegee to push excess water off the surface. The sun will finish the job.
In coastal or high‑dust environments, consider applying a hydrophobic coating as an extra protective layer after cleaning. While we don’t sell the coating, many of our clients add it as a protective layer after the clean.
Our cleaning partners follow the same steps, and we verify their work with a post‑clean scan (see next step).
Step 5: Post‑Cleaning Verification and Reporting
After the panels are spotless, send the drone back for a quick thermal pass. The goal is to confirm that ΔT values have dropped into the low‑range band.
If a hotspot remains above the 3 °C threshold, it likely isn’t just dirt , it could be a cell fault or connector issue that needs electrical testing.
Compile a report that includes:
- Before‑and‑after thermograms side by side.
- A table of each module’s ΔT change.
- Recommendations for any further repairs.
Make the report IEC 62446‑compliant so insurance adjusters and asset managers can file it without extra paperwork.
For a quick checklist, see our Top Solar Panel Inspection Companies for Commercial Roofs page , it lists firms that also provide verification services.
Remember: clean panels boost efficiency by 5‑20 % , so the verification step is more than a formality; it’s a measurable ROI driver.
Step 6: Establish a Routine Inspection and Maintenance Schedule
Cleaning once isn’t enough. Set a calendar that matches your site’s exposure profile. A good rule of thumb is:
- Annual full‑scale drone inspection for most UK commercial roofs.
- Quarterly visual spot checks after major weather events (hail, heavy rain, dust storms).
- Bi‑annual cleaning in high‑dust zones; yearly cleaning where air is cleaner.
Link the inspection dates to your asset‑management software so alerts pop up before the next service window.
When you schedule the next drone flight, reuse the same flight plan. That lets you compare new thermograms against the baseline you built at commissioning.
In addition, monitor real‑time performance data from the inverter’s SCADA system. A dip of more than 10 % compared to the same weather window is a signal to schedule an unscheduled clean.
Our team at Visual Perspectives Limited can help you set up the data pipeline and keep the inspection schedule compliant with insurance and ESG reporting requirements.
Frequently Asked Questions
What frequency of cleaning is ideal for a commercial rooftop PV array?
Cleaning frequency depends on location, climate, and soiling rates. In dusty or coastal areas, a quarterly clean keeps efficiency high. In milder climates, twice a year is often enough. Pair visual checks after storms with a quarterly performance review to catch unexpected buildup.
Do I need to shut down the PV system before cleaning?
Yes. Turn off the DC disconnects and isolate the inverter before any water touches the modules. This prevents electrical hazards and protects the inverter from water ingress. Follow the OEM shutdown checklist and lockout‑tagout procedures.
Can high‑pressure washers be used safely?
No. Industry research warns that pressures above 100 psi can crack tempered glass and void warranties. Stick to low‑pressure hoses and soft brushes to avoid surface damage.
What cleaning agents are safe for solar glass?
Use a mild, non‑abrasive soap diluted in water (about 5 % concentration). Avoid window‑cleaning chemicals that contain ammonia or solvents, as they leave a residue that reduces transmissivity.
How does thermal imaging improve cleaning decisions?
Thermal images show temperature anomalies that indicate hotspots caused by soiling, cell damage, or loose connections. By targeting only the hot modules, you cut labor time and avoid unnecessary cleaning of panels that are already clean.
Is a drone inspection required for insurance compliance?
Many UK insurers require an annual thermal inspection for commercial PV assets. A CAA‑compliant drone survey that follows IEC 62446 provides the documentation insurers need to keep the policy active.
What equipment should my cleaning crew carry?
Equip them with soft‑bristle brushes, a low‑pressure hose, a bucket of mild soap solution, de‑ionised water, safety uses, and non‑abrasive squeegees. A water‑fed pole system can reach panels on steep roofs without putting crew on the edge.
How do I know if a hotspot is a fault or just dirt?
Run a post‑clean thermal scan. If the ΔT drops below the 3 °C threshold after cleaning, the hotspot was likely soiling. If it remains high, schedule electrical testing of the affected string or replace the module.
Conclusion
Keeping commercial solar panels clean isn’t a one‑off task; it’s a data‑driven cycle that starts with a high‑resolution drone survey, moves through precise thermal analysis, and ends with targeted cleaning and verification. By following the six steps outlined above you reduce energy loss, meet IEC 62446 compliance, and protect your investment for decades.
Remember, the best way to clean solar panels starts with seeing what’s hidden , that’s why we always begin with a drone‑based inspection. Once you have that insight, the cleaning actions become focused, cost‑effective, and safe.
Ready to tighten up your solar maintenance program? Explore our related guide on Solar Panel Maintenance: 7 Inspections for Commercial Roofs for deeper insight into performance monitoring and predictive servicing.
You’ll be in good hands with a partner who blends aerial expertise, thermal precision, and compliance know‑how. Let’s keep your rooftop shining and your energy numbers climbing.

