
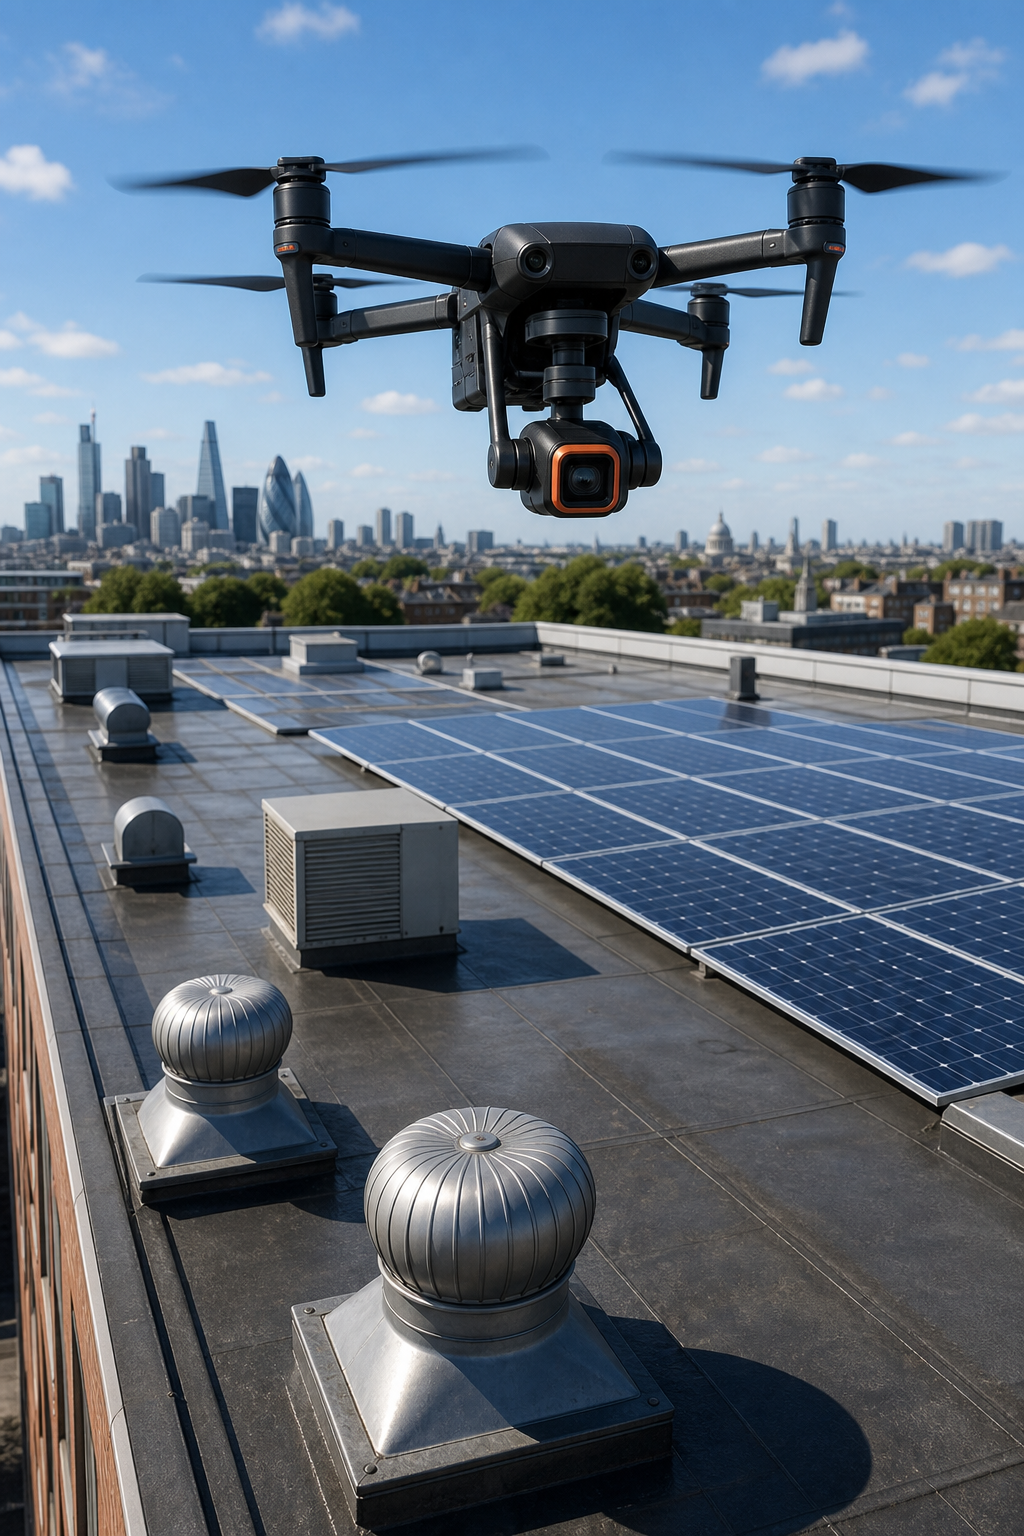
Drone roof inspections have changed how commercial buildings are surveyed. They’re safer, faster, and give you data the naked eye can’t see. Whether you manage a block of flats, an office complex, or a retail park, a drone roof inspection finds hidden defects, heat loss, and solar panel problems before they turn into expensive repairs. Here’s how we do it at Visual Perspectives , and how you can set up your own process.
Step 1: Pre-Inspection Planning and Risk Assessment
Every good inspection starts with a plan. You can’t just launch a drone and hope for the best. First, review the building’s drawings and history. Look for known issues like previous repairs, flat roof build-up, or solar panel layouts. Then do a site visit to identify hazards: overhead cables, antennas, skylights, and access points.
Weather is a big deal. Wind above 15 mph, rain, or low cloud can make the flight unsafe or ruin the data. Check forecasts and have a backup day. You also need to comply with CAA regulations , that means the pilot holds a valid PfCO or GVC, the drone is insured, and you have permission from the building owner. A good risk assessment covers all of this.
At Visual Perspectives, we start every project with a detailed planning call. We help clients understand what to expect and what they’ll get , no surprises. For a deeper look at the full process, see how drone roof inspection works for commercial buildings.
According to a guide on drone roof inspection planning, proper pre-flight checks reduce the risk of equipment damage and data gaps. That’s a rule we live by.
Step 2: Selecting the Right Drone and Thermal Imaging Equipment
Not all drones are built for commercial inspections. You need a platform that can carry a high-resolution visual camera and a thermal sensor. For large flat roofs, a drone with at least 30 minutes flight time and obstacle avoidance is best. For complex facades, a smaller, more agile drone works better.
Thermal cameras are the real game changer. They measure surface temperature and show you moisture trapped below the membrane, missing insulation, or overheating electrical components. The key specs are resolution (320×240 is minimum; 640×480 is better), temperature sensitivity (≤50 mK), and a wide lens to cover more roof in one pass.
Here’s a quick comparison of typical equipment:
We use DJI Matrice series drones with FLIR thermal cameras , the same kit recommended by Pilot Institute’s drone roof inspection guide. The right equipment makes all the difference between fuzzy thermal images and clear diagnostic data.
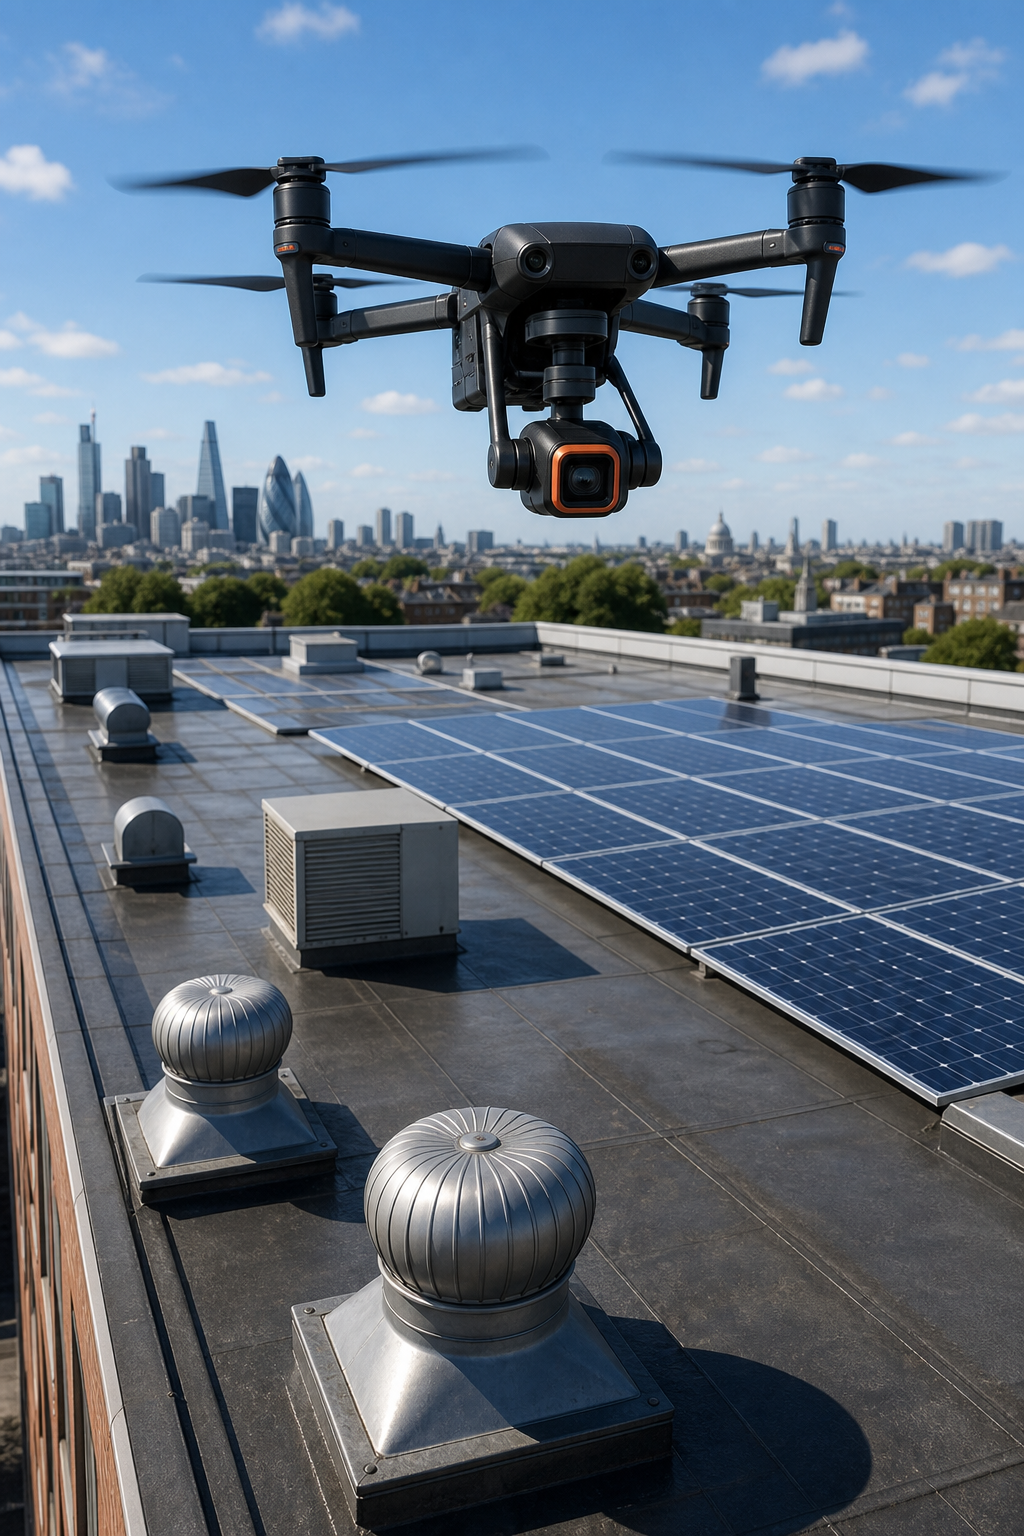
Watch a real inspection flight in action:
When choosing your own kit, remember that a good thermal camera needs proper calibration and a trained operator. Learn more about drone thermal imaging for commercial buildings.
Step 3: Conducting the Aerial Inspection Flight
Now it’s time to fly. Set up an automated flight path that covers the entire roof area with at least 70% overlap between images. This ensures you have enough detail for 3D mapping and thermal stitching. Fly at a consistent altitude , typically 30-50 metres for general surveys, lower for close-up defects.
As the drone flies, the thermal camera records a live video feed. The pilot watches for abnormal hot or cold spots in real time and can zoom in for a closer look. For flat roofs, fly a grid pattern. For pitched roofs and facades, orbit the building at multiple angles.
Safety comes first. Keep a spotter to warn of bird strikes or other aircraft. Maintain line of sight. And log every flight , date, time, battery level, weather, and any observations. This data is useful for your report and for insurance compliance.
We follow these exact steps on every commercial building inspection we do. It’s a routine that delivers consistent, high-quality data every time.
Step 4: Analysing Thermal Data to Identify Defects and Heat Loss
Once the flight is done, the real detective work begins. You’ll have hundreds of thermal images and possibly a full thermal orthomosaic. Load them into analysis software that can measure temperatures and highlight anomalies.
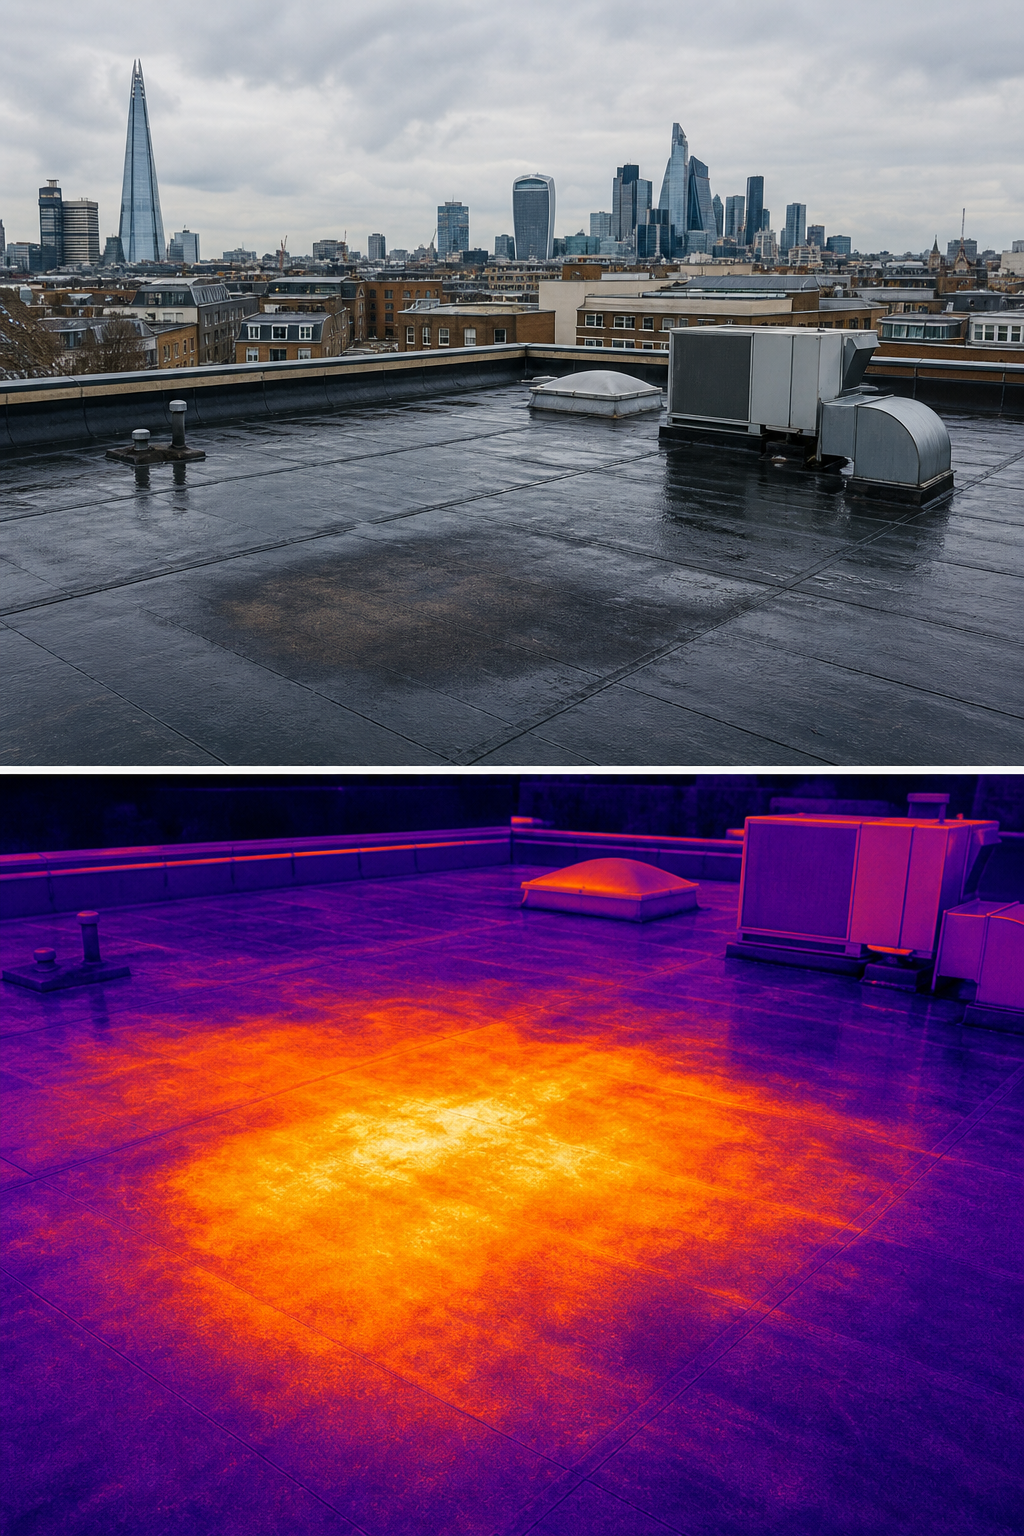
Look for patterns. In flat roofs, trapped moisture shows up as a warm spot at night because water retains heat longer than dry insulation. During the day, moisture appears cooler because it evaporates and draws heat. The Army Corps of Engineers has documented that moisture can stay trapped for decades , so catching it early saves the roof.
Also check for thermal bridging in the building envelope, missing insulation in cavity walls, and air leaks around windows and roof penetrations. Electrical panels and cables should be scanned too , a hot connection can signal a fire risk.
At Visual Perspectives, our thermographers hold ITC Level 1 and 2 qualifications. We use professional thermal analysis methods to identify defects with pinpoint accuracy. For solar PV arrays, we follow IEC 62446 standards to compare module temperatures and detect faulty cells.
Step 5: Conducting Solar PV Thermography with IEC 62446 Compliance
If the roof has solar panels, they need special attention. Solar PV thermography under IEC 62446 requires the inspection to be done under the right load conditions , usually at least 70% of the panel’s rated output on a sunny day. Fly after the system has been running for an hour so it reaches steady state.
The thermal camera will highlight hot cells, bypass diode failures, and string imbalances. A hot cell typically means the cell is shaded, cracked, or damaged. If the whole module is hot while others are cool, it’s likely a bypass diode issue. String imbalances show up as a row of modules that are uniformly warmer or cooler than the rest.
IEC 62446 also requires detailed reporting: annotate each anomaly, state the delta-T from the average, and recommend action. This data is vital for warranty claims, insurance compliance, and performance optimisation. A pre-solar roof inspection is also critical , you don’t want to install panels on a roof with latent moisture defects that will cause problems later.
For more on this, on solar panel thermal inspection methods. We help clients comply with IEC 62446 and avoid solar fires or underperformance.
According to the IEC 62446 standard on Wikipedia, it defines requirements for documentation, commissioning tests, and inspection of grid-connected PV systems. Adherence to this standard is increasingly required by insurers and funding bodies.
Step 6: Generating Actionable Inspection Reports
Data is only useful if you can act on it. A good report organises findings by severity: critical defects, moderate issues, and observations. Each defect should have a photo, a thermal image, a temperature reading, and a clear description of the problem and recommended fix.
Include a summary table that ranks defects by risk and estimated repair cost. Add a 3D model or a roof plan showing the location of each defect. The report should be easy to read for facilities managers, surveyors, and contractors , not just the drone pilot.
We generate reports that are quickly, precise, and detailed , exactly what our clients need to make decisions. For an example of what a professional report looks like, . It shows how findings are presented with photos, descriptions, and action items.
Finally, deliver the report within 5 working days. Speed matters when you’re planning repairs or responding to an insurance claim.
Frequently Asked Questions
Do I need to be a trained thermographer to interpret thermal drone data?
Yes, you need formal training to interpret thermal data accurately. ITC Level 1 certification covers the basics of thermography, building science, and image analysis. Without it, you risk misdiagnosing defects. Visual Perspectives’ thermographers are ITC Level 1 and 2 certified.
How long does a commercial drone roof inspection take?
A typical 1,000 sq metre commercial roof takes about 2-3 hours on site, including setup, flight, and pack-down. Larger sites or those with complex geometry take longer. Data processing and report writing add another day or two, depending on detail.
Can drones inspect flat roofs with standing water or gravel?
Yes. Thermal imaging can see through shallow standing water because the water temperature differs from the surrounding roof surface. Gravel ballast is also not a problem , the thermal camera reads the membrane temperature through the gaps. The key is to fly at the right time of day (dawn or dusk) for the best thermal contrast.
What is IEC 62446 and why does it matter for solar panel inspections?
IEC 62446 is an international standard for testing, documentation, and maintenance of grid-connected PV systems. For drone inspections, it defines the required thermal camera specifications, inspection conditions, and reporting format. Following it ensures your survey is accepted by insurers, warranty providers, and grid operators.
How often should I inspect my commercial roof with a drone?
We recommend an annual drone inspection plus an extra thermal survey after severe weather. Solar panels should be inspected at least once a year under load. Regular inspections catch small defects before they become expensive emergencies, and they support your asset management plan.
What defects can a drone roof inspection find that a walk-by survey cannot?
Thermal imaging reveals hidden moisture in insulation, thermal bridging, air leaks, and failing solar cells , none of which are visible from the ground or even on a close-up visual walk. Drones also access hard-to-reach areas like skylight curbs, roof edges, and plant platforms without scaffolding or ladders.
Conclusion
Conducting a commercial building drone roof inspection isn’t complicated, but it does require the right equipment, training, and process. Follow these six steps: plan carefully, pick proper gear, fly methodically, analyse thermal data, check solar panels to IEC 62446, and deliver a clear report. If you’d rather have it done by an experienced team, Visual Perspectives covers the whole UK with managed inspections that are quickly, precise, and detailed. Get in touch to discuss your property.
Ready to put this into practice? Visual Perspectives Limited was built for exactly this.

