Solar panels can look clean while a loose connection, failed string or hot cell quietly cuts output. Good solar PV maintenance finds these faults before they become expensive repairs.
Use the four steps below to plan safe checks, clean the array, review performance data and arrange specialist testing. The right approach is condition-based, not a blind calendar task.
Step 1: Set the Maintenance Plan and Make the Site Safe
Start your solar PV maintenance plan with the site risk, system records and a clear inspection scope. A large commercial roof needs a different plan from a small domestic array.
Gather the commissioning pack before anyone visits. Find the as-built layout, panel count, inverter schedule, rated capacity, cable routes and warranty details. Add roof access notes, known shade, nearby trees and any past faults. Give each roof and inverter a fixed reference, so later findings match the asset register.
IEC 62446 sets out requirements linked to testing, documentation and maintenance for grid-connected PV systems. It does not remove the need for a site-specific risk assessment.
There is a planning gap worth understanding. In the five checklist items reviewed for this subject, every item referred to IEC 62446 or IEC 62446-1, yet none gave a recommended inspection frequency. Treat the standard as a technical benchmark, not as a complete maintenance calendar.
Set a routine that reflects the site. Weekly monitoring checks suit most commercial assets. A visual inspection at least once a year is a sensible baseline. Add extra visits after storms, flooding, hail, heavy snow or building work. Coastal, dusty and high-bird-activity sites may need more frequent checks.
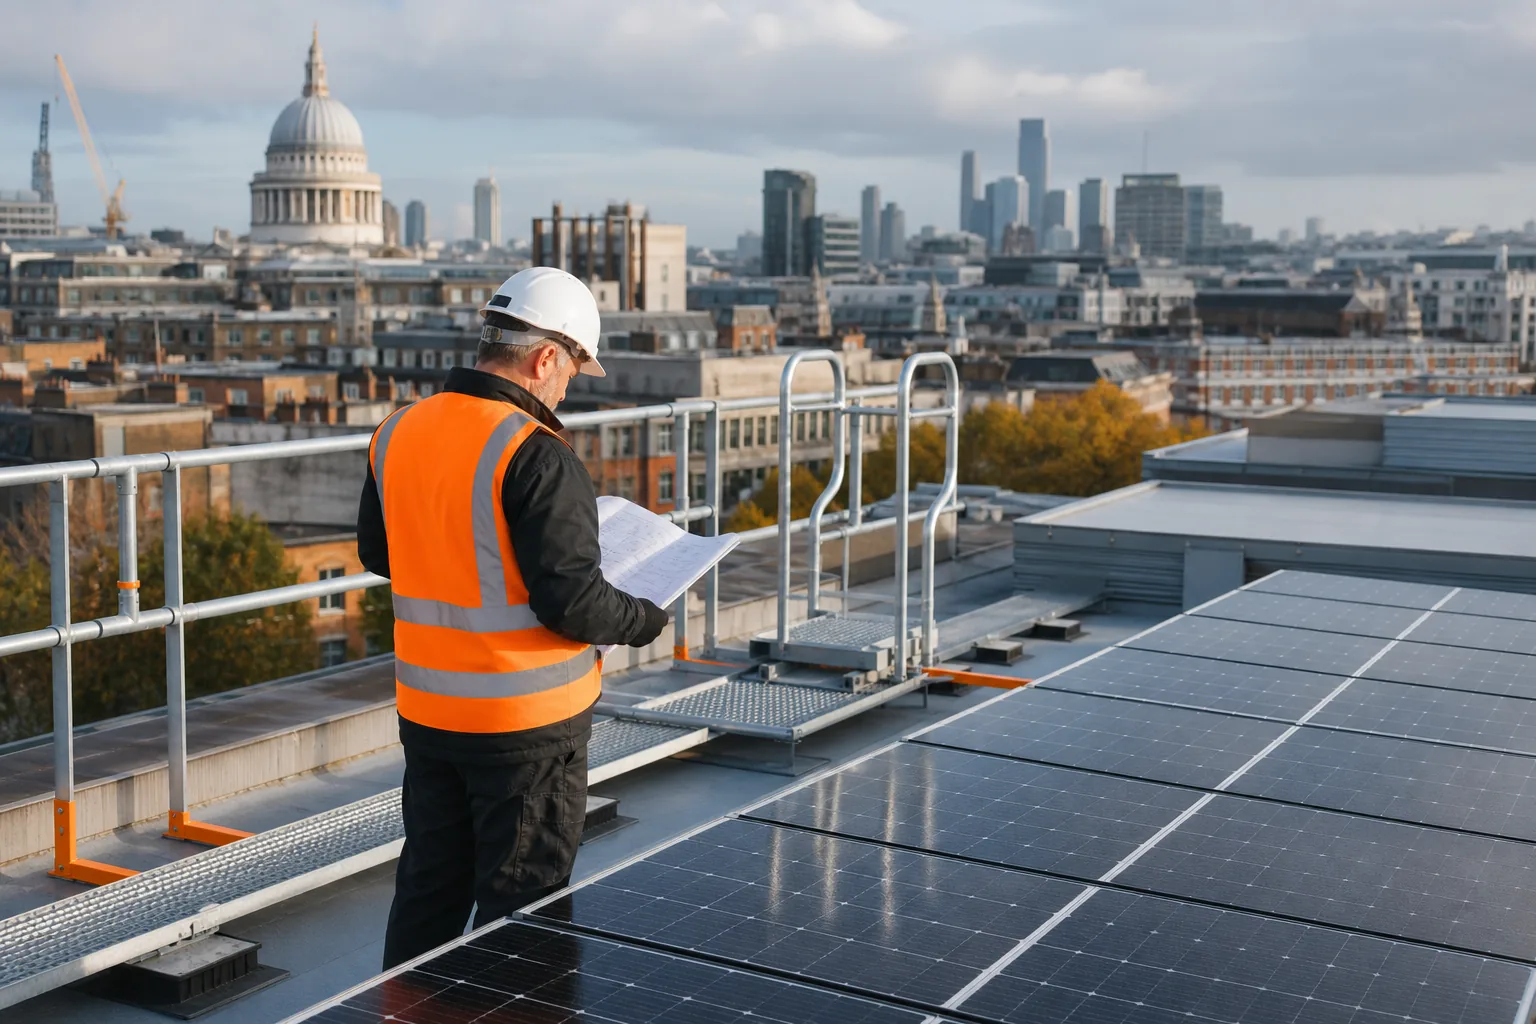
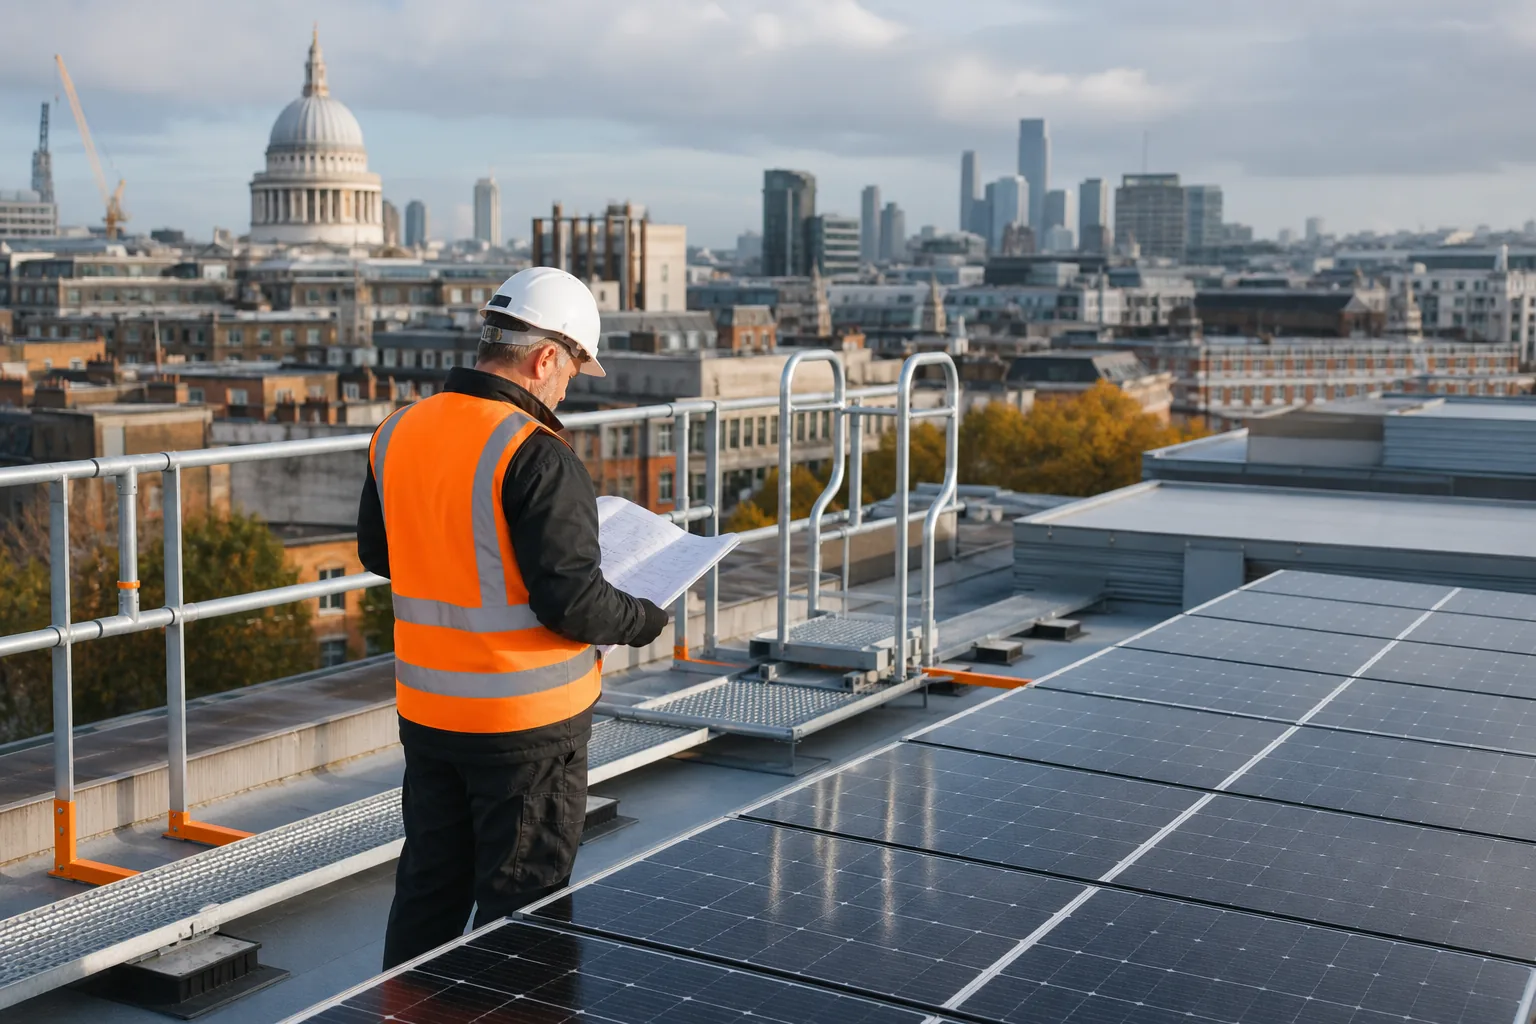
Before access, confirm the method statement and emergency plan. Check roof strength, fragile surfaces, skylights, edge protection and safe routes. Use suitable PPE and keep unauthorised people away from the work area. Do not open live electrical enclosures or operate isolators unless you are trained and authorised.
For electrical work, use an approved isolation process. Identify every energy source, isolate it, lock it off, label it and verify the state before work begins. Remember that PV modules can produce DC power whenever light reaches them, even when the inverter is switched off.
By now you should have a site pack, a named person responsible for each action and a safe route to inspect the system. You’ll be in good hands when the plan is clear before anyone climbs onto the roof.
Step 2: Clean and Visually Inspect the PV System
Cleaning is one part of solar PV maintenance. First decide if soiling is causing a measurable issue, then inspect the whole system rather than staring only at the panel faces.
Rain can wash light dust from panels on a steep roof. It will not always remove bird fouling, pollen, leaves, algae, industrial grime or salt film. Low-angle and flat-roof arrays tend to hold more dirt. A commercial roof near farmland, construction work or the coast may need checks twice a year, while a cleaner site may need less.
Compare generation before booking a clean. Look for a broad fall across several similar strings, not just one low reading. A single weak string may point to a connector or inverter fault instead. This distinction stops you paying for cleaning when the real issue is electrical.
When cleaning is justified, work during cool conditions. Use clean deionised water and a soft brush or water-fed pole. Rinse away grit before moving the brush across the glass. Avoid abrasive pads, pressure washers and harsh chemicals. Tap water can leave mineral marks, while a sudden temperature change may stress hot glass.
Never walk on modules. Do not lean across an unsafe roof edge. If the array sits above a fragile roof or has poor access, use a specialist cleaning contractor or inspect it from the ground or by drone.
Walk the array in a planned pattern. Check the module glass, frames and junction boxes. Look for cracks, chips, delamination, burn marks, heavy soiling and signs of impact. Inspect cable clips and wire management for sagging or frayed conductors. Check mounting rails, clamps, fasteners and roof interfaces for movement or corrosion.
Use all your senses during a visual inspection. An inverter fan that rattles needs attention. A burning smell or soot mark means you should stop and investigate safely. A tacky or slippery surface may point to contamination or a roof issue. These clues often decide whether you need a closer electrical test.
Inspect inverters, combiner boxes, isolators, meters and monitoring units from a safe position. Look for blocked air flow, water entry, cracked enclosures, corrosion and damaged seals. Do not remove covers unless the task falls within your competence and the equipment is safely isolated.
Record photographs with the asset reference in every field report. Note the weather, inspection route and any area you could not access. A clear record helps a surveyor, installer or facilities team act without repeating the whole visit.
Visual Perspectives Limited can combine a drone roof survey with high-resolution imagery where roof access is difficult. We capture data quickly, precise, and detailed, including what the naked eye can’t see from ground level.
By now you should have a clean-or-not decision, a visual defect log and a list of issues needing technical review. You’ll be in good hands when the inspection record shows both what you saw and what you could not safely reach.
Step 3: Monitor Performance and Diagnose Under-Performance
Use monitoring as an early warning system within your solar PV maintenance process. A dashboard can show that output changed, but it usually cannot prove why.
Set a baseline for each roof and inverter. Save the commissioning readings, panel count, array orientation and known shading. Record daily and monthly generation in the same units. Where available, include irradiance, weather-station data, exported energy and string-level readings.
Review the system at least weekly. Check whether the data feed is complete before judging output. Then review inverter alarms, downtime and fault codes. Compare similar days rather than treating one cloudy day as a failure. Seasonal change, shade and sensor faults can all distort a simple output comparison.
SCADA systems, inverter portals and smart apps can show power, voltage, current and status by inverter or string. Keep firmware and monitoring gateways under review, but follow the equipment maker’s instructions. A software update will not fix a loose DC connector or damaged module.
Look at the shape of the data. A sudden drop may indicate an outage, trip or communication fault. A slow decline across weeks may point to soiling, new shade or degradation. One string performing below its neighbours needs a different response from a whole-site fall after poor weather.
Use the dashboard to form a testable question. For example, ask whether one inverter lost a string after a storm. Then match the alert to the array plan and check recent work orders. Do not replace panels from a screenshot alone.
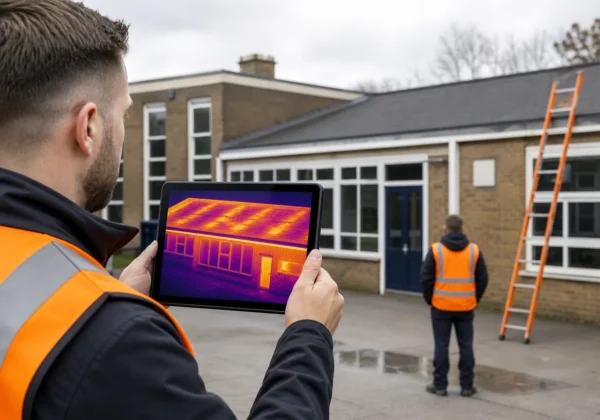
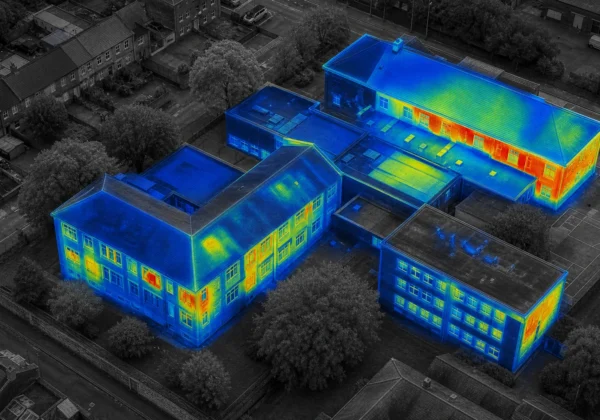
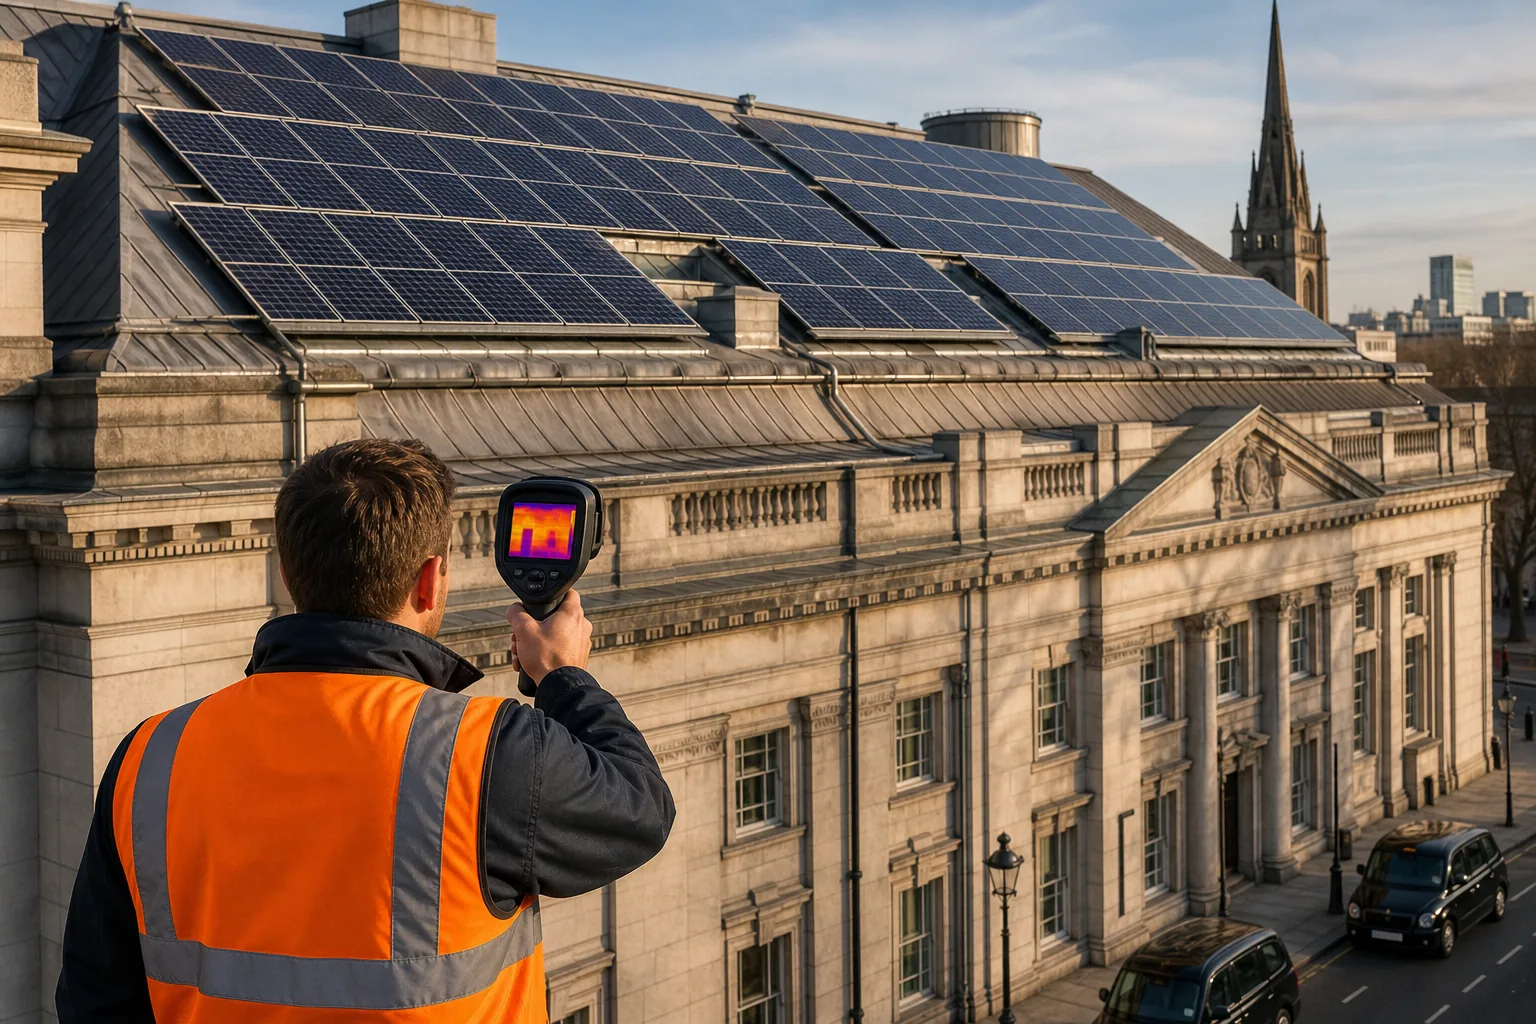
Thermography can locate local heat patterns caused by electrical resistance. An infrared survey may reveal hot cells, bypass diode problems, poor connections or string faults. Electroluminescence imaging can show module cracks and defects, but it usually needs controlled conditions and specialist equipment. It is more suited to a confirmed problem than a routine first check.
IV-curve tracing tests the relationship between current and voltage. Comparing a module or string curve with expected behaviour can help identify mismatch, shading, wiring problems or module faults. Insulation resistance and earth tests address different risks. No single test answers every fault question.
For estate teams, a solar panel monitoring workflow can turn an alarm into an owned action. Record the alert, affected roof, evidence, risk rating, action owner and follow-up reading.
Visual Perspectives Limited uses thermal imaging with aerial inspection where a large roof makes a ground check slow or unsafe. We help you compare the thermal image with RGB data, roof plans and monitoring records. That gives your maintenance team a location and a reason to act.
The milestone is simple: you should know whether the change is likely to be soiling, shade, communication loss or a physical fault. If the cause remains unclear, move to professional testing rather than guessing.
Step 4: Arrange Professional Testing and Record the Findings
Bring in a qualified professional when solar PV maintenance involves live electrical systems, work at height or unclear fault evidence. The larger the site, the more valuable a planned inspection becomes.
Choose the test method from the question you need answered. Use drone thermography for broad coverage across a commercial roof or solar farm. Use a close visual inspection for accessible damage. Use IV-curve tracing when string performance needs checking. Use electroluminescence when module defects need a closer look. Use insulation and earth tests for electrical safety checks.
Thermal imaging needs suitable operating conditions. The array should be producing enough load for useful heat contrast. Record irradiance, wind, ambient temperature, system state and camera method. Reflections can create false readings, so thermal anomalies need careful review against RGB images and neighbouring modules.
A drone survey reduces the need to send staff across fragile roofs or uneven ground. It can also cover large arrays in a repeatable pattern. But the operator still needs a safe flight plan, suitable permissions, weather checks and a clear site boundary. Drone work is an inspection method, not a substitute for electrical isolation.
The available checklist data identifies drone-based aerial thermography as the only named inspection method in the sample reviewed. It also identifies drones, high-resolution 3D mapping cameras and thermal sensors as the specialist equipment. That matters because a useful survey needs more than a quick image. It needs location, context and a clear decision.
Ask for a report that includes:
- the site and roof reference;
- inspection date and weather conditions;
- method, equipment and operating state;
- thermal and RGB evidence for each anomaly;
- fault location linked to the array plan;
- severity rating and recommended action;
- any areas not inspected;
- follow-up testing or repair required.
IEC 62446-3 is relevant when reporting infrared thermography of PV systems. Confirm exactly which standard and reporting scope the inspection follows. A statement that simply says “thermal survey complete” gives an asset manager little evidence for a warranty, insurer or capital plan.
Visual Perspectives Limited provides independent drone-based thermographic inspections across the UK. Our reports support property asset managers, facilities teams, surveyors, installers and public-sector estates with detailed defect diagnostics and actionable insights. We combine thermal imaging with high-resolution 3D mapping where the project needs a measured roof record.
For a safe testing sequence, use this guide to solar panel testing before assigning work to a site team. It helps separate checks that a trained operator can record from tests that need a qualified engineer.
Close the loop after repair. Recheck the affected string or module, compare the new reading with the baseline and update the asset record. Keep inspection reports, cleaning logs, test results, repair invoices, warranties and insurance documents together.
For large estates, rank findings by risk. A suspected hot connection or total string outage deserves faster action than light soiling. A roof defect beneath panels may also need attention before the next maintenance visit. Early intervention is usually easier to fund when the report shows the location and consequence.
By now you should have a defensible work order, a report that another professional can follow and a record of the post-repair result. You’ll be in good hands when each finding leads to a named action rather than sitting in a folder.
FAQ
How often should solar PV systems be maintained?
Solar PV maintenance should include weekly monitoring review and at least an annual visual inspection for many commercial sites. Use a shorter interval where the site is coastal, dusty, shaded or exposed to bird fouling. Inspect after severe weather or building work. Set the final schedule from risk, insurance terms, warranty conditions and system history.
Do solar panels need cleaning in the UK?
Solar panels need cleaning when soiling causes a measured performance issue or leaves heavy deposits. Steep panels may shed light dirt in rain, but bird fouling, algae, pollen and salt can remain. Flat roofs often need closer checks. Use deionised water and a soft brush, and never use a pressure washer or abrasive tool.
Can I carry out solar PV maintenance myself?
You can review monitoring data and inspect visible areas from a safe position, but electrical testing and roof access need competent professionals. Never open live enclosures or walk on panels. Stop if you smell burning, hear a failing inverter fan or see damaged cables. A qualified contractor should handle isolation, testing and repairs.
What does solar thermography detect?
Solar thermography detects unusual heat patterns across modules, connections and electrical equipment. These patterns may point to resistance, cell faults, bypass diode issues or string problems. Heat alone does not prove the cause. The inspector should compare thermal findings with RGB images, system records and operating conditions before raising a repair order.
What should a solar PV inspection report include?
A solar PV inspection report should identify the site, method, weather, system state and affected asset. It should include thermal and visual evidence, a location reference, severity rating and recommended action. Record inaccessible areas too. A useful report lets a maintenance team find the fault, choose the next test and confirm the repair.
Conclusion
Use condition-based solar PV maintenance: review performance each week, inspect safely at least annually and verify serious alerts with independent testing. If your commercial roof is hard to access or the fault pattern is unclear, Visual Perspectives Limited can provide a UK-wide drone and thermal inspection with a detailed report. Start by gathering your commissioning pack and booking a baseline survey.