Need a reliable 3D building survey for planning a refurbishment, extension or new build? Follow these five steps and you’ll have a compliant, accurate model you can hand to architects, planners and asset managers.
Step 1: Define the Planning Information You Need
The first task is to write a brief that spells out every piece of data the planning authority will ask for. List the required outputs , floor‑plan CAD files, elevation drawings, a point‑cloud, and if you have solar PV, a thermal heat map that meets IEC 62446. Note the coordinate system (OSGB36 or a project grid) and any heritage or conservation constraints.
Next, set the accuracy tolerances. For most UK planning applications a centimetre‑level point‑cloud is sufficient, but heritage sites may need millimetre precision. Record the building’s footprint, roof type, façade materials and any existing services that could affect the design.
Finally, decide who will own the data. An independent survey gives you unbiased evidence that can be used in legal disputes or insurance claims. Visual Perspectives Limited’s drone‑based service bundles the required thermal imaging and provides a ready‑to‑use point‑cloud, so you can skip the hassle of piecing together separate providers.
Step 2: Prepare the Site and Select the Survey Method
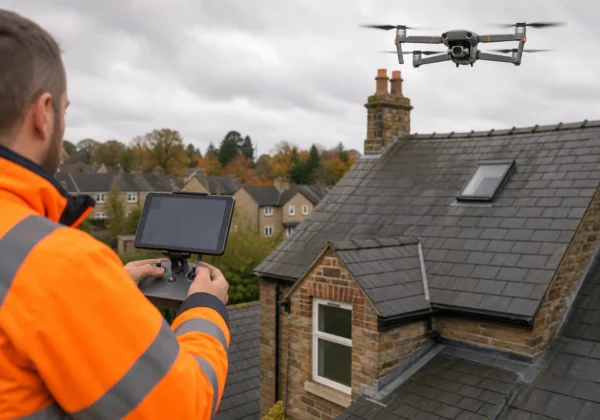
Site prep starts with a walk‑through to flag obstacles , antennae, skylights, temporary scaffolding , and to verify access routes for the drone. Check weather forecasts; a light wind under 10 mph gives the best image overlap and keeps the thermal camera stable.
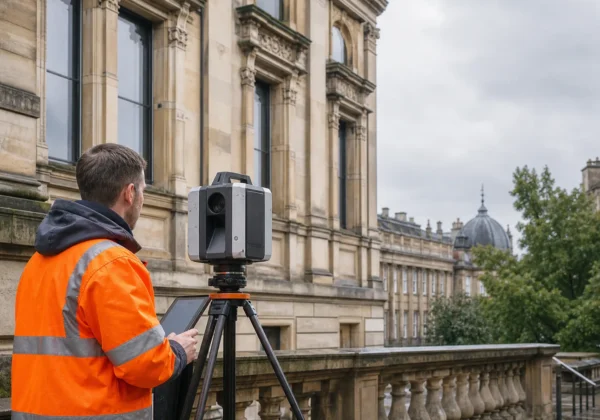
Choose the capture technique that matches your brief. Drone photogrammetry works well for roofs and façades, while other scanning methods can add detail in tight corridors or interior spaces ( building survey definition on Wikipedia).
Make sure the operator holds a CAA licence and, if you need thermal data, that the equipment complies with IEC 62446. This dual compliance is rare; most rivals only list thermal imaging as an optional add‑on.
Step 3: Capture Accurate 3D Building Data
With the flight plan uploaded to the drone’s mapping app, launch the UAV at the agreed altitude , typically 30‑50 m for flat roofs and 40‑60 m for pitched roofs. Aim for 70 % forward overlap and 80 % side overlap; this gives the stitching software enough images to build a watertight model.
The drone records two streams: a high‑resolution RGB camera and a calibrated thermal sensor. The thermal camera must be zero‑calibrated on a known temperature surface before take‑off , a chilled metal plate works well. Capture each frame with its GPS tag so the visual and thermal layers line up perfectly in post‑processing.
After the flight, download the raw files immediately. Verify image sharpness and that every file has a valid GPS tag. Missing frames mean you’ll need a follow‑up flight, which adds cost and delays the planning submission.
Processing turns the images into an orthomosaic, a dense point‑cloud and a thermal heat map. Visual Perspectives Limited delivers all three in formats ready for Revit , DWG, LAS and CSV are standard.
Step 4: Check and Convert the Survey into Planning Outputs
Quality assurance begins with an accuracy statement. Compare a sample of the point‑cloud against a total‑station measurement on‑site; the deviation should stay within the tolerance you set in Step 1. If the survey meets the target, move on to data conversion.
Export the required deliverables: floor‑plan DWG files, elevation PDFs and a 3D model in OBJ or IFC format. For thermal data, generate a colour‑coded heat map that highlights temperature differentials greater than 5 °C , these spots often indicate moisture, insulation gaps or failing flashings.
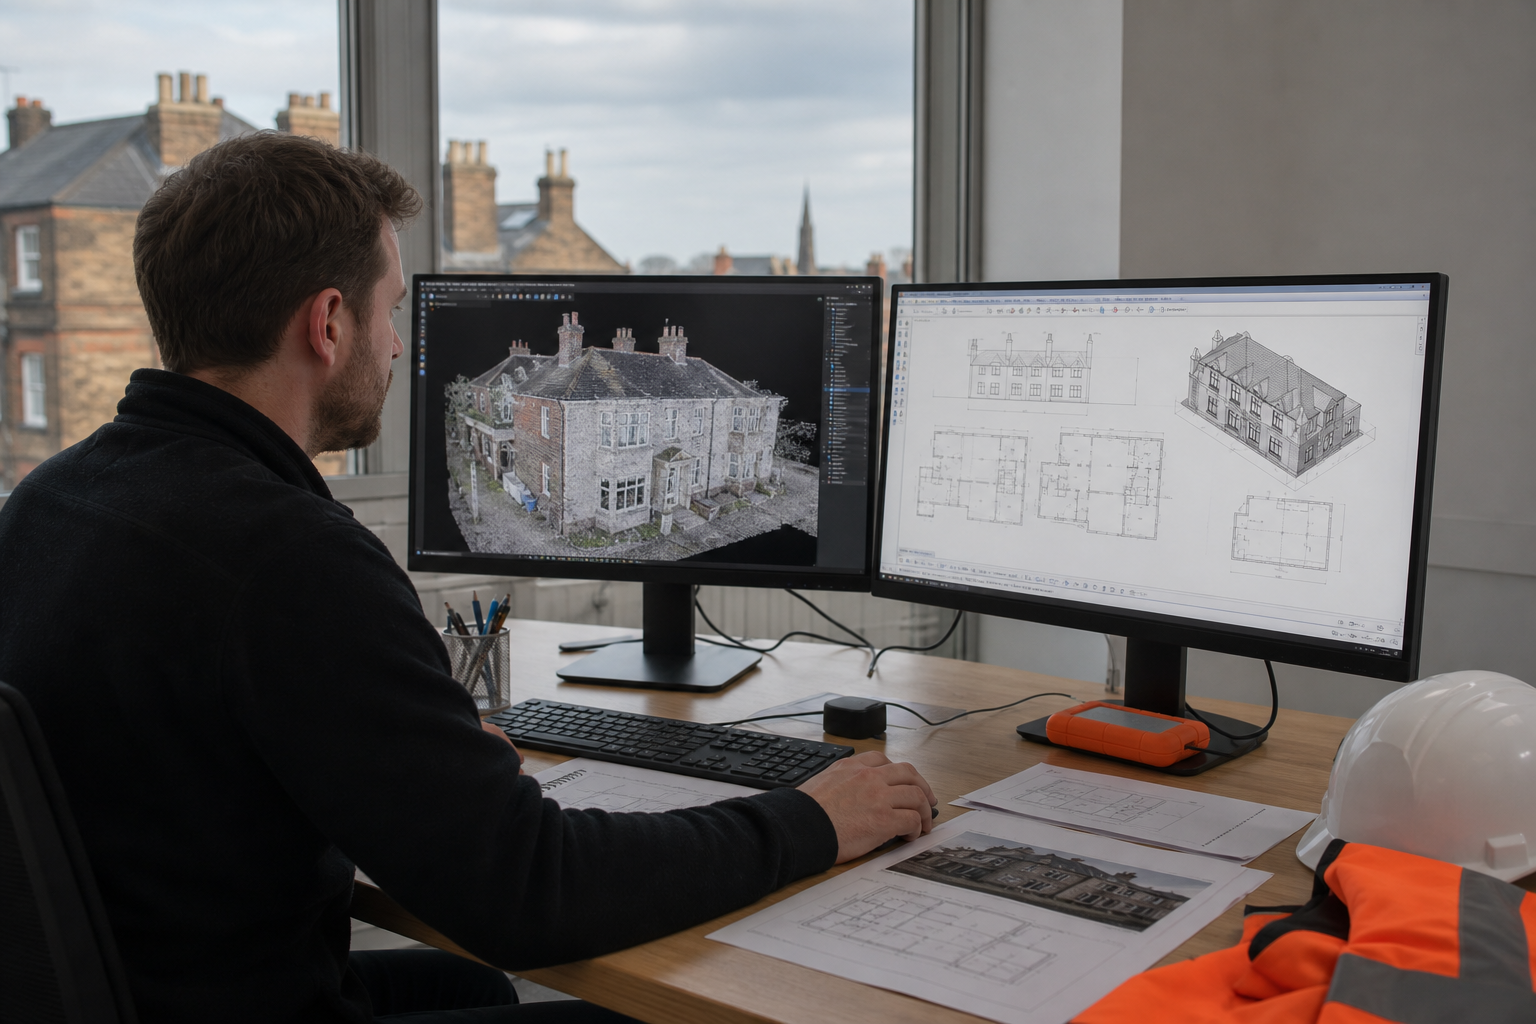
When the client needs a BIM‑ready model, map the point‑cloud to a Revit family hierarchy and embed the thermal layer as a raster overlay. The final package should include a revision log, an accuracy certificate and a short user guide that explains how to import the files into the most common design tools.
All outputs must reference the IEC 62446 standard; consult the official specification when defining the required reference. Including the standard reference in the report proves compliance for PSDS Phase 4 and other public‑sector funding schemes.
Step 5: Commission an Independent Survey and Use the Evidence
Choose a provider that operates independently of installers or contractors. Independence guarantees that the survey evidence can be used in disputes, insurance claims or ESG reporting without a conflict of interest.
Ask for proof of CAA licensing, public‑liability insurance (minimum £5 M) and a copy of the IEC 62446 compliance certificate. Visual Perspectives Limited meets all these criteria and has a decade of experience on NHS estates, local authority schools and housing association portfolios.
When the report arrives, feed the severity grades into your asset‑management system. Prioritise items that score high on risk (e.g., roof sections with temperature deltas over 10 °C). The data becomes the factual basis for a funding request under PSDS Phase 4, and it also satisfies the audit trail required by PAS 2035.
Remember to archive the raw files, flight logs and calibration certificates. They serve as proof that the survey was performed under the required standards , a useful line of defence if a regulator asks for evidence.
FAQ
What does a 3D building survey for planning include?
A 3D building survey for planning provides CAD floor plans, elevation drawings, a high‑resolution point‑cloud and, if needed, a thermal heat map that meets IEC 62446. The package is ready to import into BIM tools.
Do I need a CAA licence to run a drone survey?
Yes, any commercial drone operation in the UK must be carried out by a CAA‑licensed operator. The licence shows the pilot has met safety and competency standards.
Why is IEC 62446 compliance important?
IEC 62446 defines the testing and reporting requirements for thermal imaging of solar PV systems and building envelopes. Compliance proves the data meets industry‑wide quality standards, which many public‑sector funding bodies require.
How accurate are drone‑derived point‑clouds?
When the flight follows the recommended overlap and uses ground‑control points, drone photogrammetry can achieve centimetre‑level accuracy for roofs and façades. Interior scanning can improve that to a few millimetres.
Can I use the survey data for BIM modelling?
Absolutely. Export the point‑cloud as LAS/LAZ and the 3D model as IFC or OBJ, then import into Revit or other BIM platforms. The data aligns with ISO 19650 information‑management workflows.
Conclusion
Start with a detailed brief, choose an independent CAA‑licensed provider, and make sure the deliverables include IEC 62446‑compliant thermal data. Visual Perspectives Limited offers a full‑stack service that meets these requirements. Your next step is to request a scoped quote and lock in a flight window that matches the optimal weather conditions.