Planning officers need reliable site evidence, and a drone survey can give it fast. Below is a step‑by‑step guide that gets you the data they ask for, without wasting time or money.
Step 1: Confirm What Planning Evidence Your Project Needs
The first thing to do is open the council’s validation checklist. Every local authority publishes a list of required drawings , usually a location plan and a site plan (1:200 or 1:500). Planners also want existing elevations, proposed elevations and, on sloping sites, a set of ground‑level contours.
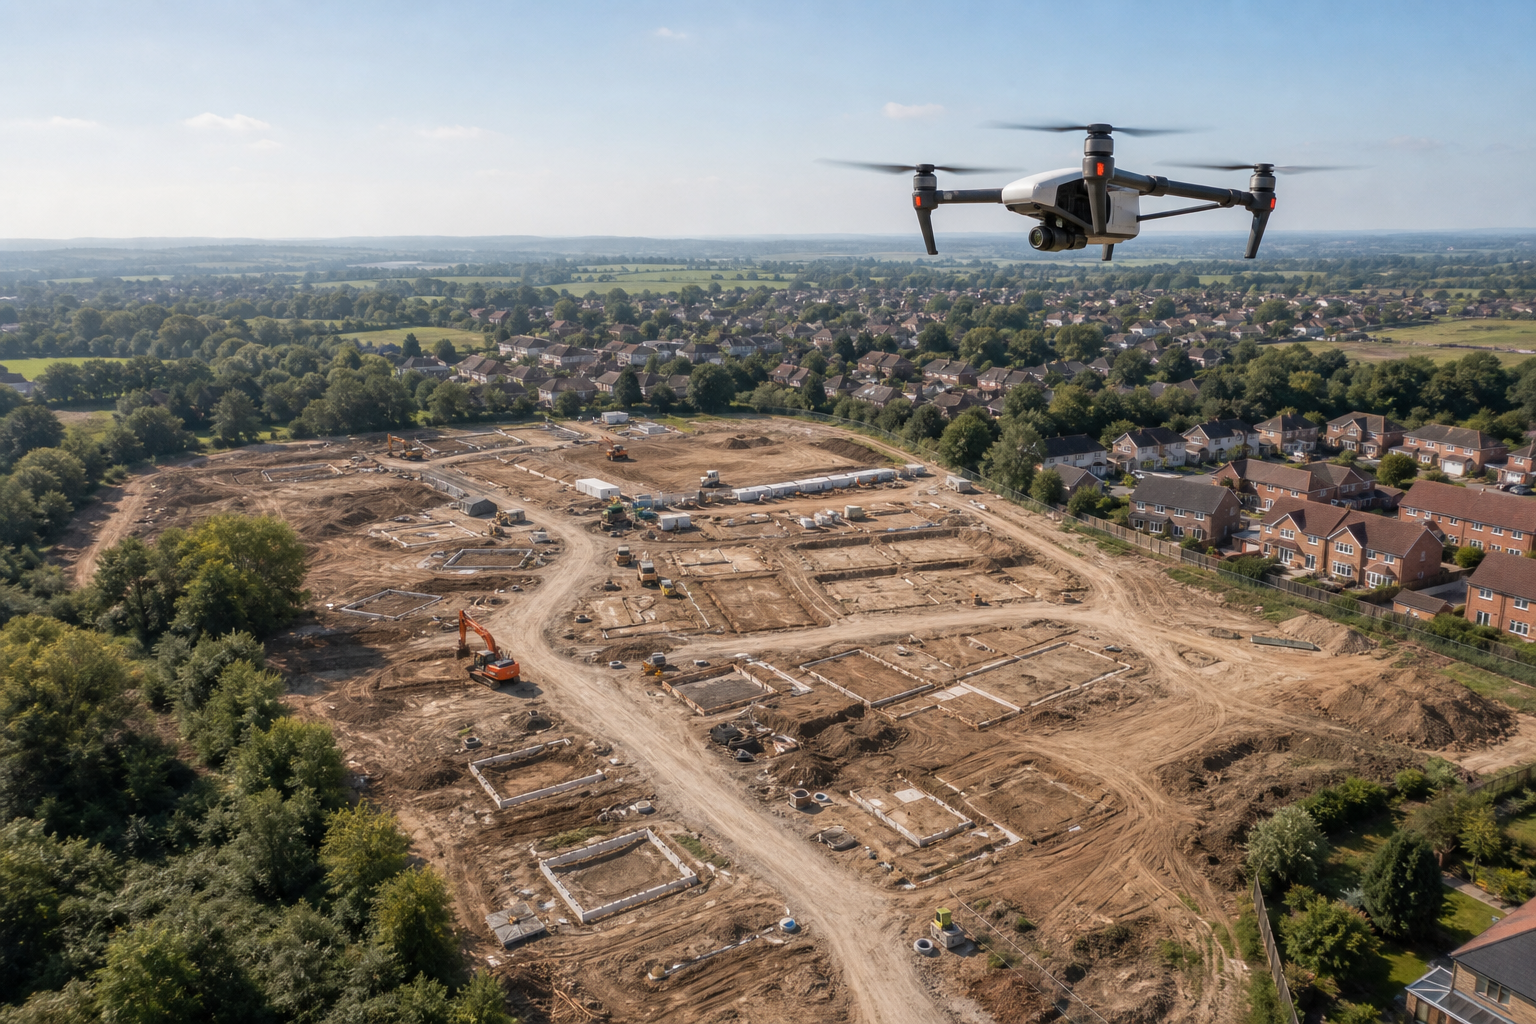
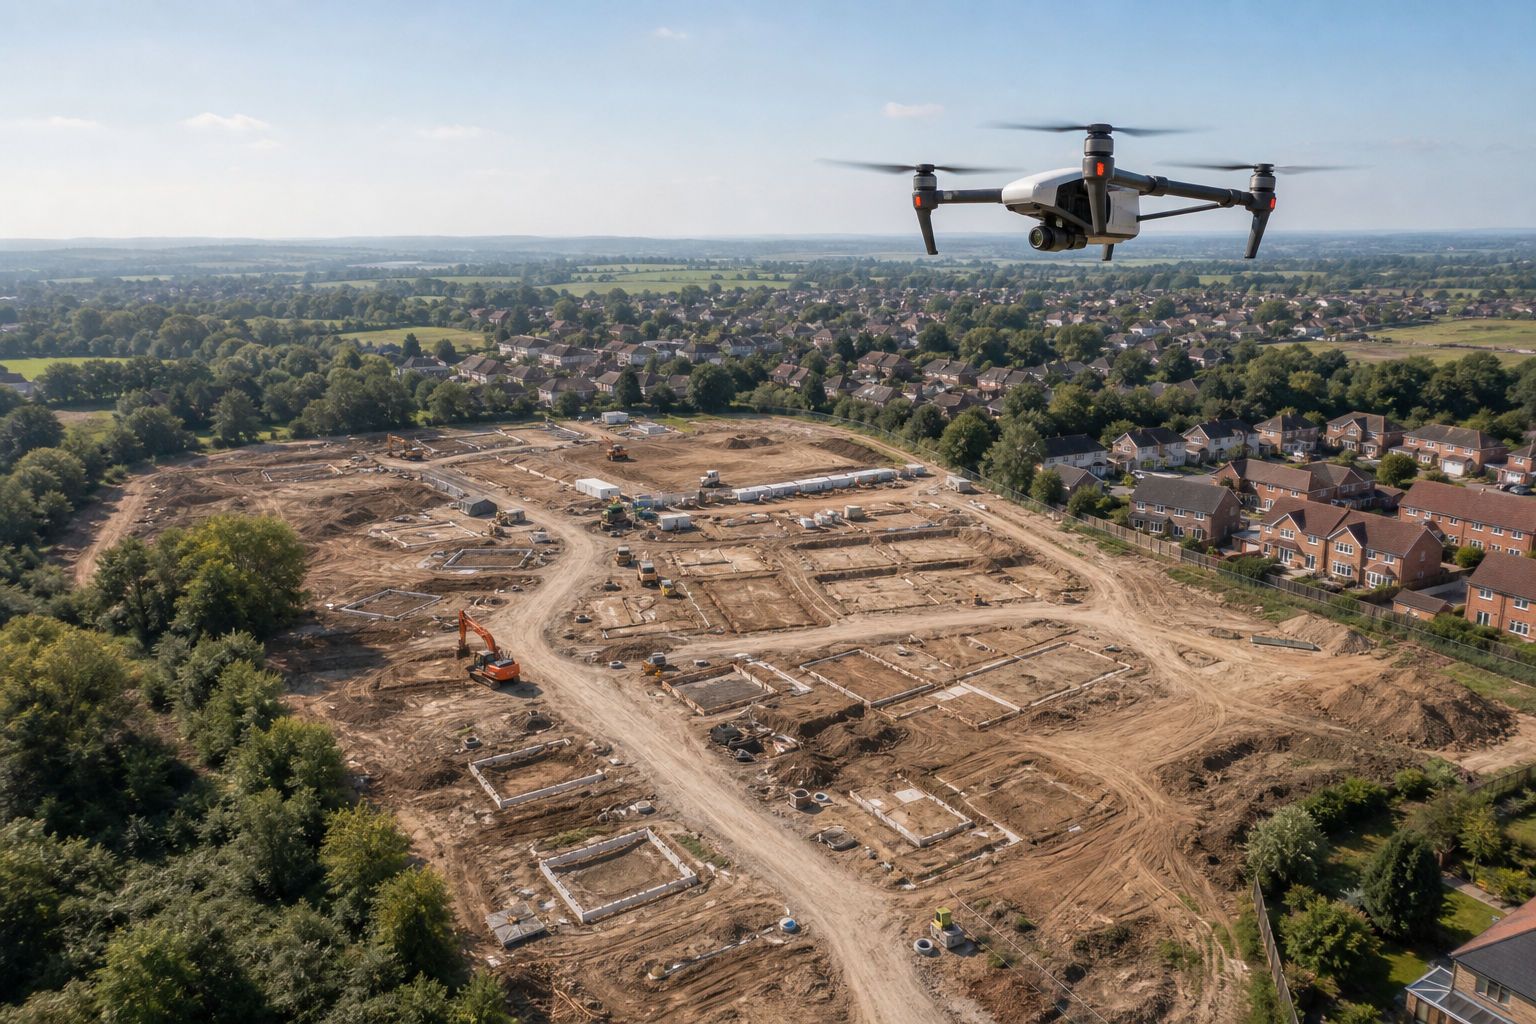
These drawings need a solid base of measured data. That’s where a drone survey fits in. A drone equipped with positioning equipment can capture ground points to ±30‑50 mm and hand them over as a CAD‑ready file. The result is a precise surface model that architects can overlay with their proposed building massing.
Not every development needs a full survey. Small householder extensions often get away with just a site plan, but larger schemes , new blocks, roof extensions, or changes that affect drainage , usually trigger the need for a surveyed baseline.
We like to keep the brief tight: tell the pilot the site address, that the survey is for a planning application, and the exact scale you need. Our form routes the request to up to four CAA‑certified pilots covering your postcode, and they return comparable quotes.
Planning validation checklists often spell out the exact line‑weights and colour conventions, so copy those verbatim into your brief.
By now you should have a clear list of drawings the council expects and know whether a survey is mandatory.
Step 2: Define the Survey Scope and Access Constraints
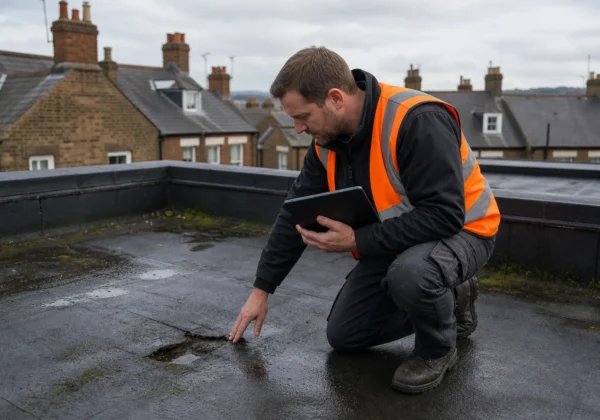
Next, write a short scope of work. Decide if you need just a topographic map, a 3‑D model, thermal imaging for heat‑loss detection, or a combination. The scope also decides what ground control points (GCPs) you’ll need and whether you’ll need a Specific Category flight (for built‑up areas or close proximity to people).
Identify any access hurdles , fences, power lines, heritage restrictions , and note them for the pilot. If you’re working on a listed building, check the relevant heritage requirements with the planning authority before commissioning the survey.
Choose the right sensor package. For pure mapping, a high‑resolution RGB camera does the job. If you need to spot moisture or insulation gaps, add an imaging sensor suitable for heat‑loss assessment. Our own fleet can carry both, delivering a single dataset that serves design and energy‑efficiency reviews.
When you hand the brief to the provider, they will confirm the flight altitude, overlap percentage (70 % forward, 80 % side is a good rule) and expected weather window. All that information helps them produce the accuracy you need , typically ±30 mm vertically for a planning‑grade survey.
For context on deliverables, see drone building survey information.
By the end of this step you have a written scope, know the access limits, and have chosen the sensor mix that matches the council’s evidence requirements.
Step 3: Commission a CAA‑Compliant Drone Survey
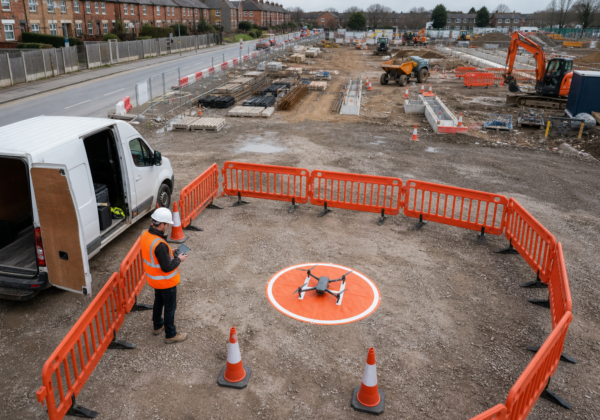
Now you need a provider that holds the correct CAA permissions. Not every commercial pilot can fly over a busy town centre , some flights fall in the Open Category, others need a Specific Category Operational Authorisation (often called PDRA01). The provider should show you a valid Operator ID, a Flyer ID for the pilot, and proof of public‑liability insurance of at least £5 million.
Ask for evidence of any additional competency required for your site , a GVC for near‑people work, or an A2 Certificate of Competency for low‑altitude flights. A pilot with the right paperwork avoids costly re‑planning later.
We always check the aircraft weight class. Drones under 25 kg stay in the Open Category if they meet visual line‑of‑sight rules, but heavier platforms that carry thermal payloads often need the Specific Category authorisation.
When the pilot confirms the regulatory fit, they will submit an airspace request to the relevant airport or air traffic control unit if the site sits near a flight restriction zone. This step can take a day or two, but it’s essential for legal compliance.
CAA Operational Authorisation details outline the exact paperwork you should expect.
By now you should have a contract with a fully compliant operator, ready to fly on the agreed weather window.
Step 4: Request Planning‑Ready Survey Outputs
After the flight, the raw images need processing. The provider will stitch the photos into an orthomosaic, generate a point cloud, and, if you asked for it, create a thermal overlay that highlights heat loss or moisture.
Ask for CAD‑ready deliverables: a georeferenced orthomosaic for mapping, a CAD site plan for the planning application, and a PDF report that spells out the accuracy statements (e.g., “horizontal RMSE = 30 mm”). The report should also include a clear map of existing ground levels , that’s the baseline the council will compare your proposed elevations against.
Some planners also like a 3‑D model they can view online. Services that bundle an interactive 3‑D model or a downloadable 3‑D file give you that extra visual reference.
Survey‑grade UAVs can hit sub‑10 mm accuracy when ground control is added, which easily meets the tolerance most planning offices expect.
By the time the data package lands in your inbox, you should have every file the council asks for, plus a short executive summary that you can paste straight into the Design & Access Statement.
Step 5: Check the Evidence Before Submitting Your Application
Before you hit upload, run a quick sanity check. Open the orthomosaic in mapping software and verify the scale bar matches the reported resolution. Overlay the proposed building footprint and make sure the new heights line up with the existing contour lines.
Cross‑check the thermal map against the visual photos. Any hot spot should have a corresponding visual defect , a broken flashing, a ponded area, or a missing insulation board. If the heat signature looks isolated, flag it for a ground‑truth inspection.
Validate the point cloud against at least three independent checkpoints you measured on the ground. The difference between the surveyed point and the checkpoint should stay within the quoted error margin (usually 2‑3 cm). If it doesn’t, ask the provider for a re‑run , it’s cheaper now than after the planning officer rejects the submission.
Use a short checklist to catch missing GCPs before they become a compliance issue.
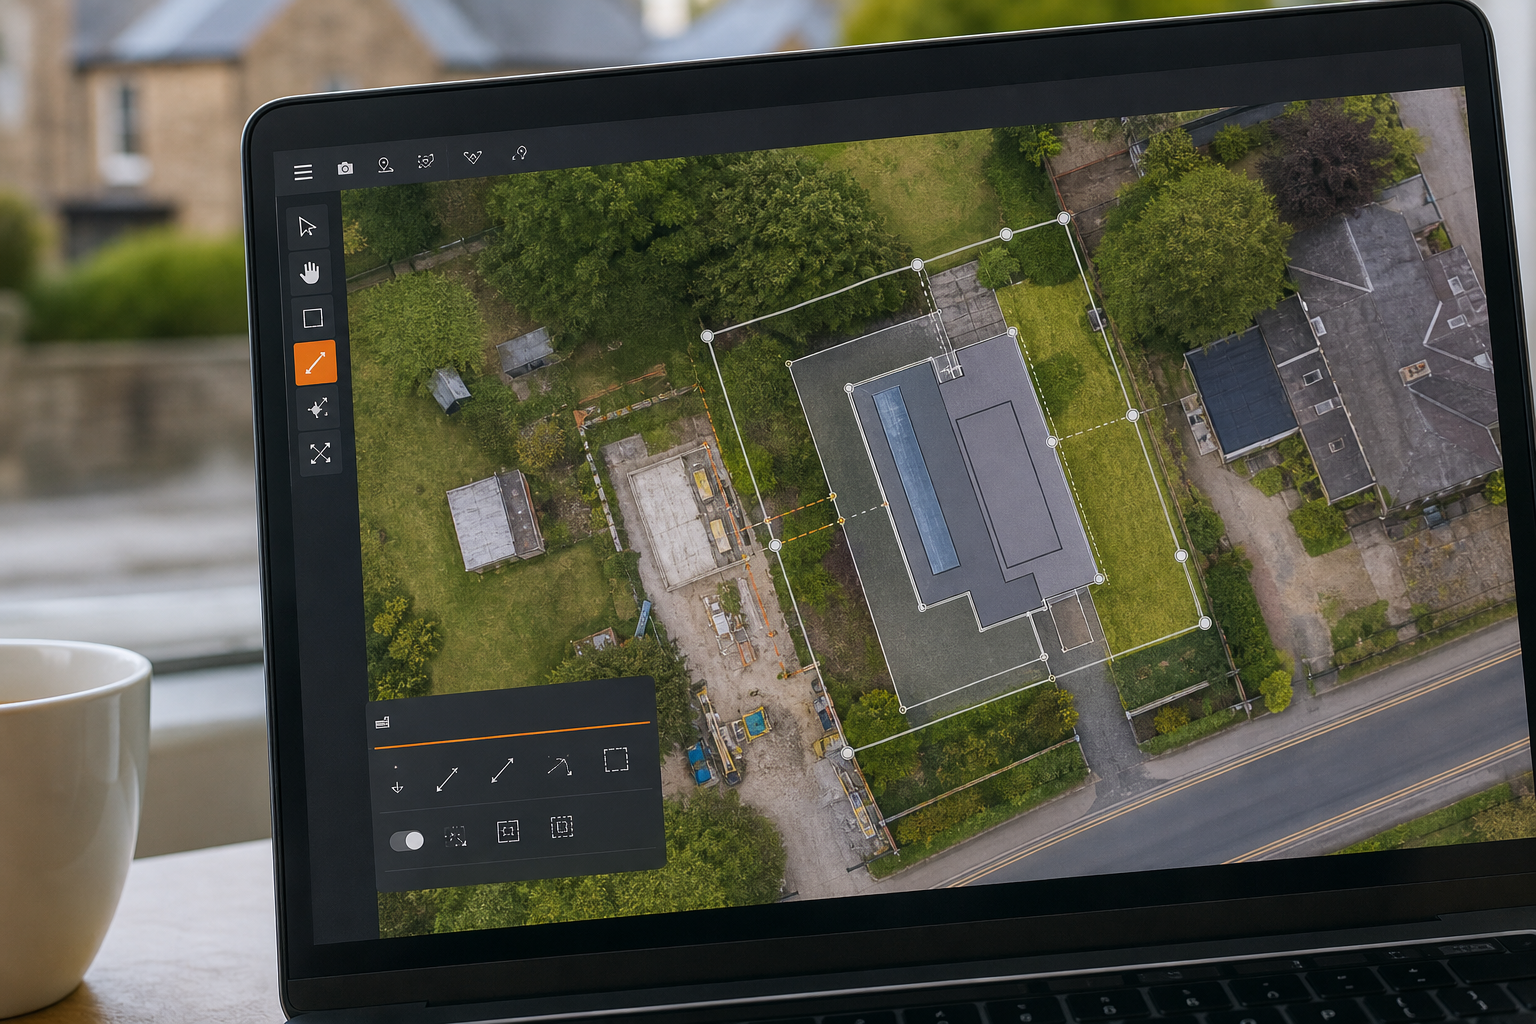
When the audit passes, bundle the files with your planning application, attach the pilot’s CAA licence copy and the insurance certificate, and you’ll be ready for the council’s technical check.
FAQ: Drone Surveys for Planning Permission
Do I need a drone survey for every planning application?
No. Small extensions often only need a site plan, but any proposal that changes ground levels, roof height or impacts drainage usually requires a survey to satisfy the council’s validation checklist.
What accuracy does a planning‑grade drone survey provide?
Accuracy varies by provider and survey specification. Ask for the stated accuracy and quality-control approach, particularly where the data will support planning drawings.
Can a drone capture legal boundary lines?
No. A drone survey records physical features, not legal property boundaries. If a boundary dispute arises, you’ll still need a licensed chartered surveyor to produce a definitive legal plan.
Is thermal imaging required for a planning application?
Only if the council asks for evidence of heat loss, moisture ingress or if you’re submitting an energy‑efficiency statement. For most building‑mass proposals, visual orthomosaics are sufficient.
How long does it take to get the final deliverables?
Flight time is usually a half‑day to a full day. Processing and quality‑check take 5‑10 working days, so plan the survey at least three weeks before your submission deadline.
What paperwork do I need to submit with the survey?
You should attach the pilot’s CAA Operator ID, public‑liability insurance certificate, a statement of the survey’s accuracy, and a signed declaration that the data meets the council’s format requirements.
Planning permission hinges on solid, compliant evidence. If you need a partner that ticks every box , CAA licence, IEC 62446‑3 thermal compliance, £5 million insurance and a fast turnaround , Visual Perspectives Limited is the proven choice. Get in touch through our website, upload a brief and we’ll match you with a qualified pilot within 24 hours.