Roof problems can show up out of nowhere , a damp patch after a storm or a cracked tile spotted from the street. A non‑intrusive roof inspection lets you spot those issues without ladders, scaffolding or disruption. Below is a step‑by‑step plan that works for schools, hospitals, housing estates and any public‑sector building.
Step 1: Define the Roof Inspection Scope and Risks
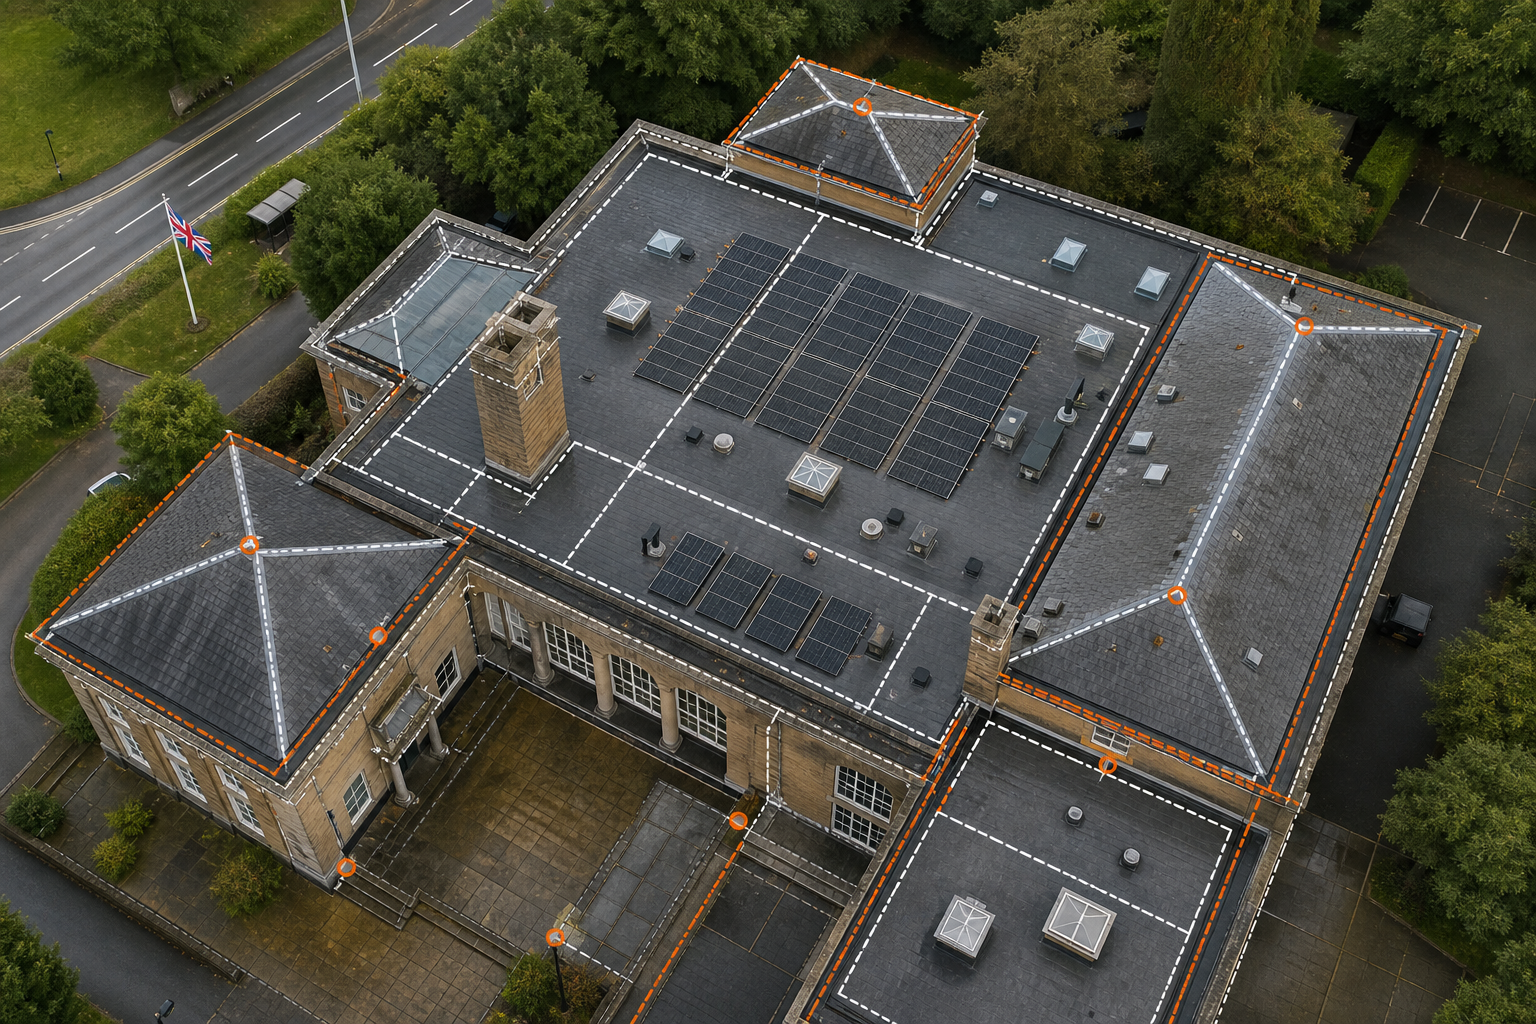
First, write down what you need to know. Is the roof flat or pitched? Does it host solar panels, HVAC units or skylights? List any recent work , a new membrane, a roof‑top garden, a storm‑damage repair. Knowing the building’s use helps you decide how detailed the survey must be.
Next, map the risks. Public‑sector sites often have tight safety rules and busy occupants. Identify areas where a ladder would be hazardous , steep pitches, narrow walkways, historic facades. Note any nearby power lines or congested streets that could limit drone flight.
Finally, set the inspection objectives. Typical goals are: detect water ingress, locate broken flashings, measure heat loss, verify compliance with IEC 62446 and PAS 2035. Write these goals in plain language so the survey team and the client are on the same page.
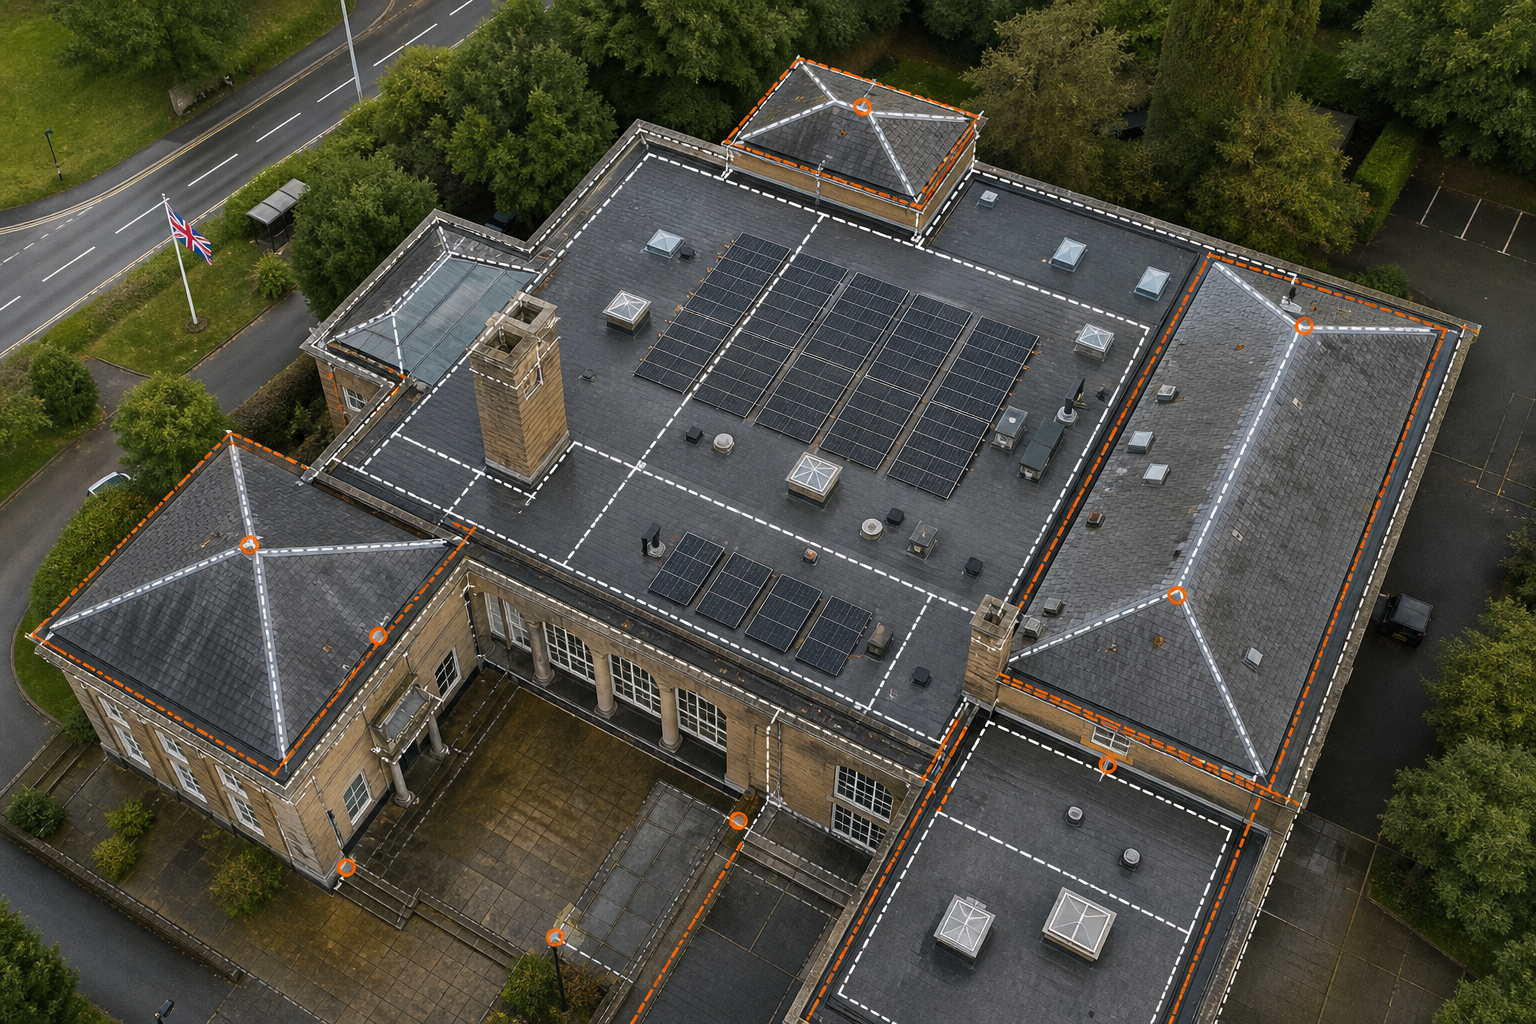
By now you should have a clear brief that tells the drone operator what to capture and why. Visual Perspectives Limited’s guide for office towers shows how a brief like this translates into a fast, safe flight plan.
Step 2: Select the Right Non‑Intrusive Inspection Methods
There are three main techniques that stay off the roof surface: visual drone surveys, aerial thermal imaging and remote moisture assessment methods. Choose the mix that matches your objectives.
Visual drone surveys give a pixel‑perfect orthomosaic of the whole roof. They capture cracks, broken tiles, loose flashings and blocked gutters in a single flight. For a flat roof, a 20‑mp sensor is enough; for complex rooflines, additional camera coverage can fill gaps.
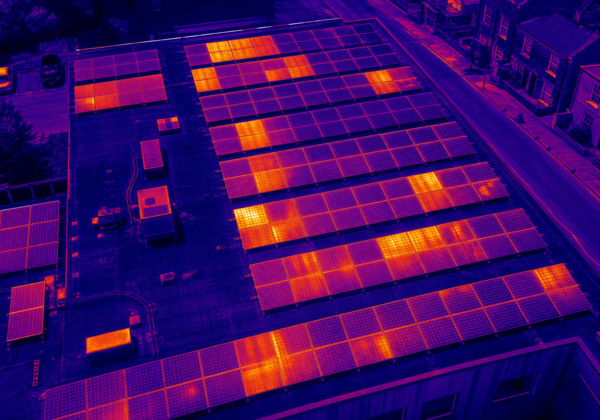
Thermal imaging spots hidden moisture and insulation gaps. The camera records temperature differences as small as 0.1 °C. Warm spots often mean sun‑heated defects; cool spots usually point to trapped water or missing insulation. The technique can also be applied to roof membranes, which are hard to test with other electrical leak methods.
When you need point‑by‑point verification, handheld meters can be used from the ground. They confirm a hot‑spot before a contractor climbs up for a core sample. This layered approach cuts down on unnecessary access work.
Remember to schedule thermal runs at the right time , just after sunset on a clear day gives the best contrast between wet and dry areas.
By the end of this stage you have a toolbox of methods that together cover visual, thermal and moisture clues without ever touching the roof.
Step 3: Carry Out a Safe Drone Roof Survey
Before the drone lifts off, check the airspace and review the site plan for overhead power lines, heli‑ports or temporary structures that could interfere.
On the day of the flight, the pilot does a pre‑flight checklist: battery charge, firmware version, GPS lock, weather limits (wind under 15 mph, no rain). The drone then launches from a clear, level spot away from the building edge.
During the flight the aircraft follows a programmed grid. Overlap settings of 70 % front and 80 % side ensure the mapping software can stitch a flawless 3‑D model. The pilot monitors a live video feed and watches for any unexpected obstacles.
When the flight ends, the data is uploaded to a secure cloud. The software generates an orthomosaic, a point‑cloud and a textured 3‑D model. All files are geotagged and timestamped, creating an immutable evidence record.
Safety is the biggest win here. No ladder, no scaffold, no risk of a fall. The whole capture usually takes 1‑2 hours, even for a large campus. Visual Perspectives Limited’s commercial drone service page explains how they keep each flight within applicable aviation rules while delivering “quickly, precise, and detailed” data.
Step 4: Use Thermal Imaging to Investigate Roof Defects
Thermal imaging lets you see what the naked eye can’t see. A warm spot on a flat roof may be a sun‑heated membrane defect; a cool spot often signals trapped moisture. The camera records temperature in real time and overlays it on the 3‑D model.
Set the emissivity to 0.95 , the typical value for roofing membranes , before you start. This calibrates the sensor so the temperature reading is accurate.
Fly the thermal survey just after sunset. The roof cools faster than any hidden wet insulation, which stays warmer and pops out as a bright patch. Capture both visual and thermal frames on the same flight path for perfect alignment.
After the flight, the software highlights any pixel that differs from the ambient temperature by more than 5 °C. Those pixels are flagged for a closer look. You can then send a moisture meter to the exact square metre to confirm the reading.
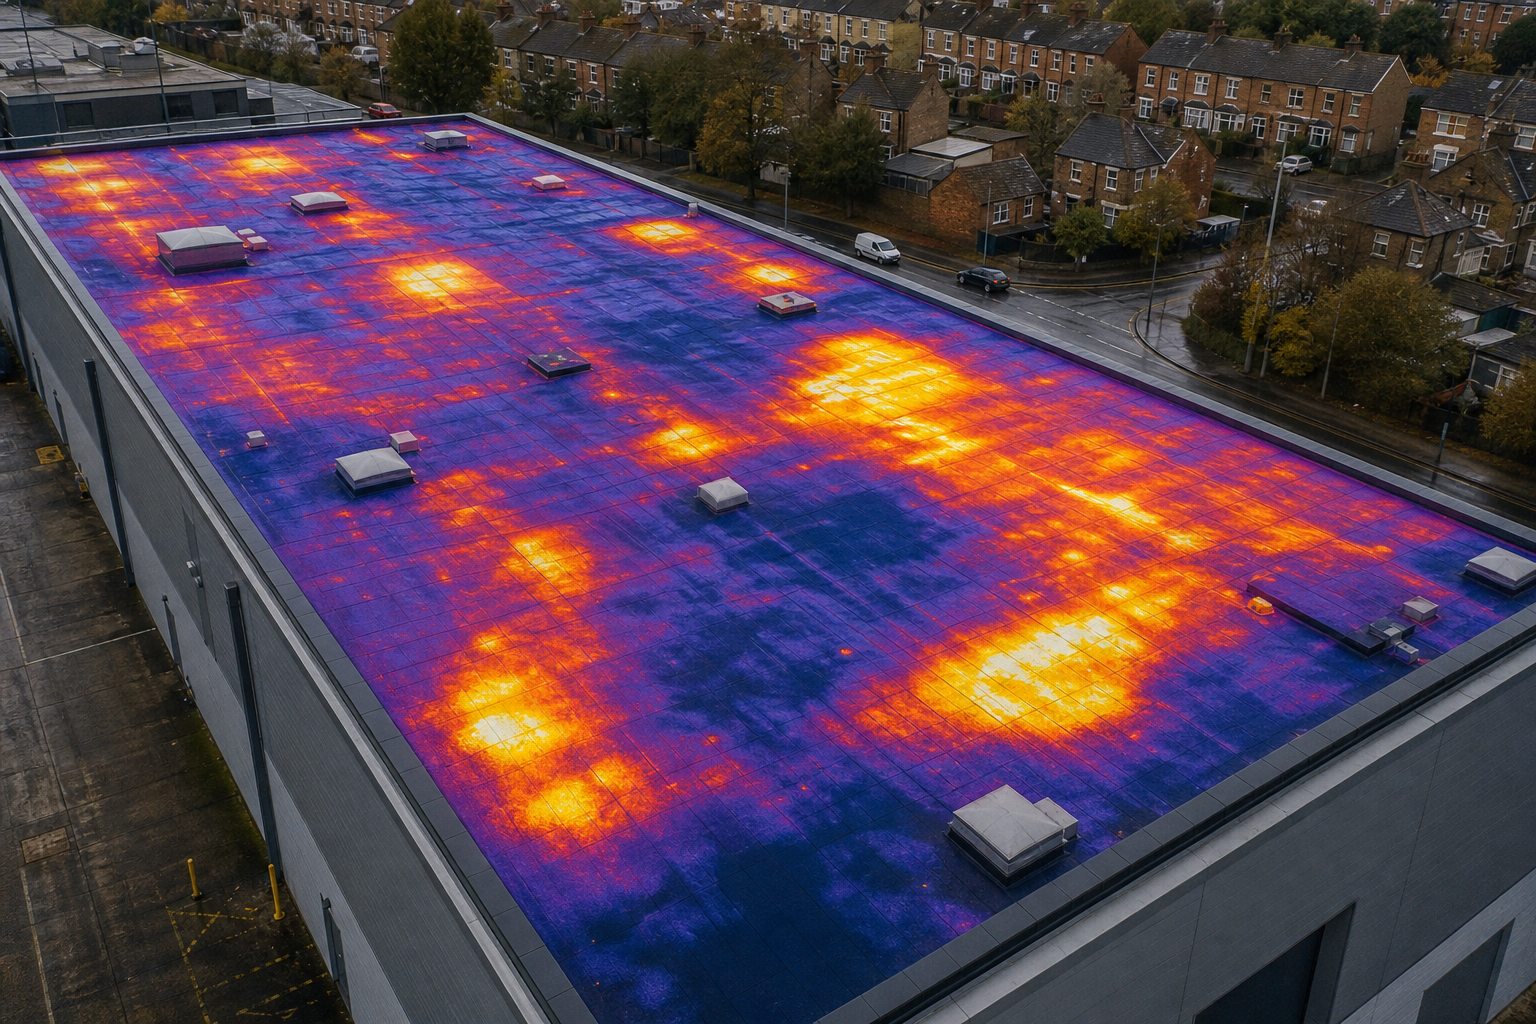
By now you should have a clear heat‑loss map that points out insulation gaps, water‑logged membranes and air‑tightness issues.
Step 5: Convert Inspection Findings into an Actionable Report
The raw data is only useful if it turns into clear decisions. Start the report with an executive summary that lists the top three risks and the recommended next steps.
Next, add a defect matrix. Each row shows the defect type, its location on the 3‑D model, the temperature reading (if applicable) and a short remediation note. For example, a ponding area might read “+4 °C above ambient , improve drainage and reseal membrane.”
Attach the full orthomosaic, the 3‑D model export (.obj) and a GIS‑compatible shapefile. Facilities managers can use these files in their existing records and mapping workflows.
Make the report IEC 62446‑compliant. That means including a calibration log for the thermal camera, a flight log with GPS coordinates and a statement of conformity to the relevant standards.
Finally, give the client a clear maintenance plan. Prioritise critical defects that could cause water ingress within the next 12 months, then schedule medium‑risk items for the next fiscal year. Visual Perspectives Limited’s service overview shows a sample report layout that meets these requirements.
Frequently Asked Questions
What is a non‑intrusive roof inspection?
A non‑intrusive roof inspection gathers evidence about roof condition without climbing onto the roof or breaking any membrane. It relies on drones, thermal cameras and remote sensors to spot defects.
Do I need special permission to fly a drone over a public building?
Yes. In the UK you must follow CAA drone regulations, which include notifying the authority for flights near congested areas and staying below 120 m altitude.
How accurate is thermal imaging for detecting moisture?
Thermal imaging can detect temperature differences as small as 0.1 °C. When conducted at the right time of day, it reliably highlights wet insulation that appears cooler or warmer than the surrounding roof.
Can a drone survey replace a full roof survey?
It can replace the visual portion of a survey and highlight areas that need closer inspection. For structural validation or core sampling you still need a traditional on‑site check.
How often should I schedule a non‑intrusive roof inspection?
Most public‑sector owners run a drone‑based inspection every 1‑3 years, and after any major storm, roof work or solar‑panel installation.
Conclusion
Start with a clear brief, pick the right mix of visual and thermal tools, fly a safe, compliant drone mission, and turn the data into an IEC‑62446‑aligned report. Use a suitable commercial roof inspection guide for the next step.