Getting a drone survey right can cut weeks off a construction programme and stop costly re‑work. Below we walk through the exact steps you need to turn a raw flight into solid, actionable data.
Step 1: Define the Construction Survey Objectives
First, write a brief that spells out what the project team expects from the survey. Are you tracking earthworks volume, checking façade alignment, or hunting hidden moisture? List the deliverables , orthomosaic, digital surface model, 3D point cloud, thermal heat map , and note the format each stakeholder will need (PDF for the client, DWG for the design team, IFC for BIM).
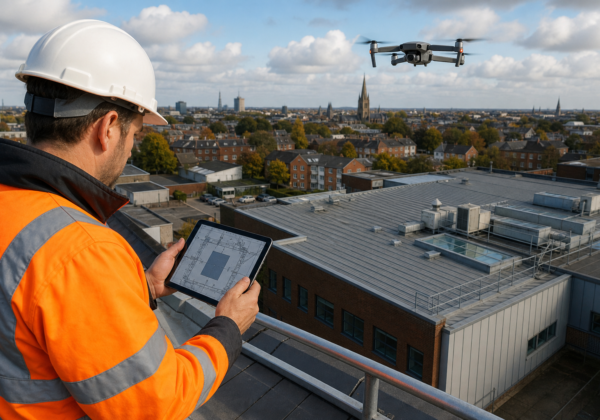
We at Visual Perspectives Limited start every brief with a quick workshop. That helps us match the flight altitude, sensor package and overlap settings to the accuracy you need. For example, a flat commercial roof that will feed a BIM model typically flies at 30‑50 m with 75 % forward and 80 % side overlap. That gives centimetre‑level point density without over‑loading the processing pipeline.
By the end of this step you should have a one‑page brief that answers: what data, what accuracy, what format, and who will use it. That brief becomes the contract anchor and stops scope creep later on.
Step 2: Prepare the Site, Permissions and Flight Risk Assessment
Before any propeller spins you must clear the legal and safety hurdles. In the UK the Specific Category covers work that goes beyond the Open category , most construction surveys fall here. Depending on the operation, obtain the appropriate aviation permissions and prepare documentation covering the drone weight, visual line of sight limits and the airspace you’ll use.
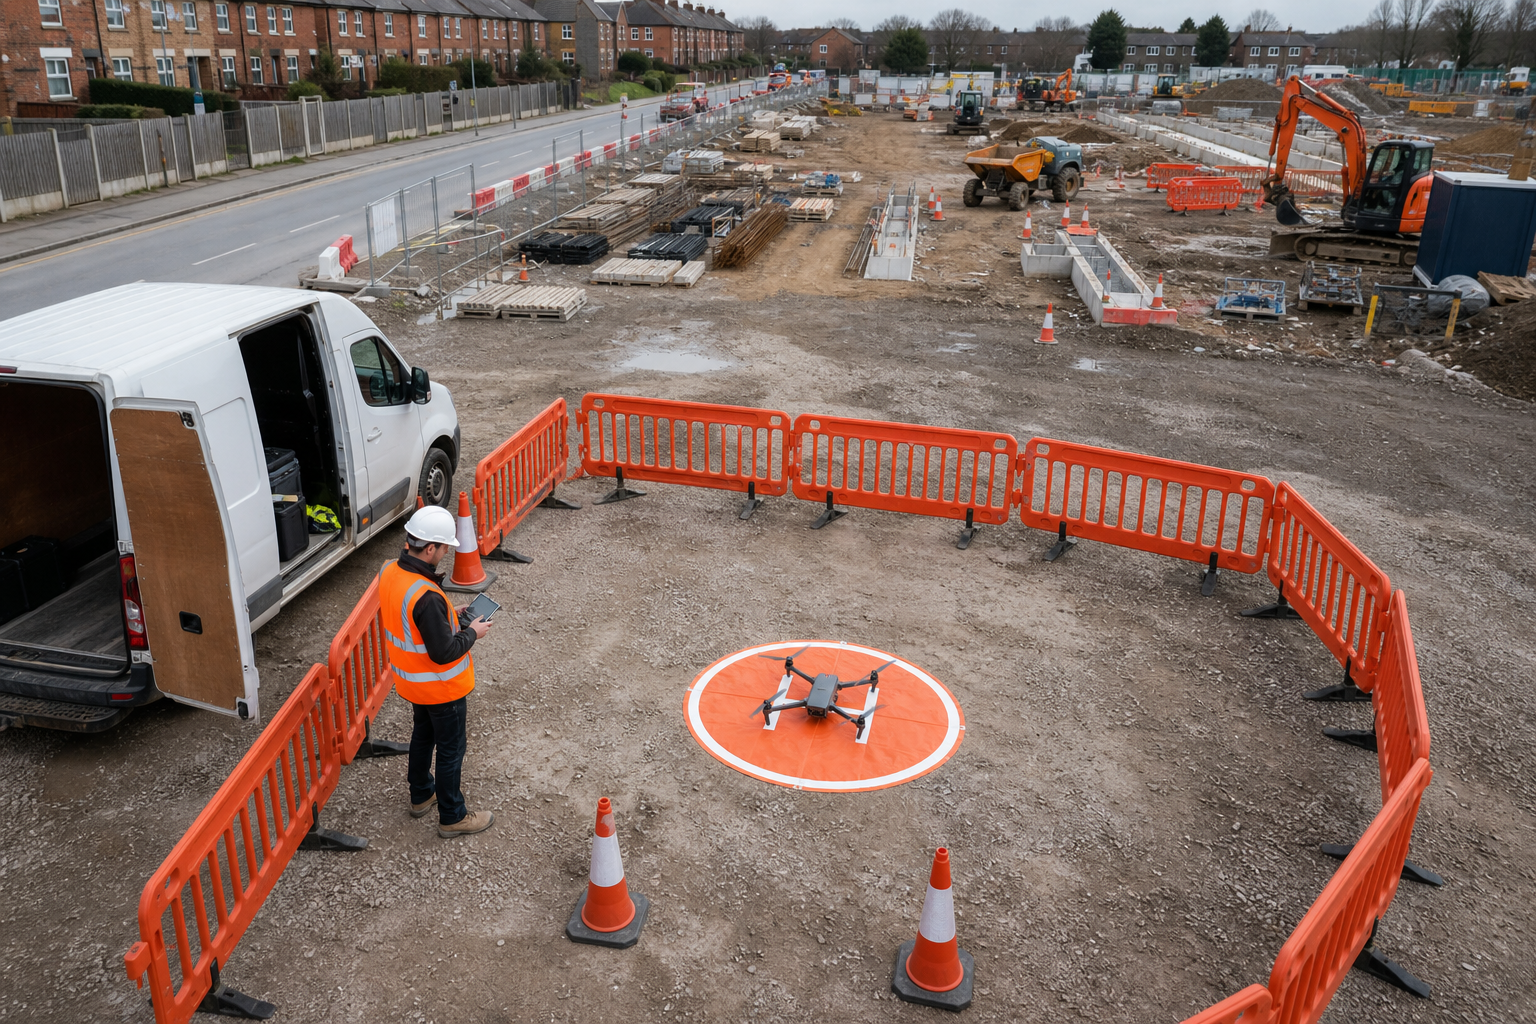
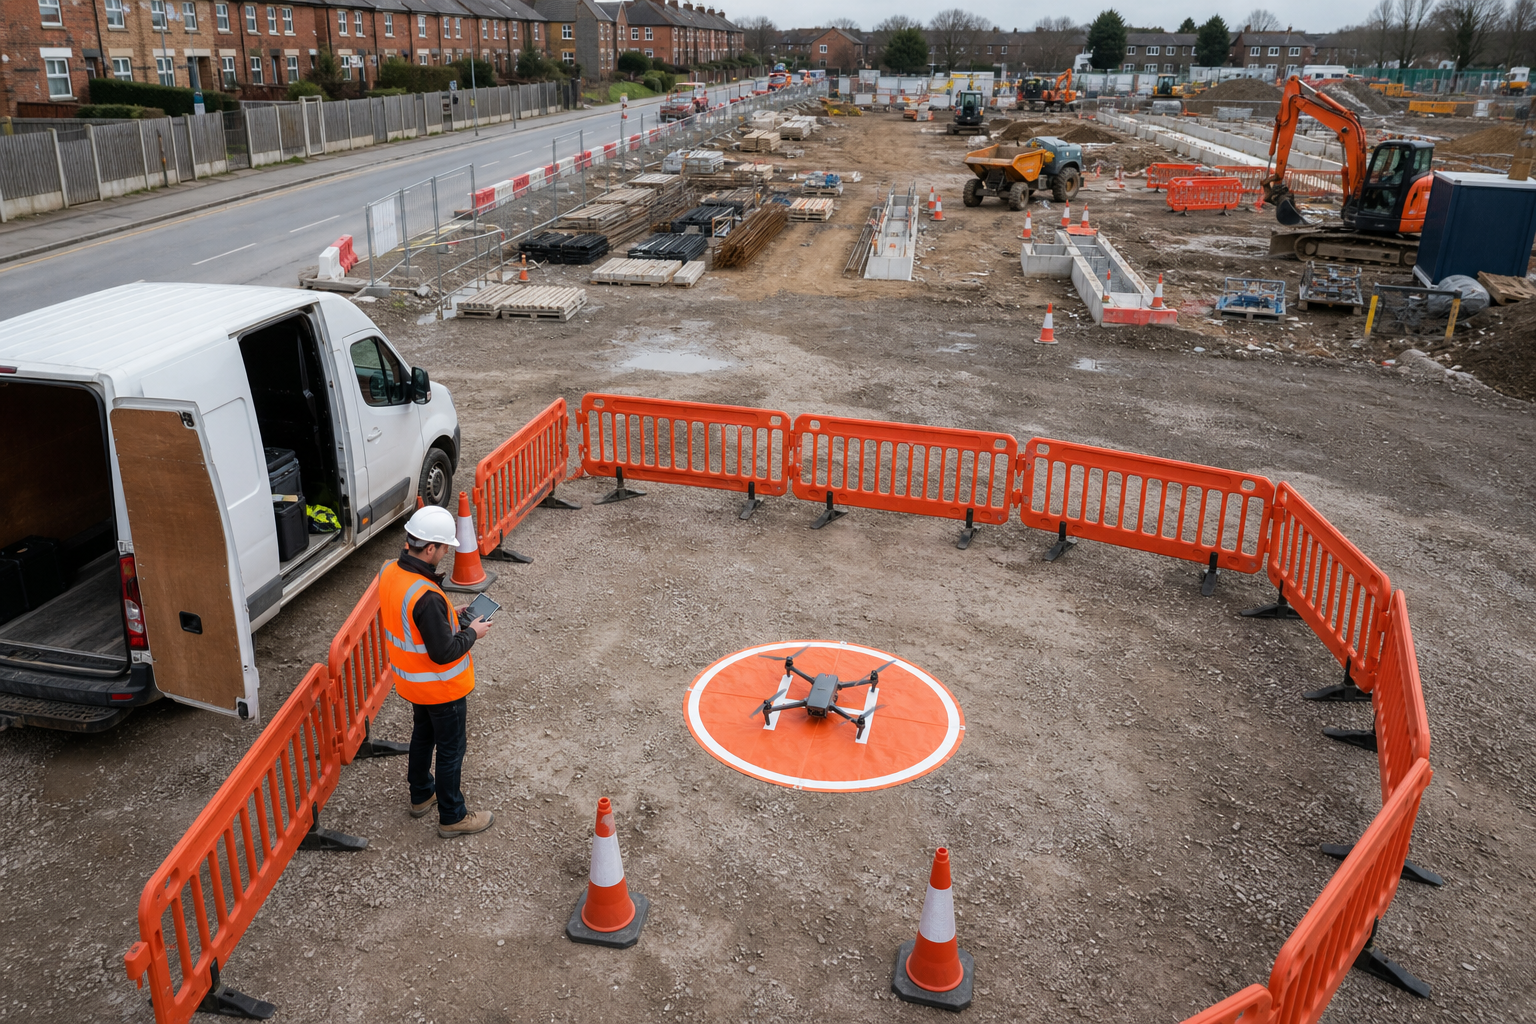
Next, walk the site. Flag antennas, temporary scaffolding, skylights and any high‑voltage equipment. Mark the launch zone and set up a visual observer to watch for birds or unexpected traffic. Weather matters too: wind under 10 mph and light clouds give the best image overlap and keep the thermal sensor stable.
Finally, file the risk assessment with the client’s health‑and‑safety team. Include a site‑specific emergency plan , where the drone lands, who contacts the site manager, and how you’ll report an incident. Once the paperwork is signed, you can schedule the flight window.
Step 3: Capture the Right Aerial and Ground‑Controlled Data
With permits in hand, load the flight plan into the autopilot app. Choose a grid that covers the entire footprint and lock the altitude, overlap and speed. For most construction work a flight altitude of 80‑120 m balances ground‑sampling distance and coverage. Keep the camera settings consistent , ISO, shutter speed and focal length , so the photogrammetry software can stitch the images reliably.
If you need sub‑centimetre accuracy, drop a few ground‑control points (GCPs) around the site. Place them on stable, flat surfaces, record their coordinates with a RTK‑enabled GNSS rover, and include them in the post‑processing check. For pure progress tracking, the built‑in RTK/PPK corrections on modern drones are usually enough.
During the flight watch the live feed for any sudden drift or obstacle alerts. The drone will pause automatically if it nears a crane or power line, protecting both the aircraft and the site.
When the flight lands, download the raw images straight to an encrypted drive. Verify that every file has a GPS tag and that the image sharpness meets the planned ground‑sampling distance. Missing frames mean a quick follow‑up flight, which adds cost and delays the reporting timeline.
We often pair the visual capture with a calibrated radiometric thermal sensor. Flying just after sunset creates the temperature contrast that lets the thermal camera highlight moisture behind roof membranes , what the naked eye can’t see. For roof-specific capture and reporting requirements, a structured drone roof inspection report workflow can help ensure that imagery, observations and recommendations are properly documented.
By now you should have a full set of overlapping photos, thermal frames and, if used, GCP coordinates ready for processing.
Step 4: Process, Check and Format the Survey Deliverables
Upload the image bundle to a photogrammetry platform that supports both RGB and thermal data. The software first aligns overlapping features, then builds a dense point cloud. After stitching, generate the orthomosaic, digital surface model (DSM) and a 3‑D mesh. If you placed GCPs, run an accuracy check , the residuals should stay within the tolerance you set in the brief (often ±30 mm for construction monitoring).
Next, export the data in the formats your downstream tools need. For BIM integration, Revit‑compatible IFC or files compatible with the receiving coordination platform work best. For design teams that still rely on CAD, provide DWG point‑cloud extracts. A simple PDF report that includes the orthomosaic, key measurements and a heat‑map legend rounds off the deliverable package.
One common pitfall is forgetting to bundle the flight log and calibration certificates. Those documents support project compliance and, if you delivered IEC 62446‑compliant thermal data, provide traceability for the thermal results.
When the package is ready, we host it on a secure cloud portal that lets each stakeholder download the exact files they need without exposing the whole dataset.
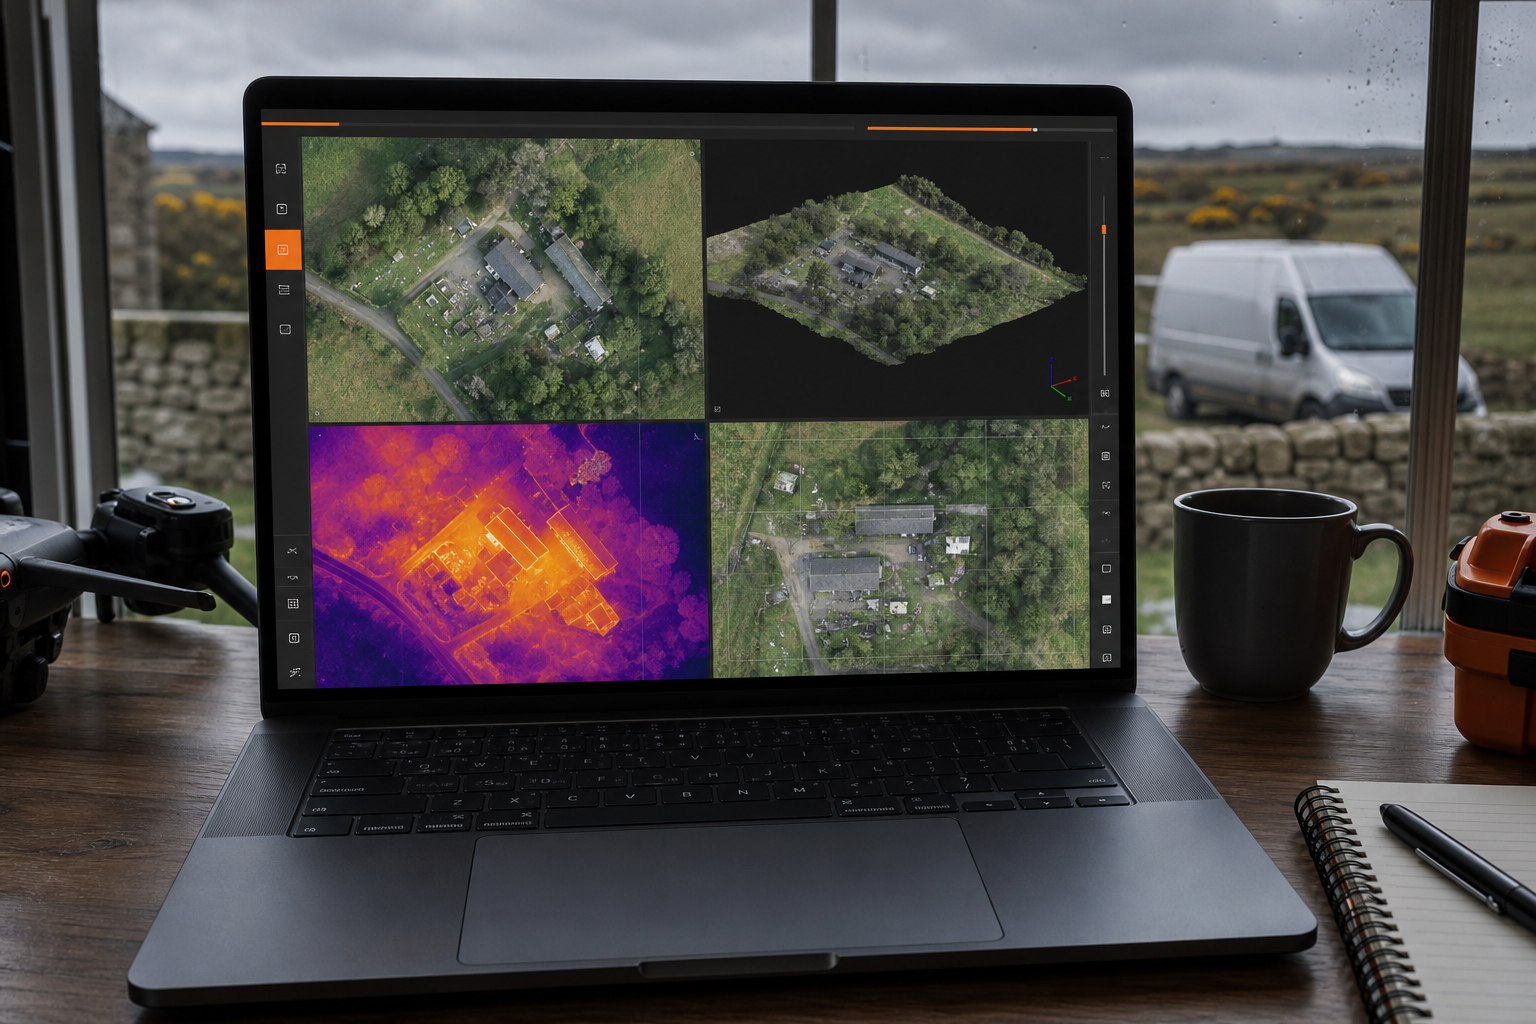
Accurate as‑built models can support clash detection; see this BIM overview. That’s why we always double‑check the coordinate system before exporting.
Step 5: Turn the Survey Findings into Construction Decisions
The raw data only becomes value when you feed it into the project’s decision‑making flow. Start by overlaying the latest orthomosaic on the design model. Any deviation beyond the tolerance you set in Step 1 flags a potential rework area. Highlight those spots in the report with colour‑coded risk grades , red for immediate safety concerns, amber for schedule impacts, green for minor cosmetic issues.
For earthworks, compare the DSM against the baseline survey taken before ground breaking. Volume calculations feed directly into payment certificates, so accurate change‑detection saves you from costly disputes. Use the point cloud to extract cross‑sections that illustrate cut‑and‑fill balances.
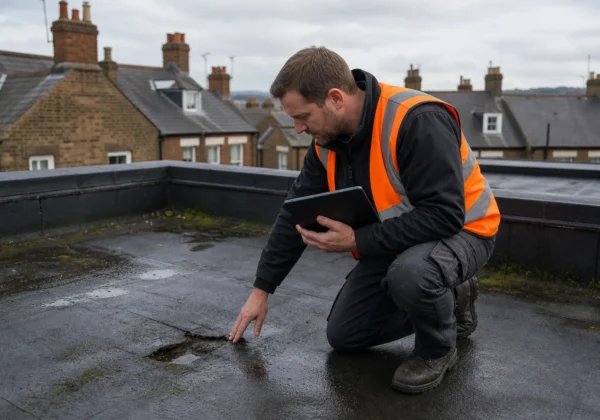
Thermal hotspots tell a different story. A warm patch on a flat roof after sunset usually means trapped moisture. Cross-reference that location with the visual orthomosaic and mark it for urgent membrane repair. In façade surveys, thermal bridges along window reveals point to missing insulation , fixing those early reduces long‑term heat loss and helps meet Net Zero targets.
Finally, hand the report to the asset‑management team. They can import the IFC file into their BIM‑based maintenance plan, set up automated alerts for any new deviation, and schedule the next drone flight based on the project’s milestone calendar.
We’ve helped local authorities and NHS trusts turn drone data into cost‑saving actions , you’ll be in good hands with a partner that understands both the technology and the compliance landscape.
FAQ: Drone Surveys for Construction
What does a drone survey actually capture?
A drone survey records high‑resolution aerial imagery, generates a stitched orthomosaic, builds a 3‑D point cloud and can add thermal data. Those outputs give you a geo‑referenced model of the site that you can measure, compare to designs and analyse for heat loss.
Do I need special permissions to fly a drone on a construction site?
Yes. In the UK, you need the appropriate operational permissions for the planned flight, along with the landowner’s consent and a documented risk assessment before each flight.
How accurate are drone‑derived measurements?
When you follow a proper workflow , consistent flight altitude, 70‑80 % overlap and, if needed, ground‑control points , you can achieve ±20 mm horizontal and ±30 mm vertical accuracy, which is sufficient for most construction monitoring tasks.
Can drone surveys replace traditional ground surveys?
They complement, not replace, ground surveys. Drones excel at covering large, hard‑to‑reach areas quickly, while total stations still provide the legal control points required for statutory setting‑out work.
What format should I ask for the final data?
Ask for the formats your downstream tools need: GeoTIFF for orthomosaics, LAZ for point clouds, IFC or Revit families for BIM, and a PDF report that summarises findings with annotated images and thermal heat‑maps.
Ready to get a compliant, fast and precise drone survey for your next construction project? Start by contacting Visual Perspectives Limited for a scoped brief and a clear, per‑site price. Once the brief is signed, you’ll have a flight window that fits your programme and data that drives real decisions.