Running a solar array without knowing its health is risky. This guide walks you through a professional aerial solar panel inspection, from planning to reporting, so you can spot hidden faults before they cost money.
Step 1: Pre‑Inspection Planning and Safety Assessment
Start by gathering all building documents , drawings, previous survey reports, and maintenance logs. Knowing where roof penetrations, HVAC units, and skylights sit helps you set safe flight paths.
Next, check the weather. Ideal conditions are clear skies, solar irradiance above 600 W/m², and wind under 5 m/s. A calm day reduces drift and keeps the drone steady for crisp thermal frames.
Confirm that your pilot holds a CAA‑approved permission for commercial operations. Without this, the inspection could be halted.
Finally, create a risk register. List hazards like loose roof tiles, fragile glazing, or temporary works on site. Assign a mitigation , for example, use a tethered launch system if the roof edge is low. This register will be part of the final compliance package.
We at Visual Perspectives Limited often run a brief site walk with the client’s facilities manager. That conversation surfaces hidden obstacles and lets us tailor the flight plan to the building’s unique quirks. You’ll be in good hands.
Step 2: Selecting Drone and Thermal Imaging Equipment
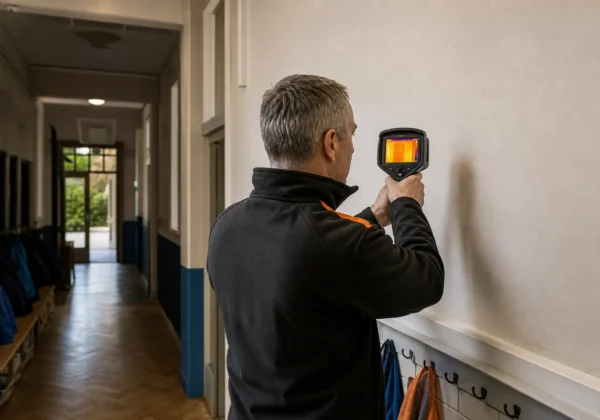
Choosing the right platform starts with payload capacity. You need a drone that can carry a radiometric thermal sensor and an RGB camera together without sacrificing flight time. A 25‑minute endurance lets you cover a typical commercial roof in one sortie.
Thermal sensor specs matter. Look for a resolution of at least 640 × 480 pixels and a temperature sensitivity of 0.05 °C. Radiometric calibration ensures the temperature reading is accurate, which is a must for IEC 62446 compliance.
Make sure the sensor’s emissivity can be set to 0.95 , the value for glass‑covered PV cells. This setting lets the software convert infrared radiation into reliable temperature data.
We often pair the drone with a radiometric thermal camera whose SDK integrates smoothly with our mapping software. Its on‑board GNSS tags each frame, which later becomes the georeferenced hotspot map required by insurers.
Before you buy, compare warranty terms and support response times. A two‑year warranty with a local service centre saves downtime if a component fails mid‑project.
For a deeper dive on thermal sensor basics, see the Thermography Wikipedia page. It explains how emissivity and atmospheric transmission affect readings.
Step 3: Conducting the Aerial Thermographic Flight
Load the flight plan into your autopilot software. Set the grid spacing to give 70‑80 % front and side overlap , this overlap is what lets the stitching engine create an accurate orthomosaic later.
Launch the drone from a safe distance, keeping the take‑off line clear of people and equipment. Keep the aircraft below 50 m AGL (above ground level) for flat commercial roofs; this altitude balances detail and coverage.
Monitor the live video feed. If you see glare on the panels, tilt the camera slightly or pause the pass to let the sun move. Glare can mask hotspots and lead to false‑negative findings.
When the drone reaches the final waypoint, command a return‑to‑home. The flight log should record GPS coordinates, timestamp, and ambient temperature , all of which the IEC 62446 report will cite.
After landing, download the raw thermal files to a secure laptop. Verify that each file is complete and that the metadata matches the flight log. Any missing frames mean you’ll need a quick touch‑up flight before the client deadline.
Our team at Visual Perspectives Limited follows this exact workflow for every UK‑based client, ensuring the data meets warranty and insurance standards.
Step 4: Capturing and Analysing Thermal Data
First, set the temperature range to focus on the expected panel operating band , usually 20 °C to 80 °C on a sunny day.
Next, apply an emissivity correction of 0.95 and calibrate against a known reference plate you placed on the roof before take‑off. This step removes systematic bias and aligns the data with IEC 62446 requirements.
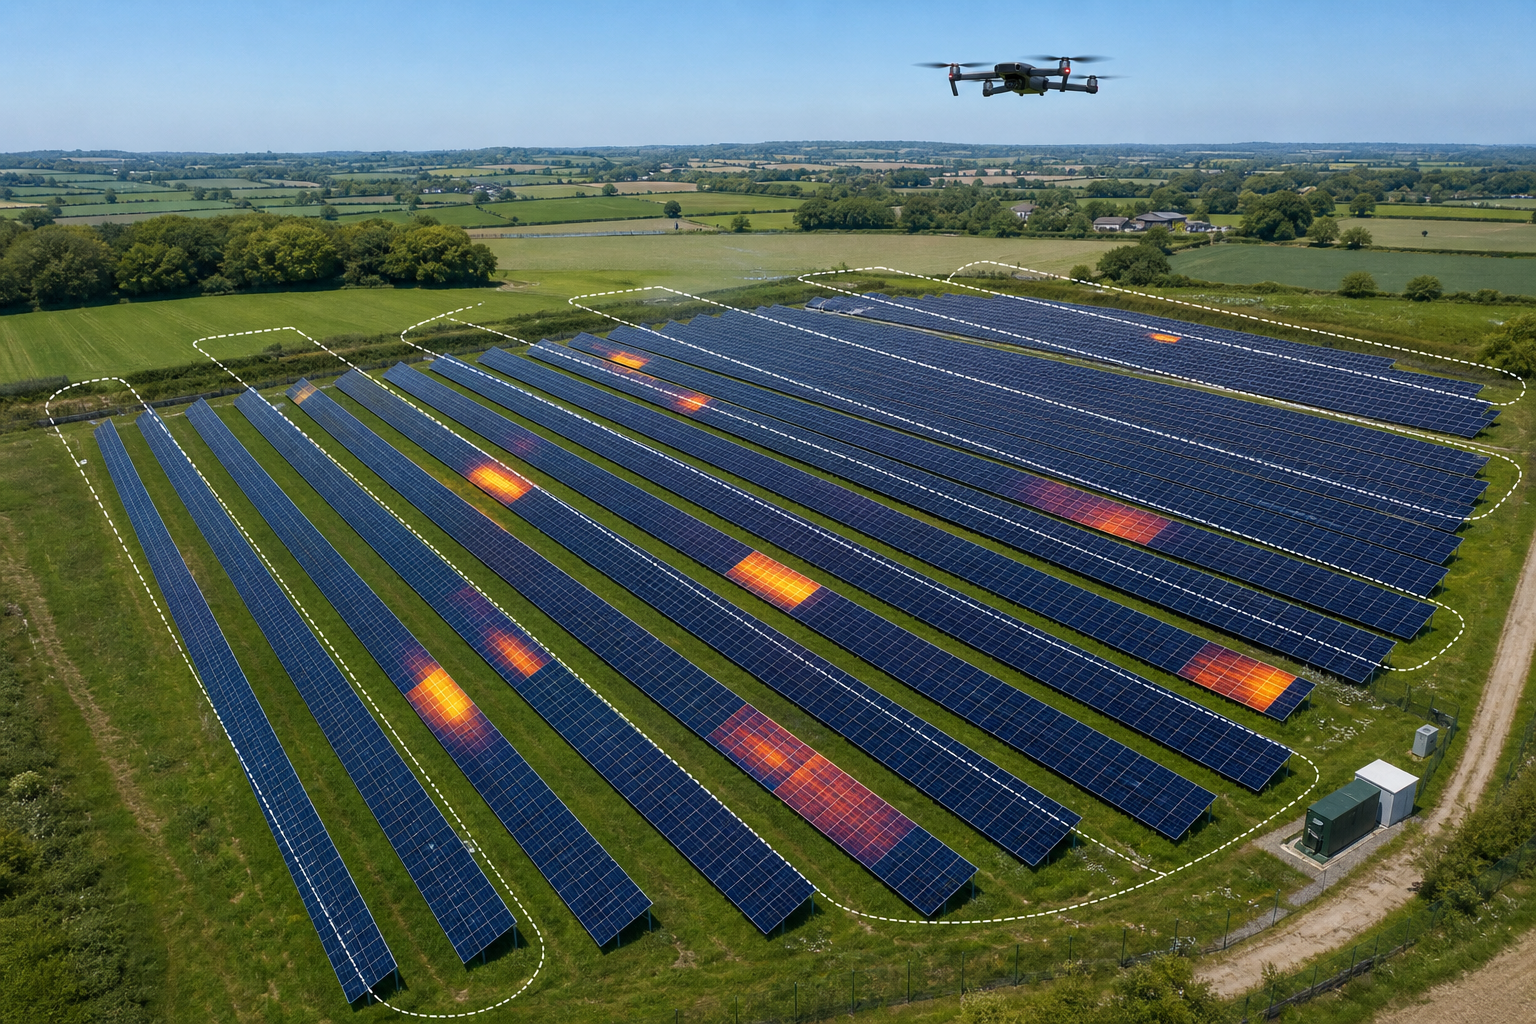
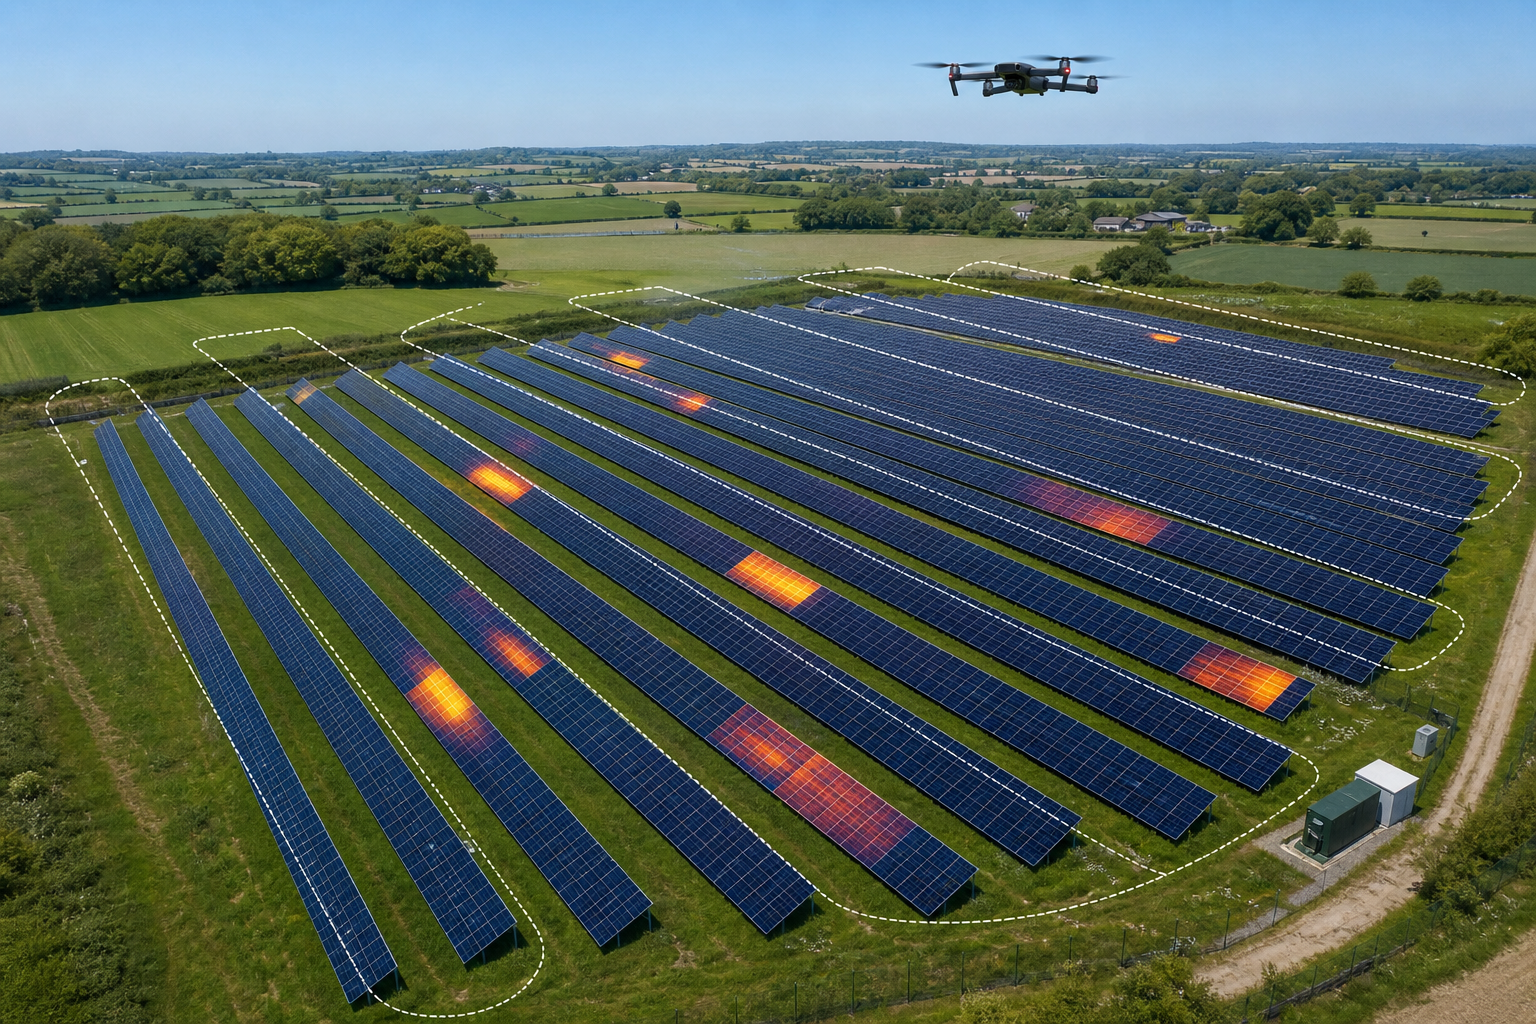
Run the hotspot detection algorithm. The software will flag any pixel that exceeds the panel average by more than 5 °C. Those hotspots often indicate bypass‑diode failure, cell cracking, or shading issues.
Cross‑reference each hotspot with the corresponding RGB orthomosaic. If the visual image shows a cracked tile, a broken clamp, or bird droppings, you can attribute the temperature rise to a physical defect rather than a sensor artifact.
Finally, export a GIS‑ready shapefile that marks each hotspot with its GPS coordinates, temperature delta, and severity rating. This file can be overlaid on the building’s BIM model for asset‑management teams.
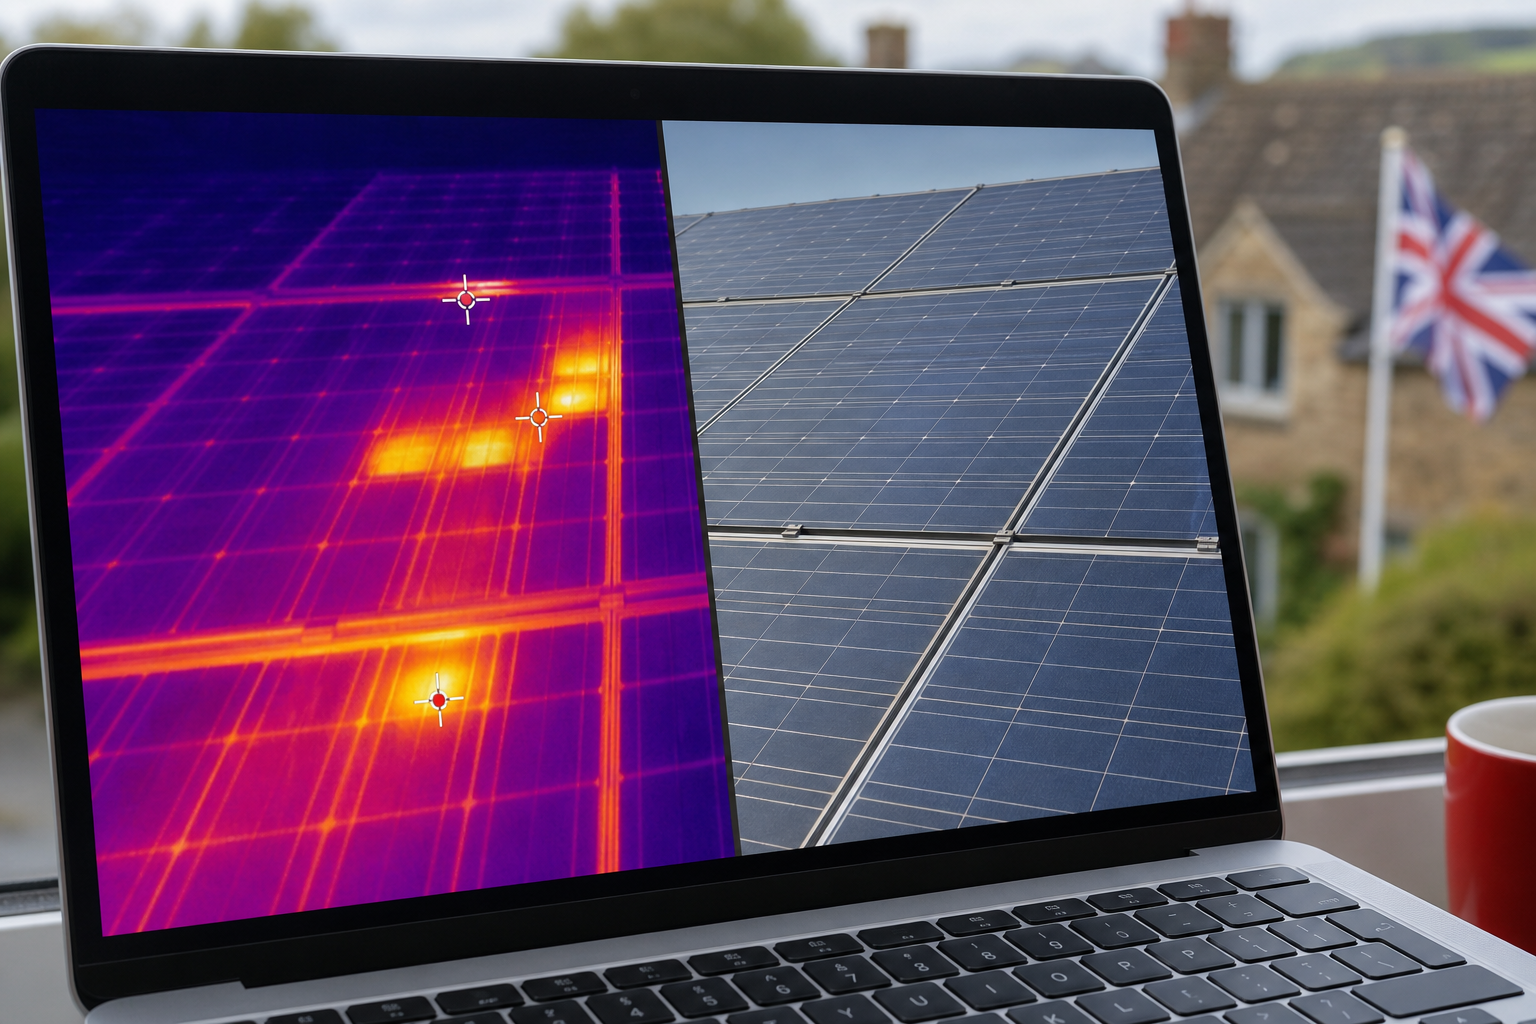
By using the same analysis pipeline we employ for Visual Perspectives Limited projects, you keep the process repeatable and audit‑ready.
Step 5: Reporting Defects and Compliance Documentation
The raw data becomes useful only when it is turned into a clear, actionable report. Start with an executive summary that lists the three most critical findings , for example, a hotspot exceeding 30 °C delta, a membrane wet spot, and a loose mounting bracket.
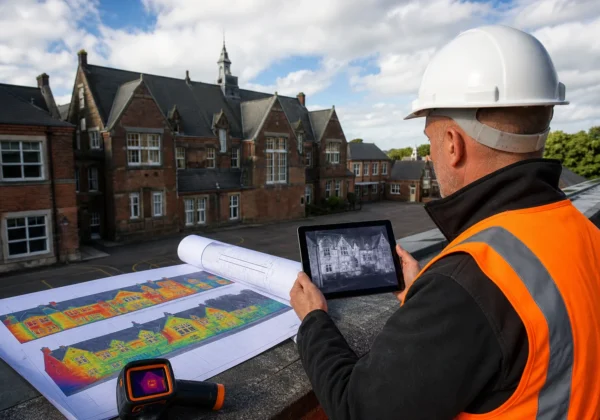
Follow the summary with a site overview map. Include the orthomosaic, the GIS hotspot layer, and any noted roof penetrations. Each defect entry should show the thermal image, the visual counterpart, the exact temperature measurement, and a concise cause hypothesis.
Classify defects using the IEC 62446 colour code: red for safety‑critical (hotspots >30 °C), orange for high‑impact (potential performance loss), yellow for moderate, and green for minor issues. This visual cue helps facilities managers prioritise actions.
Attach an appendix with raw flight logs, sensor calibration certificates, and ambient weather data. Having this evidence on file satisfies insurers and warranty providers who demand proof of condition before a claim.
We at Visual Perspectives Limited deliver the full package as a searchable PDF within five working days. The quick turnaround lets project teams act before the next scheduled maintenance window.
Our templates automatically pull irradiance, wind speed, and panel operating voltage from the flight metadata, ensuring they are included without extra effort.
For more detail on how a compliant report looks, see our Drone Roof Inspection Report guide. It walks you through each page of the final document.
FAQ
What weather conditions are best for an aerial solar panel inspection?
The ideal window is a clear, sunny day with solar irradiance above 600 W/m² and wind under 5 m/s. These conditions give the thermal camera enough contrast while keeping the drone stable.
Do I need a special licence to fly a drone for solar inspections in the UK?
Yes, commercial aerial work requires a CAA‑approved Permission for Commercial Operations (PfCO) or the newer Operational Authorisation under the UK Drone Code. Without it, you cannot legally operate over commercial properties.
How accurate are thermal readings from a drone compared to handheld thermography?
When the sensor is radiometrically calibrated and emissivity is set correctly, drone‑based thermography can achieve temperature accuracy within ±2 °C, matching professional handheld units. The advantage is full‑roof coverage in a single flight.
What does IEC 62446 compliance mean for my solar asset?
IEC 62446 defines the test conditions, data capture, and reporting format for photovoltaic thermal inspections. A compliant report is accepted by insurers, warranty providers, and building regulators, reducing dispute risk.
Can I reuse the same flight plan for multiple inspections?
You can reuse the grid layout, but each inspection should be re‑planned to account for changes in roof equipment, seasonal shading, or updated regulatory limits. A fresh plan ensures data relevance.
Conclusion
Follow this step‑by‑step workflow and you’ll produce IEC 62446‑compliant aerial solar panel inspections that save time, cut risk, and give clear action items. Ready to start? Explore our Drone Solar Panel Inspection service page for a detailed quote and next‑step checklist.