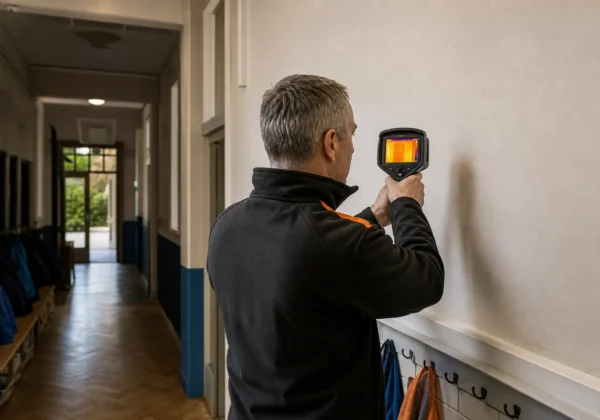
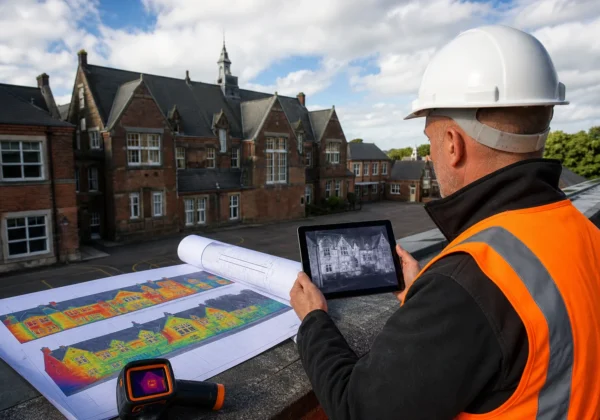
Thermal imaging lets you see what the naked eye can’t see when it comes to hidden moisture. It’s fast, safe, and gives clear evidence for repairs. Below is a step‑by‑step guide that takes you from prep to a finished report.
Step 1: Define the Damp Investigation and Prepare the Site
First, write down the scope of work. Are you checking a single flat roof, an entire façade, or a cavity‑wall system? Note the building’s age, known issues, and any recent repairs. This short brief guides the survey and keeps the team focused.
Next, clear the area. Remove temporary screens, store away loose items, and ensure access routes are safe. For interior scans, turn off heating or cooling at least two hours before the survey so the building reaches a stable temperature. This creates a clear temperature gradient between wet and dry surfaces.
We recommend using our Thermal Imaging Moisture Detection: A How‑To Guide as a checklist for equipment set‑up and site safety. The guide walks you through camera calibration, drone licensing checks, and risk assessments.
By the end of this step you should have a clear brief, a safe site, and a calibrated camera ready to fly.
Step 2: Scan the Building Envelope for Thermal Anomalies
Start at ground level and work your way up, or fly a drone over the roof if access is limited. Keep the camera 1‑2 metres from walls when handheld, and maintain a steady flight path of under 5 m/s for drones. Overlap images by at least 60 % so the software can stitch a smooth thermal map.
Look for “cold spots” that break the normal heat flow. A cold patch often signals evaporative cooling from hidden moisture. Warm blobs can also indicate water that retains heat longer than surrounding material, especially on flat roofs after a sunny day.
Scan every junction , roof‑wall intersections, window heads, and pipe penetrations. These are common routes for water ingress.
When you spot an anomaly, capture a reference image of a known dry area. This helps normalise temperature readings later.
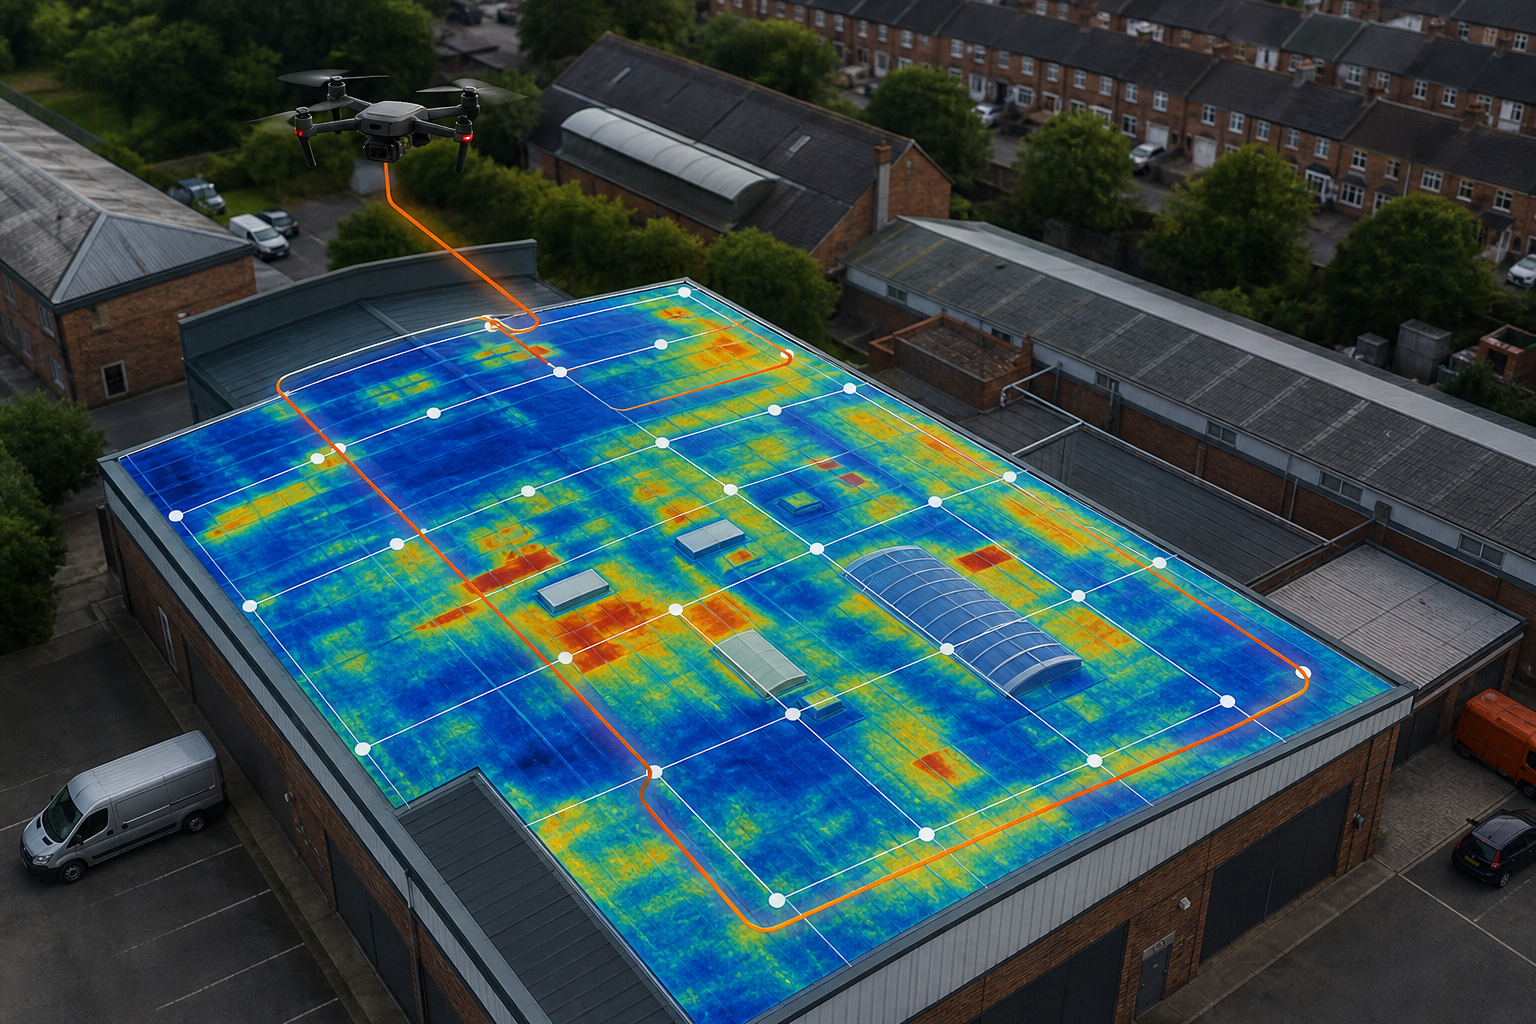
Our drones record GPS coordinates for each hotspot, making it easy to map back to construction details. This level of detail is why many public‑sector estates trust us for PSDS Phase 4 work.
According to ScanTherm’s damp‑leak tracing survey description, a structured thermal scan combined with psychrometric data can locate both surface and hidden moisture without destructive testing.
Step 3: Test Whether the Thermal Pattern Indicates Damp
Thermal images show where something is cooler or warmer, but they don’t prove water is present. You need a point‑measure test to confirm.
Use a calibrated moisture meter on the exact spot you flagged. Compare the reading to a nearby dry area. On wood, a reading above 20 % moisture content usually means wet; on plaster, anything above 5 % is suspect.
Record the meter reading, the temperature delta from the thermal image, and a photo of the probe on the surface. This creates a solid audit trail for insurers and building owners.
If the reading is low, consider environmental factors , high humidity can cool surfaces without actual water. In that case, repeat the test after a dry period.
For a deeper dive on moisture‑meter selection, see our Best Thermal Imaging Leak Detection for Commercial … guide.
Thermal cameras detect evaporative cooling, not water itself; a moisture-meter reading helps confirm whether damp is present.
Step 4: Inspect Roofs and Hard‑to‑Reach Areas Safely
Roof inspections are where drones shine. They keep people off ladders and give a bird’s‑eye view of large spans.
Plan the flight for a clear, calm day. Early evening is ideal: the roof cools quickly, but any trapped water stays warm longer, creating a strong contrast.
Fly at a height that balances detail and safety , about 10 m above the surface for flat roofs, lower for steep pitches. Keep the drone’s thermal sensor pointed straight down (nadir) and also capture oblique angles to reveal hidden seams.
When the drone lands, walk the roof to double‑check any hotspots. Use a handheld thermal camera to zoom in on tricky details like flashing joints or roof penetrations.
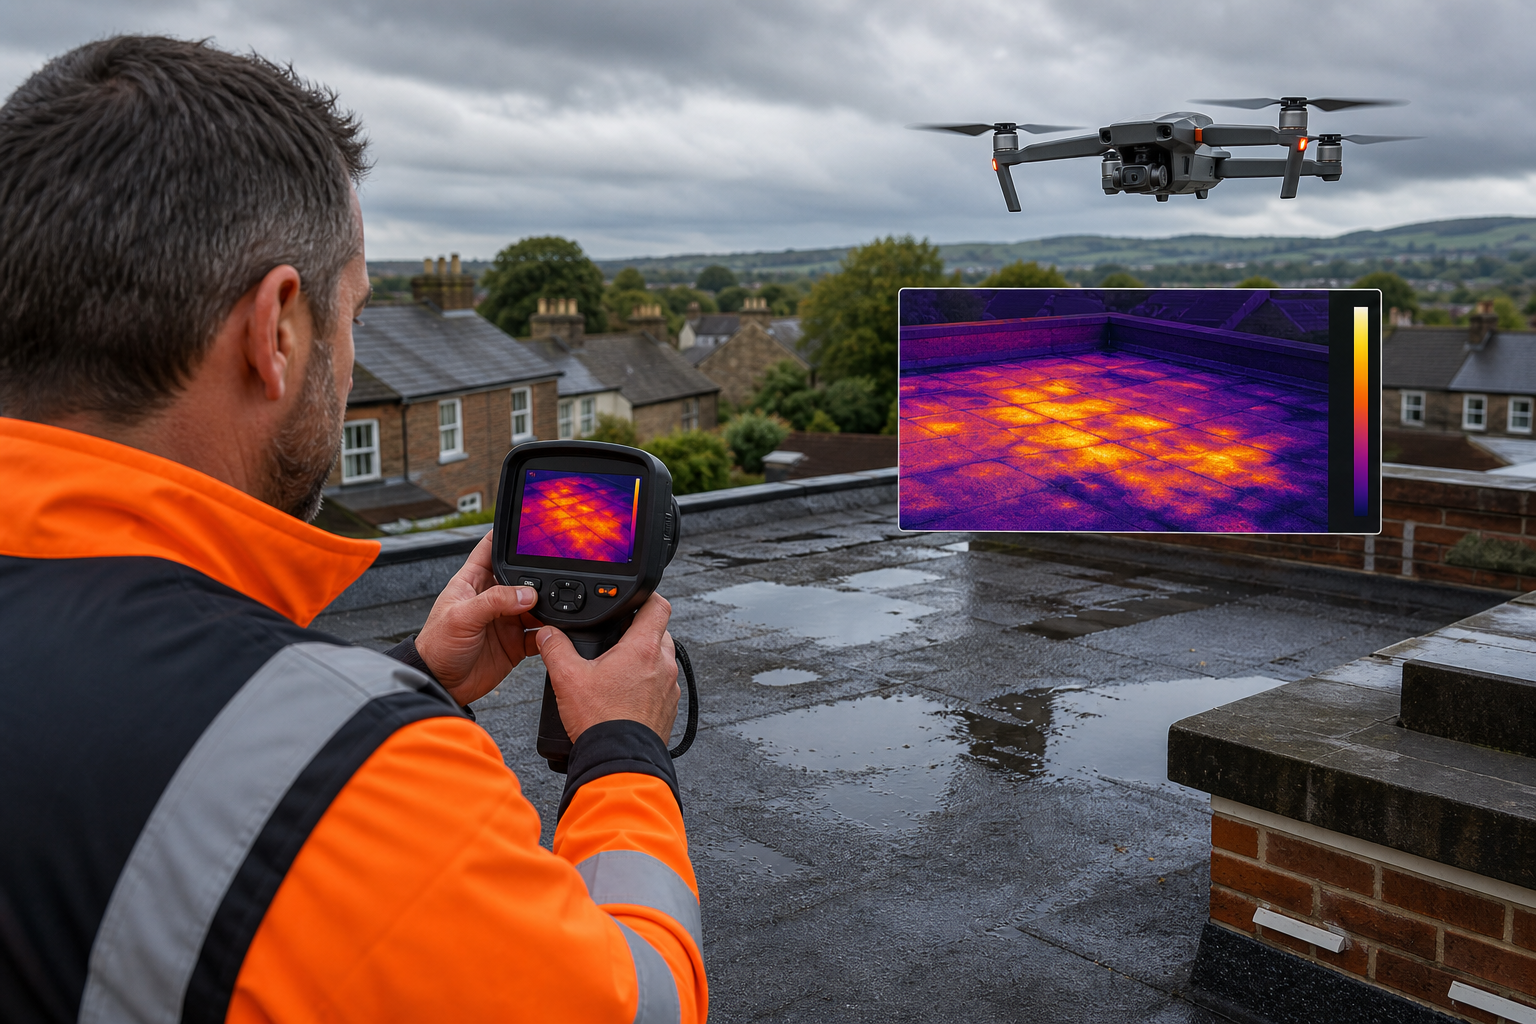
Document each hotspot with GPS, temperature delta, and a photo of the physical condition (cracked membrane, ponded water, etc.). This data feeds directly into our 3‑D model for easy hand‑off to the repair team.
Step 5: Record Evidence and Turn Findings into Repairs
All images, GPS points, and moisture‑meter readings are compiled into a single 3‑D model. The model layers visible‑light photos over thermal data, making it simple to see where the problem sits in the building fabric.
Write a report that follows IEC 62446‑3 guidelines , the same standard we use for solar‑panel inspections. Include an executive summary, a map of each defect, the measured moisture levels, and a risk rating (low, medium, high).
Provide clear repair recommendations: replace failed flashing, re‑seal roof penetrations, or install additional cavity‑wall insulation. Attach a “next‑steps” checklist so the facilities manager knows exactly what to order.
Our clients often ask for a “proof of damp” document for insurance claims. The combined thermal‑image and moisture‑meter evidence satisfies most policy requirements.
For public‑sector estates, we also link findings to PSDS Phase 4 funding criteria, helping you prioritize investments that meet decarbonisation goals.
Finally, upload the full package to your asset‑management system. The 3‑D model can be revisited later to verify that repairs were successful.
Need a template for housing‑stock surveys? Check out our Housing Stock Thermal Imaging Surveys page for a downloadable checklist.
FAQ: Thermal Imaging Damp Detection
What equipment do I need for thermal imaging damp detection?
You need a calibrated infrared camera (radiometric preferred), a moisture meter for verification, and, for large roofs, a drone with a stable thermal payload.
Can thermal imaging detect all types of damp?
It can reveal rising damp, penetrating damp, and condensation by showing temperature anomalies, but you still need moisture meters to confirm the presence of water.
How long does a typical survey take?
A thorough building‑envelope scan usually takes 1, 2 hours for a medium‑size commercial property, plus additional time for data stitching and reporting.
Do I need to heat the building before scanning?
Yes. Heating the interior for several hours creates a temperature gradient that makes moisture‑related cold spots stand out on the thermogram.
Is the method safe for historic buildings?
Absolutely. Because the process is non‑destructive, you can inspect fragile heritage fabric without drilling or removing finishes.
Will the results meet insurance requirements?
Yes. When you pair thermal images with point‑measure moisture readings, you produce the “proof of damp” insurers require for claim validation.
Thermal imaging damp detection gives you a clear, evidence‑based picture of where water is hiding. It saves time, reduces guesswork, and guides precise repairs.
Ready to start? on drone thermal imaging to learn more about planning, safety, and reporting.
Ready to put this into practice? Visual Perspectives Limited was built for exactly this.