Flat roofs can look sound while water sits beneath the membrane. Leaks, splits, ponding and wet insulation often begin long before damage shows inside. Use the five steps below to inspect symptoms, check drainage, assess the roof build-up and decide which repairs need action first.
Step 1: Record the Symptoms and Assess Immediate Risk
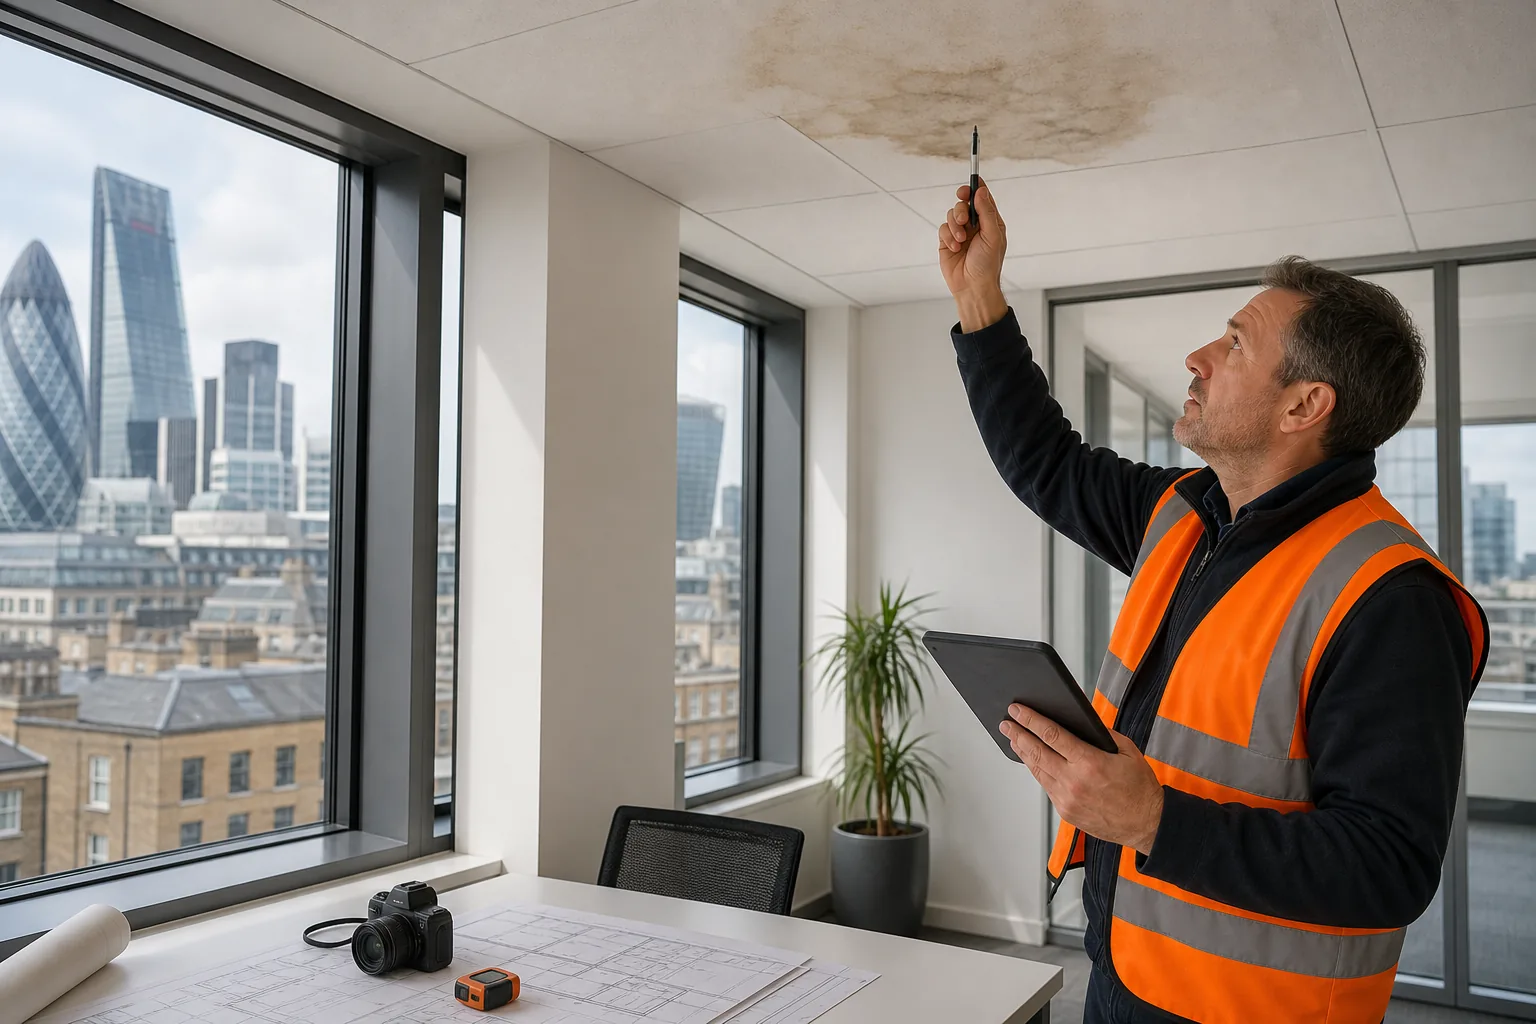
Start with the signs of flat roof problems inside the building. A brown ceiling mark may sit well away from the point where water entered. Water can travel along the deck, insulation or a service run before it becomes visible.
Walk through the affected rooms with the facilities team. Note the exact location, date and weather conditions. Check for:
- Brown marks, peeling paint or soft plaster.
- Drips after rain, even if the roof looks dry.
- A damp or musty smell.
- Cold patches near the ceiling line.
- Water near lights, plant rooms or electrical equipment.
Photograph each symptom from close range. Take a second image from farther back so the location is clear. Mark the room, ceiling grid or structural bay on a simple plan. This evidence helps you match an internal symptom with a roof detail later.
Assess immediate risk before anyone goes onto the roof. Is water near live electrical equipment? Is the ceiling sagging? Has plaster fallen? Has a storm damaged the edge, parapet or roof plant? Is the roof deck visibly bowed?
Keep staff away from unsafe areas. Do not walk beneath a sagging ceiling or cross a roof that may have lost structural strength. A wet deck can lose its integrity, so a structural assessment may be needed before repair work.
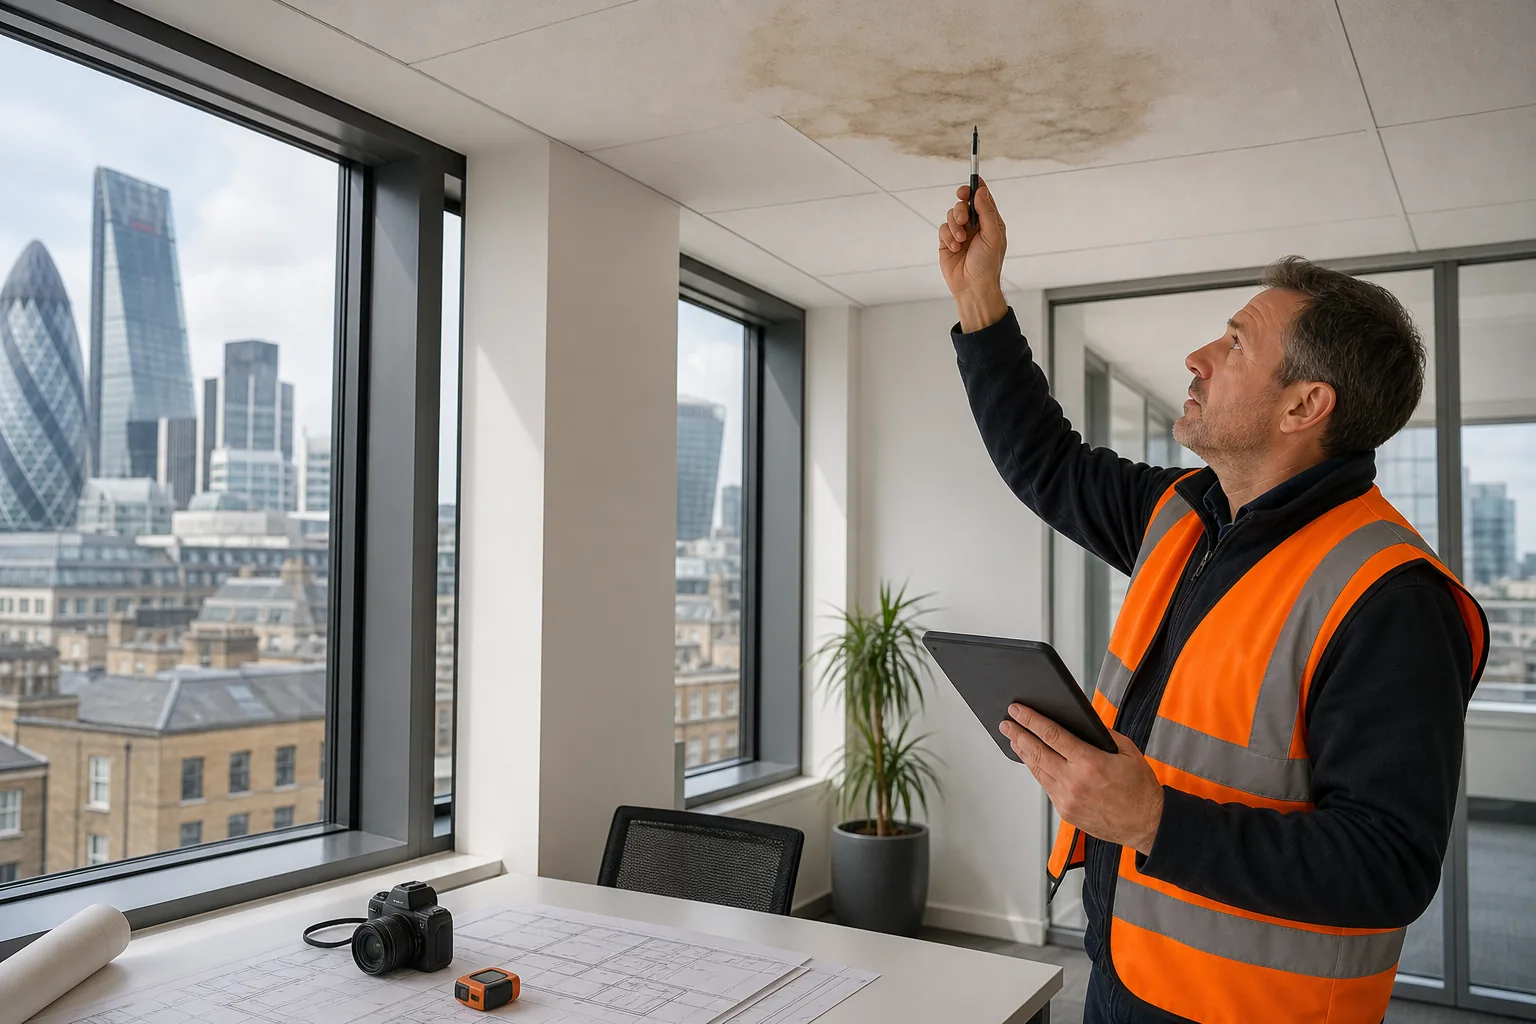
Visual Perspectives Limited can link indoor symptoms with an external survey using GPS-tagged images. We record findings quickly, precise, and detailed, so the repair team can see what needs checking first. You’ll be in good hands.
Step 2: Check Drainage, Ponding Water and Debris
Blocked outlets and poor falls are common causes of flat roof problems. A roof may have enough slope on paper, yet still hold water where insulation has settled or the deck has deflected.
Inspect the roof after rainfall if it is safe to do so. Look at outlets, gutters, channels, overflows and perimeter details. Record where water collects and estimate the area. Take a photograph from the same position each time so you can track change.
Ponding water is more than an untidy patch. It adds weight to the roof. It can keep the membrane wet for long periods. It may also encourage algae and vegetation, which can work into joints and block outlets further.
Clear loose leaves and small debris by hand or with suitable tools. Don’t drag sharp objects across the membrane. Never push waste into an outlet. If the outlet is blocked below the visible grate, arrange suitable access rather than forcing it open.
Check whether water can reach the outlet. Look for:
- Raised membrane edges that hold water back.
- Debris around outlets and rainwater pipes.
- Collapsed insulation or visible deck deflection.
- Algae or plant growth in persistent wet areas.
- Blocked emergency overflows.
Persistent ponding needs more than routine cleaning. The cause may be inadequate falls, a damaged deck or a failed drainage detail. Clearing the outlet may reduce the symptom without fixing the reason it formed.
Use a roof plan to mark each wet zone. The commercial flat roof inspection process uses this kind of location-based record to focus later visual and thermal checks.
For a plain definition of ponding, Wikipedia’s explanation of ponding describes the accumulation of water on a surface. On a roof, the next question is why that water cannot leave.
Step 3: Inspect the Membrane, Flashings and Roof Deck
The membrane, flashings and deck reveal many flat roof problems during a close inspection. Work in a planned grid. Start at the perimeter, then inspect seams, penetrations and roof plant before covering the main field of the roof.
Look for membrane splits, blisters, exposed reinforcement, punctures and tears. A blister may indicate trapped air or moisture beneath the membrane. An alligator-skin pattern can point to ageing or long exposure. Don’t cut a blister open unless a competent roofing specialist has assessed it.
Pay close attention to changes in direction. Thermal movement can stress seams and flashings as the building heats and cools. Cracks often appear around penetrations, joints, kerbs and upstands because these details move differently from the main roof surface.
Inspect flashings at:
- Parapet walls and coping joints.
- Rooflights, vents and service penetrations.
- Plant supports and access hatches.
- Internal corners and changes in roof level.
Check for loose edges, failed sealant, open joints and fixings that have lifted. A screw or sharp fixing can puncture the membrane. Foot traffic can cause similar damage, especially near frequently serviced plant.
Look at the deck where access permits. Signs of trouble include sagging, corrosion, staining and soft areas. Do not probe an uncertain deck without a safe method and permission. A damaged deck may need replacement, but the risk and structural assessment must come first.
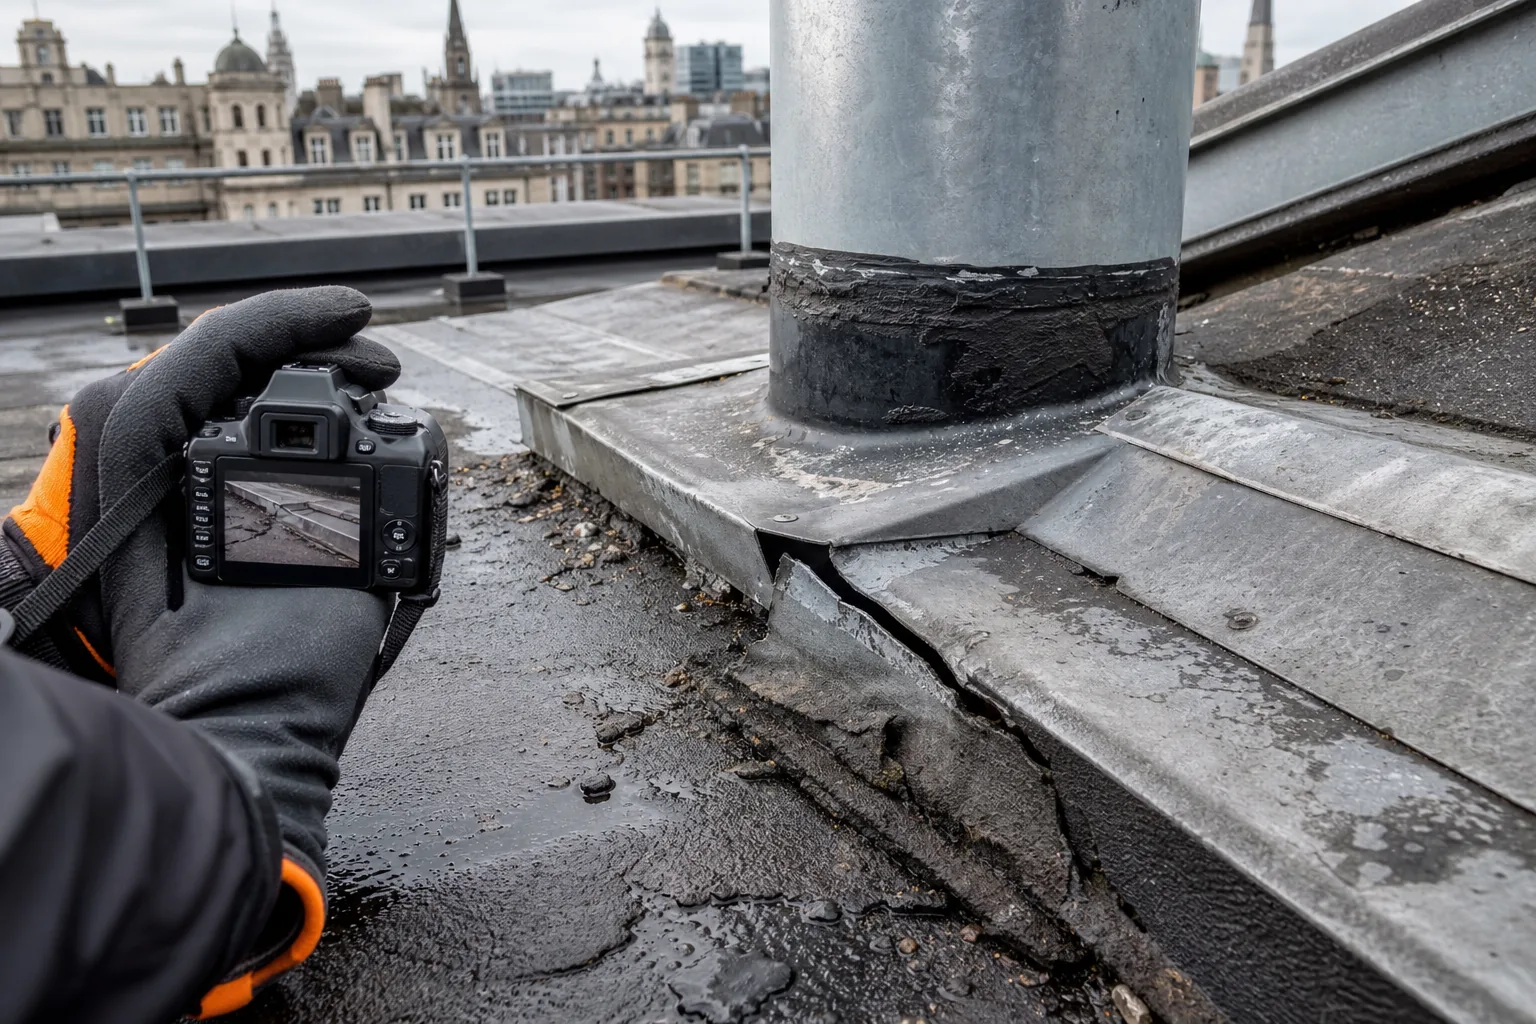
We use high-resolution RGB imagery to document what the naked eye can’t see from ground level. Visual Perspectives Limited can also build a 3D roof record, which helps a surveyor compare the defect with the surrounding detail instead of relying on a single close-up.
Record each defect with a reference number, location, image and suggested next check. The flat roof maintenance guidance can then support a planned inspection cycle rather than a series of emergency visits.
Do not assume every visible mark is a leak. Condensation, poor ventilation and cold bridging can produce damp-looking areas indoors. Confirm the moisture path before specifying a large repair.
Step 4: Locate Concealed Moisture with Drone and Thermal Inspection
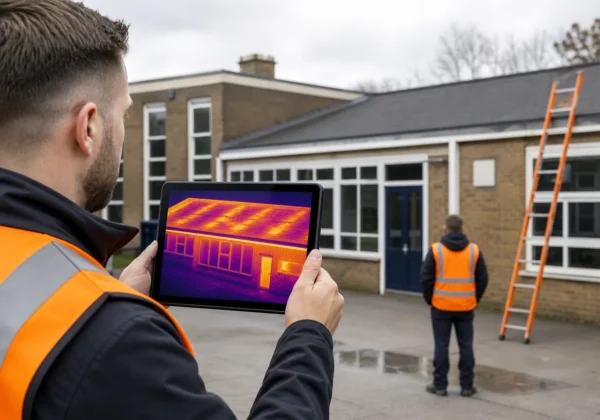
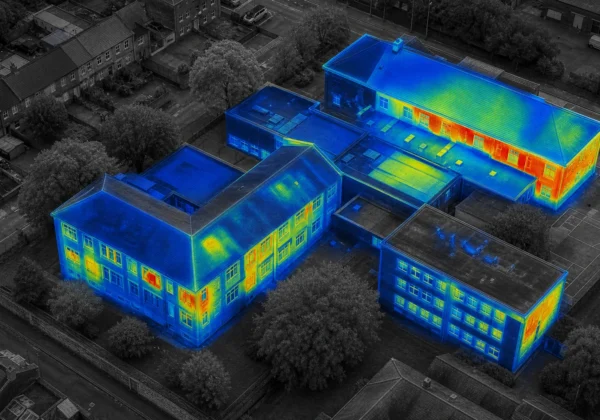
Thermal imaging helps locate concealed moisture when a visual check cannot explain the leak. Wet insulation stores and releases heat differently from dry material. Under suitable conditions, that difference appears as an unusual thermal pattern.
Thermal data is evidence of a temperature difference, not proof of water. Confirm suspicious areas with a moisture meter or another suitable test. Compare the reading with a nearby area that appears dry. Record the weather, roof material and scan conditions with the result.
Plan the survey before the drone launches. Check the roof layout, nearby buildings, overhead hazards, access points and weather. A CAA-authorised operator should set the flight plan and manage the airspace risk. Keep people clear of the launch area.
A drone survey is useful when the roof is large, fragile or difficult to access. It can capture a consistent view across the whole roof without sending a person across every metre. RGB images show visible damage. Thermal images show patterns that may indicate wet insulation or heat loss. A 3D point cloud gives the findings a spatial reference.
Good survey outputs should include:
- Overview images that identify the roof area.
- Close images of splits, blisters, flashings and outlets.
- Thermal images with clear reference areas.
- GPS-tagged defect locations.
- A roof plan or 3D model for handover.
- A note on limitations and areas needing confirmation.
Survey timing matters. A clear, dry period can improve the temperature contrast between wet and dry parts of the roof. Wind, cloud, recent rain and reflective surfaces may affect the result. Some roof build-ups are also less suited to infrared moisture surveys, so the roof construction must be reviewed first.
A recent field inspection may reveal small details that a checklist misses. Loose caulking, membrane detachment at a joint or a fixing pushing through the membrane can explain a much larger moisture pattern.
Visual Perspectives Limited combines drone imagery, thermal imaging, 3D mapping and defect tagging for building owners, surveyors and facilities teams across the UK. Our reports are quickly, precise, and detailed, while still making the limits of each reading clear.
Thermal imaging has a wider building use too. The standard definition of thermal imaging explains that the method produces images from infrared radiation rather than ordinary visible light. That is why it can show a temperature pattern where a normal photograph shows an intact surface.
Step 5: Prioritise Repairs and Create an Evidence-Based Maintenance Plan
The final step is to turn inspection findings into a repair order. A long defect list is not a maintenance plan. Your plan should show which issue threatens people, building use or the roof structure first.
Give each defect a risk rating based on four questions:
- Can water enter the building now?
- Could the defect affect the deck or structure?
- Could it damage electrical systems or critical services?
- Will delay make the repair larger or harder?
Deal with immediate hazards first. Isolate unsafe areas and arrange temporary protection where needed. Then repair active leaks, open membrane damage and failed flashings. After that, address drainage faults and wet insulation. Plan cosmetic work last unless it signals a deeper failure.
Ask the repair team to link each proposed action to an image or map point. “Repair roof” is too vague for a public-sector asset file. “Reseal flashing at grid B4 and confirm the deck below” gives the team a clear handover.
Keep the survey record with your asset documents. Include the roof age, system type, past repairs, warranties and access restrictions. Add a follow-up date. A post-repair survey can confirm whether the wet area has reduced or whether a second leak remains.
For larger estates, group defects by roof zone and consequence. This lets an asset manager compare urgent repairs with planned renewal work. It also gives project teams better evidence when preparing retrofit or decarbonisation schemes. A sound building fabric should come before new energy systems.
Use the flat roof repair cost guide when you need to understand which factors affect repair or replacement decisions. Costs vary by access, roof build-up, damage and the amount of wet material found.
Review the plan after severe weather, major roof work or a new service installation. For public-sector estates, a repeat survey can help keep condition records current before funding and capital decisions are made.
FAQ
What are the most common flat roof problems?
The most common flat roof problems include leaks, membrane splits and ponding water. You may also find blistering, failed flashings, blocked outlets, punctures and wet insulation. Start with visible evidence, then check whether the defect has affected the deck or insulation below.
How can I tell if a flat roof is leaking?
You can often identify a leak through ceiling stains, peeling finishes, drips or a damp smell. The indoor mark may not sit directly below the roof breach because water can travel through the roof build-up. Trace the likely path from the room, then inspect roof details above it.
Can thermal imaging find a flat roof leak?
Thermal imaging can help locate concealed moisture linked to a flat roof leak, but it cannot prove that water is present by itself. Wet and dry materials can show different temperatures. Confirm any anomaly with a moisture meter or another suitable inspection method before ordering major repairs.
Is ponding water on a flat roof a serious problem?
Ponding water can be serious when it remains after rain or keeps returning in the same place. It may point to blocked drainage, inadequate falls, settled insulation or deck deflection. Remove loose debris safely, then investigate the cause rather than treating ponding as a normal roof feature.
Are drone roof inspections safe?
Drone roof inspections can reduce the need for people to cross fragile or hard-to-reach areas, but they still need proper planning. The operator must assess the airspace, weather, people, obstacles and launch site. A drone also complements, rather than replaces, close inspection and moisture confirmation.
Conclusion
Record the symptoms first, then work from drainage to membrane details and concealed moisture. If the roof is large or difficult to access, an independent drone and thermal survey can give your team a clearer repair plan. Visual Perspectives Limited provides UK-wide building diagnostics for owners, surveyors and facilities teams. The next step is to map known symptoms and arrange an inspection that confirms their cause.